
Are your little ones fascinated by spiders and their intricate webs? Do you want to encourage their creativity while developing their fine motor skills? Look no further! Making a paper spider web craft is an excellent way to achieve this, and it’s easier than you think. With just a few simple materials, including paper, scissors, and glue, your kids can create their own stunning spider web masterpiece.
In this article, we’ll guide you through easy steps on how to make a paper spider web craft with kids. We’ll also share some ideas for customization and display to take the project to the next level. By following our simple tips and tricks, your mini artists will be able to unleash their creativity and create a beautiful piece of art that’s perfect for framing or decorating their room.
Introduction to Paper Spider Webs
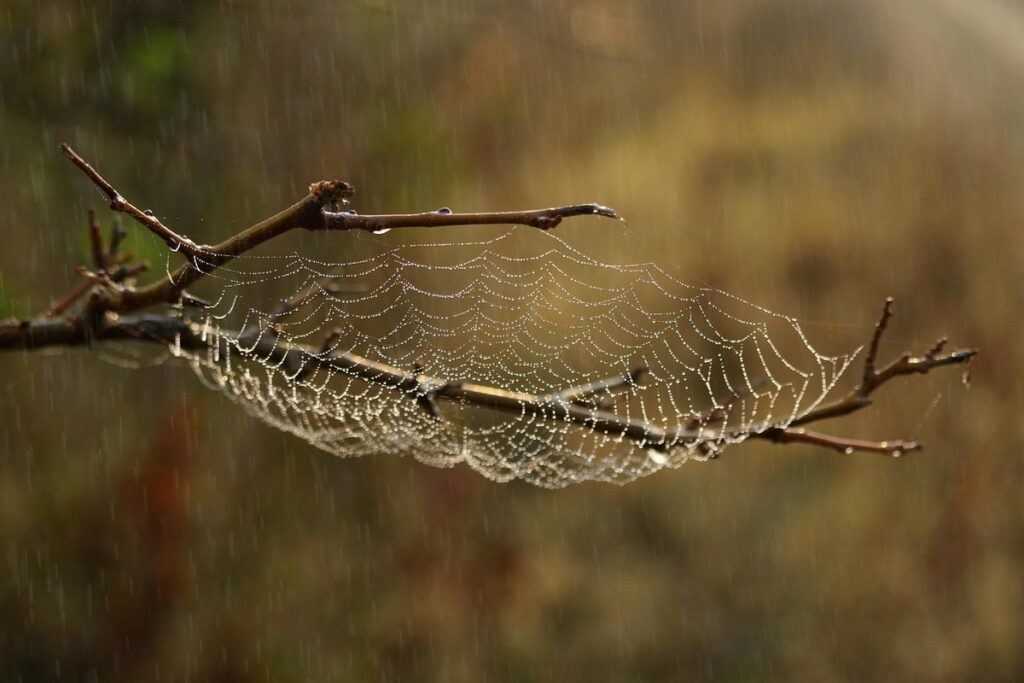
Have you ever wanted to build your own spider web, but don’t have any threads? You’re in luck because today we’ll show you how to make a paper spider web!
What are Paper Spider Webs?
Paper spider webs are a fun and creative way to make kids’ crafts come alive. But have you ever wondered where this idea came from? Well, it all started with the art of paper crafting, which dates back to ancient civilizations such as Japan and China. These cultures used paper to create intricate designs, patterns, and even three-dimensional objects.
Fast forward to today, and paper spider webs are a popular craft activity for kids (and adults!) around the world. What makes them so great? For one, they’re incredibly easy to make – all you need is some paper strips, scissors, glue, and a little imagination! You can also customize your web with different colors, patterns, and shapes. Plus, it’s an excellent way for kids to learn about spider webs, their structure, and the fascinating world of entomology.
As a parent or educator, you can encourage creativity and critical thinking by letting kids design and build their own paper spider webs. Who knows what amazing creations they’ll come up with?
Benefits of Paper Spider Webs for Kids
Engaging with paper spider webs is an enjoyable and educational experience for kids that has numerous benefits beyond just creating something visually appealing. For one, this activity helps develop fine motor skills, which are essential for everyday tasks like writing, drawing, and even tying shoelaces. Cutting out intricate patterns from paper requires precision and control, encouraging children to refine their hand movements.
Another significant advantage of making paper spider webs is the improvement in hand-eye coordination. Kids learn to match shapes and sizes, fostering spatial awareness and problem-solving skills. The act of arranging web components into a cohesive structure demands patience and attention to detail, honing their ability to visualize and bring ideas to life.
Paper spider webs also offer an excellent outlet for creativity, allowing children to express themselves through color choices, patterns, and design decisions. By experimenting with different materials and techniques, kids can explore various art forms, such as collage-making or paper folding, while nurturing their imagination and innovative spirit.
Materials Needed for a Paper Spider Web
Now that you’re excited to make your paper spider web, let’s get started on gathering all the fun materials you’ll need! You’ll be amazed at how easy it is to create this 3D masterpiece.
Essential Crafting Tools
When it comes to creating your very own paper spider web, having the right tools is essential. Let’s start with the materials you’ll need.
You can use a variety of papers for your spider web project, such as colored paper, patterned paper, or even newspaper. For the base of the web, a heavier weight paper like construction paper works well. You’ll also need some lighter weight paper for the delicate strands that connect the hub to the outer edges.
In addition to paper, you’ll need some basic crafting tools. Scissors are a must-have for cutting out your paper shapes and strips. A good pair of kid-friendly scissors will make it easy for little hands to cut along straight lines or curved ones.
Glue is another essential tool that will help you stick your paper strands together, creating the intricate web design. You can use white glue, school glue, or even a spray adhesive for added strength. Don’t forget some tweezers, which will come in handy when placing individual strands and ensuring they’re evenly spaced.
Finally, have fun experimenting with different shapes, sizes, and colors to create your unique paper spider web masterpiece!
Optional Embellishments for Added Fun
Now that you have your paper spider web all set up, it’s time to think about some fun ways to decorate and customize it! You can use a variety of materials to add extra details and make your web truly one-of-a-kind.
Try adding some glitter or sparkly paint to give your web a shiny, magical look. You could also use different colors or patterns of construction paper to create a unique texture and design. Some other ideas include using yarn or string to create thicker threads, or even adding small decorations like beads, sequins, or stickers.
If you’re feeling really creative, why not try making your own spider web pattern? You could draw inspiration from real-life spider webs or experiment with different shapes and designs. This is a great opportunity to practice your drawing skills and let your imagination run wild.
Step-by-Step Guide: Making a Paper Spider Web
Now that you’ve learned about spider webs and how they’re made, let’s get creative and make one using paper! Here’s exactly what you need to do.
Preparing the Web Base
It’s time to start building our spider web! Let’s get started with creating the base of our web using paper strips and glue. To do this, you’ll need a piece of cardboard or a Styrofoam plate as a base. Cut it into a circle or an oval shape to resemble a spider’s web.
Now, grab some strips of paper – white or any other color you like! You can use scissors to cut them evenly, but if you’re feeling fancy, try using a paper cutter for straight edges. Apply a small amount of glue to the strip and attach it to the base, starting from the center and working your way outwards.
Here’s a pro tip: try to space the strips equally apart by counting how many spaces you have between each one. You can use a ruler or a measuring tape to help you get even spacing. For example, if you’re using 10 strips, leave about half an inch of space between each one. This will give your web a neat and organized look.
Remember, the base is the foundation of our spider web, so make sure it’s sturdy enough to hold all the strands we’ll add later. Once you’ve completed the base, let it dry completely before moving on to the next step. Now, get creative and have fun!
Adding Radial Lines and Patterns
Now it’s time to add some personality to our web! Radial lines and patterns are a great way to make your spider web look more realistic and interesting. Let’s explore different techniques and designs you can use.
To create radial lines, start by folding the center of your paper web outwards towards the edges. You can use your fingers or a blunt tool like a pencil to gently press down on the folds as you go. This will create a series of gentle curves that radiate from the center of the web. Experiment with different fold patterns and pressures to achieve the desired effect.
For patterns, try using a marker or colored pencil to draw radial stripes, zigzags, or even a spider’s signature! You can also use glue or tape to attach small beads, sequins, or other materials in a pattern that adds texture and visual interest. Remember, the key is to have fun and be creative – there’s no right or wrong when it comes to designing your paper spider web!
Tips: Try using different colors or textures for each radial line or pattern to create contrast and depth. You can also use a ruler or other straight edge to draw precise lines if you prefer a more symmetrical look.
Finishing Touches: Adding Spiders and More
Now that you’ve created the foundation and added some delicate strands to your paper spider web, it’s time to add the finishing touches. This is where you get to bring your design to life with the help of some tiny paper spiders.
To create these spiders, cut out small circles from black construction paper for their bodies and use a marker or paint to draw on six legs, two beady eyes, and an antenna on each side of their head. You can also add some dimension by gluing on a small piece of black paper for the spider’s abdomen. Once you have your spiders ready, start placing them in strategic locations throughout your web design.
Remember, these tiny arachnids are meant to be part of your web’s narrative, so don’t be afraid to get creative with their placement and positioning. You can create a sense of movement by having some spiders crawling on the strands or others perched at the center of the web. Experiment with different poses and arrangements until you achieve the look you want.
Finally, take a step back and admire your handiwork! With your spiders in place, your paper spider web is now ready to be admired and displayed for all to see.
Variations and Tips for Making a Paper Spider Web
Now that you’ve made your paper spider web, let’s get creative! We’ll show you some cool variations to make it even more unique and fun.
Themed Webs: Halloween, Spring, or Holiday Editions
Creating themed spider webs is a great way to get kids excited about different holidays and seasons. For instance, you can make a Halloween-themed web by using orange and black construction paper to create a spooky ambiance. Add some plastic spiders or fake bats to give it an eerie feel.
For spring, you can use pastel colors like pink, blue, and yellow to create a bright and cheerful web. You can also add some artificial flowers or greenery around the web to make it look like a garden spider’s home.
During holidays like Christmas, you can use red and green paper to create a festive web. Add some glitter or stickers to give it a more luxurious feel. Easter-themed webs can be created using pastel colors with Easter eggs or bunnies placed strategically within the web.
When making themed webs, remember to involve your child in the creative process. Let them choose the colors and decorations that fit the theme they’re interested in. This will not only make the experience more enjoyable but also help them learn about different holidays and seasons.
Large-Scale Web Creations
Making a large paper spider web can be a fun and creative project for kids, but it requires some extra planning and materials. If you’re looking to create a stunning room decoration or even hang one up in public spaces like schools or libraries, here are some tips to help you get started.
First, you’ll need a larger piece of paper or cardstock that can be easily manipulated into a bigger web shape. Consider using a cardboard base or a large piece of foam board to support the structure and prevent it from collapsing. You’ll also need more glue and string or yarn for the web design. Start by creating a pattern with string or yarn on a larger grid, which will help you achieve symmetrical results.
When building the web, use long strips of paper to create radial lines radiating outwards from the center. You can decorate your spider web with colored pencils, markers, or stickers for added visual appeal. To add some extra dimension, try layering smaller webs on top of a larger one or incorporating other materials like beads, sequins, or even recycled materials.
With these simple tips and more paper, you’ll be well on your way to creating an impressive display that kids (and adults!) will love admiring.
Displaying and Preserving Your Handiwork
Now that you’ve made your spider web from paper, it’s time to show it off! We’ll share some fun ideas for displaying and preserving your creation so it stays beautiful for years to come.
Display Ideas: Showcasing Your Artwork
When you’ve finished creating your spider web from paper, it’s time to showcase your masterpiece! There are many ways to display your artwork, and the options are endless. Let’s start with some of the most popular ideas.
Framing is a great way to add a professional touch to your work. You can choose from various frame styles and sizes to match your web’s unique shape and design. Make sure to use acid-free materials to preserve the paper for years to come. For example, you could frame your spider web using a simple white frame or get creative with a decorative border.
Another way to display your artwork is by using a shadow box. This type of frame allows you to add depth and dimension to your piece. You can include other elements like leaves, twigs, or even a small toy spider to create a 3D effect. This is especially fun if you have a favorite storybook character that fits within the web’s design.
If you’re feeling crafty, you could also create a mobile or a wind chime using your finished spider web. Simply attach the paper pieces to a wire hanger or a metal ring and hang it from a window or a porch. This will add a playful touch to any room in the house.
Remember to display your artwork in a spot where it can get plenty of natural light, but not direct sunlight which can cause fading over time. With a little creativity, you’ll be able to showcase your spider web proudly and enjoy it for years to come!
Preserving Your Masterpiece
Your beautiful paper spider web is finally complete, but now it’s time to think about preserving it so it can last for a long time. Just like real spider webs are delicate and require special care, your papercraft masterpiece needs some TLC too.
To start, make sure the web is completely dry before handling it. You can use a hairdryer on a low setting to speed up the drying process. Once it’s dry, gently lay it flat on a clean surface or between two sheets of paper towels to prevent creases and flatten out any wrinkles.
Avoid exposing your papercraft spider web to direct sunlight, moisture, or extreme temperatures, as these can cause it to deteriorate quickly. If you need to store the web for an extended period, consider placing it in an airtight container filled with silica gel packets to keep the air dry and prevent mold growth.
To add an extra layer of protection, you can apply a clear acrylic spray or varnish specifically designed for paper crafts. This will help shield your spider web from dust, fingerprints, and other environmental factors that might damage it over time.
Encouraging Creativity with Paper Spider Webs
Let’s get creative! In this fun and easy activity, we’ll show you how to inspire your child’s imagination while making a beautiful paper spider web that will amaze them.
Tips for Adults: Guiding Children’s Creativity
When working with children on paper spider web crafts, it’s essential to remember that their creativity and imagination should be encouraged and nurtured. As an adult guiding them through this activity, you play a crucial role in fostering their artistic expression.
To do so effectively, start by observing your child’s interests and strengths. Are they fascinated by spiders or nature? Encourage this curiosity by allowing them to design the spider web according to their vision. This could mean adding more intricate details, experimenting with different colors, or even incorporating other materials like glitter or stickers.
As you work alongside your child, ask open-ended questions that prompt their creative thinking. For instance, “What do you think a spider’s home would look like?” or “How can we make this web more interesting?” This not only sparks imagination but also develops problem-solving skills and critical thinking.
Remember to step back and let your child take the lead sometimes. Allow them to make mistakes and learn from them – it’s all part of the creative process. By doing so, you’ll be empowering their confidence and creativity, making this activity a truly enjoyable and rewarding experience for both of you.
Making It a Group Activity: Collaboration and Sharing
Making it a Group Activity: Collaboration and Sharing
When working on a paper spider web project with kids, it’s essential to make it a collaborative effort. Not only will this encourage teamwork and social skills, but it’ll also foster creativity and imagination. To start, gather the children together and explain that you’re going to create a massive spider web using paper strips.
Explain the concept of symmetry and how it applies to the web’s design. This is an excellent opportunity for kids to learn about mathematics in a fun way. Assign each child a specific section of the web to work on, and have them take turns adding their own unique twist to their portion. Encourage them to experiment with different colors, patterns, and textures.
As they work together, circulate around the group and ask open-ended questions that’ll spark creativity. For example, “What if we added some glitter to the web’s center?” or “How would our spider feel if it had a rainbow-colored abdomen?” This will not only stimulate their imagination but also help them think outside the box.
To take it a step further, consider setting up a “web station” with various materials and tools for kids to use. This could include scissors, glue, tape, and an assortment of colorful paper strips. Encourage them to move around the station, exploring different textures and colors as they create their portion of the web.
As you work together on this massive project, remember to praise and appreciate each child’s contribution. Highlighting their individual efforts will not only boost their confidence but also encourage others to participate more actively in the group effort.
Frequently Asked Questions
Can I use different types of paper for the spider web craft?
You can experiment with various textures and colors to add depth and visual interest to your paper spider web. Construction paper, watercolor paper, or even newspaper can work well. Just ensure that the paper is sturdy enough to hold its shape after gluing.
How long does it take to complete a paper spider web craft for kids?
The completion time will depend on the age and skill level of your child. For younger ones (ages 4-6), it may take around 30 minutes to an hour, while older kids can finish within 15-20 minutes with minimal supervision.
Can I make a large-scale paper spider web for display purposes?
Yes, you can create larger webs using thicker paper or cardstock, perfect for framing or hanging on a wall. Consider adding a border or a decorative frame to enhance the overall appearance.
What are some ideas for displaying and preserving my child’s paper spider web masterpiece?
Encourage your child to display their artwork in a place of pride, such as above a desk or bed. You can also consider laminating or framing the web to preserve it for years to come. Don’t forget to take photos to capture the process and share with family and friends!
Can I adapt this craft for children with special needs or abilities?
Absolutely! The paper spider web craft is highly adaptable and can be modified to suit various learning styles and abilities. You can use larger paper sizes, thicker materials, or even provide pre-cut shapes to accommodate different skill levels.