
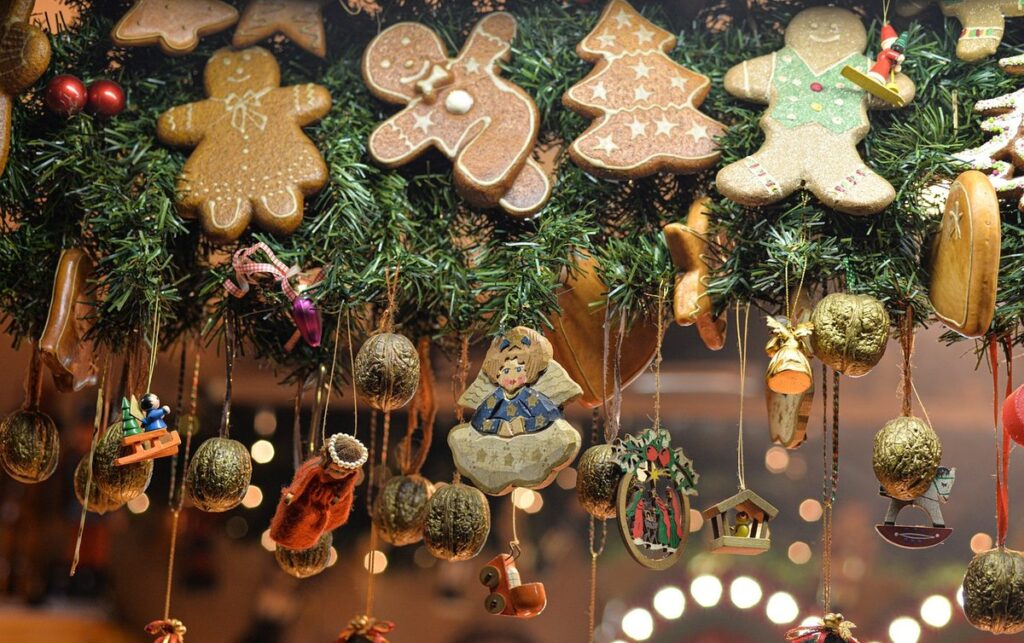
Winter is here, and with the shorter days and colder temperatures, kids might be feeling cooped up and restless. As parents, we want to help our little ones stay engaged, creative, and happy during this time of year. That’s where winter children’s crafts come in – a fun and easy way to combat seasonal affective disorder (SAD) while promoting creativity and self-expression. In this article, we’ll explore some engaging DIY projects that use everyday materials like paper, paint, glue, and natural elements. From festive decorations to imaginative play activities, our winter children’s crafts will help your kids feel a sense of accomplishment and pride in their creations. We’ll show you how to make the most of this snowy season with fun and easy projects that are perfect for kids of all ages.
Introduction to Winter Crafts
Winter is finally here, and it’s time to get creative with your little ones! In this next part of our winter crafts series, we’ll explore some delightful projects to make at home.
Benefits of Engaging in Artistic Activities During Winter
Engaging in artistic activities during winter can have a profound impact on children’s mental and emotional well-being. One of the primary benefits is its ability to combat Seasonal Affective Disorder (SAD). This condition affects many people during the darker months, causing feelings of sadness and lethargy. Arts and crafts can help alleviate these symptoms by providing a much-needed boost of creativity and self-expression.
When children participate in winter crafts, they experience a sense of accomplishment and pride in their creations. This confidence builder is essential for developing problem-solving skills and fostering a growth mindset. For instance, try setting up a cozy crafting station with materials like glitter, beads, and paint, and let the kids create their own winter-themed decorations.
As children engage in these activities, they’re also encouraged to explore their imagination and think creatively. This freedom of expression can help reduce stress and anxiety, common companions of SAD. By making arts and crafts a regular part of your winter routine, you’ll be providing your child with a fun and engaging way to combat the blues.
Preparing for Winter Crafts: Essential Supplies and Materials
When it comes to creating beautiful winter-themed crafts with kids, having the right supplies and materials is essential. Let’s start with the basics: paper! You’ll need a variety of papers, including cardstock, construction paper, and possibly even some specialty papers like glitter or foil-backed paper.
In addition to paper, glue is another crucial supply that will be used extensively in winter crafts. White school glue, hot glue, and even glue sticks are all useful for different projects. Scissors are a must-have, of course, as well as various shapes and sizes of craft knives for more advanced cutters.
Paints and markers come next on the list. Watercolor paints or tempera paint are great options for kids to get creative with. Don’t forget about washable markers, which are perfect for fine details and designs. Other materials like glitter, stickers, and sequins can add a touch of magic to any winter craft.
When stocking up on supplies, consider the specific project you’re working on and gather only what’s needed. This will save space and money in the long run. And remember, always supervise young children when handling scissors, glue, and other potentially hazardous materials.
Seasonal Nature Crafts
Get creative with nature-inspired winter crafts that bring the outdoors into your home, perfect for kids to enjoy during the cold and cozy season.
Creating Snowflake Decorations with Paper and Scissors
Making intricate snowflakes is a classic winter craft that kids love, and with just a few simple tools, you can create beautiful decorations for your home. To start, take a square piece of paper, preferably white or colored, and fold it in half diagonally to create a triangle.
Next, open the paper back up and fold it in half again, creating another diagonal crease that intersects with the first one. This will give you four even triangles within the paper. Take each corner of the paper and fold them in towards the middle crease, making sure they align with the center point.
Now, here’s where the magic happens – start cutting along the folded edges of your snowflake, being careful not to cut all the way through. You can use scissors or a craft knife, depending on your preference. The key is to keep the cuts symmetrical and consistent for a uniform pattern.
Try experimenting with different folding techniques, such as accordion folds or reverse folds, to create unique designs. Encourage your kids to get creative with their snowflake patterns – they might discover new techniques by accident!
Making Winter Wonderland Scenes with Natural Materials
Creating a winter wonderland scene using natural materials is a fun and creative activity for kids. To start, gather pinecones, twigs, dried flowers, and evergreen branches from your backyard or a nearby park. You’ll also need some decorative rocks or small pebbles to add depth and texture to your design.
Begin by filling the bottom of a glass container or frame with a layer of decorative rocks. This will provide a base for your scene and help prevent the other materials from getting soggy if you’re using water in your design. Next, arrange the pinecones and twigs to create the main structure of your scene. You can use glue to attach them to the container or frame if needed.
To add some color and interest, sprinkle dried flowers around the pinecones and twigs. Finally, add some evergreen branches to give your scene a lush, wintry feel. Consider adding other natural materials like acorns, berries, or small sticks to create a more detailed and engaging design. With a little creativity, you can create a beautiful winter wonderland scene using just these simple, natural materials.
Indoor Craft Projects for Cold Weather
Get creative and cozy indoors this winter, because we’ve got a ton of fun and easy craft projects perfect for kids to enjoy on chilly days. From painting to paper crafting, there’s something for every little maker!
Finger Painting: Winter Landscapes and Animals
Finger painting is an excellent way to encourage children’s creativity during the cold winter months. To create stunning winter landscapes and animals, you’ll want to experiment with various techniques.
Start by introducing basic color mixing methods. Demonstrate how to blend red and blue to create purples, and green and yellow to make browns. This will allow your little ones to achieve a range of colors, from icy blues to earthy tones. You can also use household items like shaving cream or salt to add textures to their artwork.
For winter-themed subject matter, encourage children to paint snow-covered trees, frosty landscapes, or even cuddly animals like penguins and polar bears. To create realistic fur textures, suggest they mix paint with a small amount of white glue. This will help them achieve the perfect blend of softness and definition.
Remember to let your child’s imagination run wild! Finger painting is all about experimentation and exploration. Encourage them to try new techniques, mix colors in unexpected ways, and watch their winter wonderland come alive on paper.
Paper Plate Reindeer and Snowmen Crafts
Transforming paper plates into festive reindeer and snowmen decorations is a great way to keep kids entertained on a cold winter day. With just a few simple materials like glue, markers, and scissors, you can create adorable and eco-friendly crafts that will add some holiday cheer to your home.
To make a reindeer decoration, start by cutting out antlers from black construction paper and gluing them onto the top of the plate. Use a marker to draw on eyes, a red nose, and a tongue for a playful touch. Add some cotton balls for a fluffy effect, and you’ve got yourself a cute reindeer ready to pull Santa’s sleigh.
For snowmen decorations, use white markers to create buttons and a hat on top of the plate. Cut out small carrot noses from orange paper and glue them onto the plate. You can also add coal eyes made from black paper or small beads for an extra touch. To make your snowman stand upright, simply insert a toothpick into the bottom of the plate.
These fun and easy crafts are perfect for kids to get creative and enjoy some quality time with family on a cold winter day. So grab some paper plates and let the crafting begin!
Recycled Material Crafts
Get creative and crafty while being eco-friendly, as we explore some fantastic winter crafts made from recycled materials that kids will love. From old CDs to plastic bottles, transform waste into treasure!
Turning Old CDs into Winter-Themed Ornaments
Take old CDs and turn them into eye-catching winter ornaments with just a few simple materials. This creative project is perfect for kids to get involved in, teaching them about upcycling and reusing household items.
Gather the necessary supplies: a collection of old CDs, paint (acrylic or watercolor), glitter, stickers, glue, scissors, and any other embellishments you like. Start by cleaning the CDs thoroughly with soap and water to remove any dirt or residue.
Next, let your child’s creativity shine by decorating the CDs using paint, glitter, or stickers. You can draw snowflakes, pinecones, or even a winter wonderland scene on each CD. Use glue to add extra details like sparkly snow or glittery ice. If you’re feeling adventurous, try using stickers to create 3D effects.
Once your ornaments are complete, simply thread a piece of string or twine through the hole in the center of the CD and hang them up on the tree or in a window. This project is an excellent way to reuse old CDs and add some sparkle to your winter decor.
Creating Faux Snow with Shredded Paper and Glue
Creating a textured faux snow effect using shredded paper and glue is a fun and creative activity for kids to enjoy during the winter season. To start, you’ll need a few simple materials: shredded white paper, a canvas or picture frame, glue, and some decorations like glitter or small pinecones.
Begin by applying a thin layer of glue to the canvas or picture frame using a brush. Next, sprinkle shredded paper onto the glue, creating a textured snow effect. Encourage kids to experiment with different patterns and techniques, such as sprinkling more glue and paper on top for a layered look or using a comb to create a wavy design.
To add some extra depth to your faux snow, try adding a few drops of blue food coloring to the glue mixture before applying it to the canvas. This will give your creation a lovely icy hue reminiscent of real snow. Once the glue is dry, you can display your masterpiece on a shelf or use it as a fun backdrop for winter-themed decorations.
As kids work with shredded paper and glue, they’ll develop their fine motor skills and creativity while learning about textures and patterns.
Holiday-Themed Crafts
Get creative and cozy up with these fun winter-themed crafts that are perfect for kids of all ages to enjoy during the holiday season, from decorating ornaments to making snowflakes.
Making Handprint Reindeer for Christmas
Creating adorable handprint reindeer is a fun and easy holiday-themed craft that kids will love. To make one, you’ll need some basic supplies: paper, paint, glue, scissors, and a few other odds and ends.
Start by painting the child’s hand brown, making sure to cover their palm and fingers evenly. You can use either acrylic or tempera paint for this project – just be sure to let it dry completely before proceeding. Once the paint is dry, have your child press their hand onto a piece of paper to create the reindeer’s body.
Next, add some antlers by cutting out two small triangles from brown construction paper and gluing them above the head. You can also use felt or foam sheets for this step if you prefer. For the eyes, simply paint on two small black circles and add some white pupils with a fine-tip marker. Finally, have your child decorate their reindeer’s body with markers or glitter – get creative! This sweet handprint reindeer will make a lovely addition to any holiday display.
Creating a Family Tree Using Winter-Themed Ornaments
Creating a family tree using winter-themed ornaments is a fun and creative way to celebrate the holiday season with your kids. You can start by gathering materials such as small figurines of snowmen, penguins, or reindeer, which can represent different family members. Snowflakes, pinecones, and small evergreen branches can also be used to add a winter touch.
To create the tree structure, you can use a Styrofoam cone or a wire hanger covered with green paper or felt. Help your child place the ornaments on the tree in a way that represents their family relationships. For example, you can hang a snowman ornament at the top of the tree to represent parents, and then add smaller ornaments below it for siblings.
Remember to have fun and be creative! You can use glue, string, or other materials to attach the ornaments to the tree. Consider making the tree more personalized by using photos or handprint art to create custom ornaments. This project is a great way to teach your child about family relationships and how everyone fits together in their own unique way.
Safety Precautions and Tips for Parents
As you plan winter-themed crafts with your little ones, it’s essential to consider some crucial safety precautions and tips specifically designed for parents to ensure a fun and worry-free experience. Keep reading to learn what you need to know!
Choosing Safe Materials and Supplies for Kids
When it comes to winter children’s crafts, safety should always be top of mind. Choosing non-toxic materials and supplies is crucial to ensure that kids can enjoy their creative pursuits without putting their health at risk.
Begin by selecting paints, markers, and other art supplies made from natural ingredients or low-VOC (volatile organic compound) formulas. Some popular brands offer eco-friendly options, so be sure to read labels carefully before making a purchase. You can also make your own paint using household ingredients like flour, water, and food coloring for an added layer of safety.
In addition to art supplies, pay attention to the materials you use for craft projects. For example, avoid using glitter or sequins that contain small parts or sharp edges, which can be choking hazards. Opt for glue sticks instead of liquid glue, as they’re less likely to cause skin irritation. When crafting with paper and other materials, ensure they are free from lead, cadmium, and other toxic chemicals.
By taking these simple precautions, you can create a safe and healthy environment for kids to express their creativity during the winter months.
Encouraging Creativity While Minimizing Mess and Chaos
When working on winter-themed crafts with children, it’s essential to strike a balance between encouraging creativity and minimizing mess and chaos. To set up a safe and organized workspace, designate a specific area for crafting, such as a table or countertop, where kids can work without cluttering the rest of the room.
Cover your workspace with newspaper, a plastic tablecloth, or a splat mat to protect it from spills and stains. This simple step will save you from tedious cleanups later. Next, gather all materials and supplies in one place, making them easily accessible for children. Label each container or bin so kids can identify what’s inside.
To foster creativity while minimizing mess, introduce simple techniques like using washable paints or markers, which are easy to clean up if accidents happen. Encourage children to experiment with different textures and materials, such as glitter, stickers, or construction paper, in a contained environment. By providing a well-organized workspace and encouraging experimentation, you’ll help create a fun and creative atmosphere for kids to thrive in.
Frequently Asked Questions
What if my child has a sensory issue with certain materials, such as glue or paint?
It’s essential to consider your child’s unique needs when engaging in winter children’s crafts. If they have a sensory issue with a particular material, try substituting it with a similar alternative or exploring other creative projects that don’t involve those materials. For example, you can use water-based paints or opt for playdough instead of glue.
How can I adapt these winter crafts for younger toddlers who may not be able to follow instructions?
Younger toddlers love exploring and creating, but they often require more guidance and support. To adapt our winter crafts for this age group, focus on simple activities that promote sensory exploration, such as making snowflakes with pre-cut paper or creating a winter scene using large, soft blocks. Be prepared to engage with your child closely and provide hands-on assistance.
What’s the best way to store and display my child’s winter craft creations?
Encourage your child’s sense of pride by displaying their creations prominently in your home. Consider setting aside a dedicated space for winter-themed crafts or rotating them every few weeks to keep things fresh. You can also create a special “Winter Craft Album” where you and your child can document each project.
Can I use these winter crafts as a way to teach my child about science and nature?
Absolutely! Winter children’s crafts offer numerous opportunities to explore scientific concepts and natural elements, such as the life cycle of snowflakes or the properties of different materials. For example, you can discuss the concept of insulation using shredded paper and glue to create “faux snow,” or explore the science behind ice crystal formation when making snowflake decorations.
How do I balance creative freedom with safety precautions during winter crafts?
While it’s essential to allow your child’s creativity to shine through, safety should always be a top priority. Be mindful of potential choking hazards, such as small beads or loose materials, and ensure that all projects are conducted in a well-ventilated area. Encourage your child to think creatively while also considering the importance of safety.