
Are you looking for a fun and creative way to engage your kids in some hands-on learning? Look no further than making paper cobwebs! This simple yet effective activity not only develops fine motor skills but also encourages cognitive development and creativity. By getting their hands messy with paper and glue, kids can express themselves and explore the world around them. But that’s not all – paper cobwebs are a great way to introduce kids to essential concepts like architecture, design, and engineering in a fun and accessible way.
In this article, we’ll guide you through the process of making paper cobwebs with your kids. We’ll cover everything from preparing materials to creating intricate designs and patterns. With our easy-to-follow steps and tips, you can help your little ones develop their skills while having a blast at the same time!
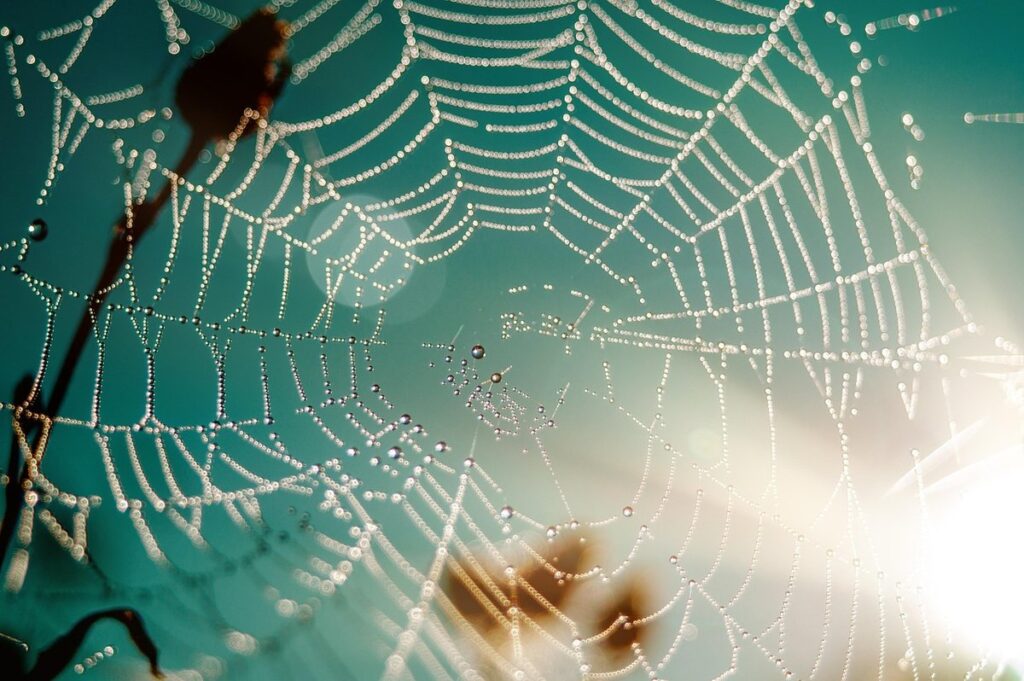
Introduction to Paper Cobwebs
Paper cobwebs are a fun and easy craft that can add a touch of magic to any room. Let’s learn how to make these sparkly webs together!
What are Paper Cobwebs?
Paper cobwebs are a fun and creative activity that has been delighting kids for centuries. Also known as paper chain garlands or paper link chains, they’re made by connecting strips of colored paper into intricate webs. The origins of paper cobwebs date back to ancient civilizations, where people used this technique to create decorative hangings and adorn their homes.
But why are paper cobwebs so popular among parents and educators today? For one, they encourage kids to get creative with their hands, developing fine motor skills as they cut, fold, and link the paper strips. Plus, making paper cobwebs is an excellent way to teach math concepts like patterns, shapes, and sequencing. Kids can also express themselves through color choice and pattern creation, fostering imagination and self-expression.
You don’t need any special materials to make paper cobwebs – just colored paper, scissors, glue or tape, and a surface to work on. You can find plenty of tutorials online that show you how to create different designs and patterns. With paper cobwebs, the possibilities are endless!
Benefits of Paper Cobwebs for Children
When children create paper cobwebs, they reap a multitude of cognitive, fine motor, and creative benefits that extend far beyond the craft itself. For one, this activity helps develop their problem-solving skills as they attempt to replicate the intricate patterns found in real spider webs. By experimenting with different shapes and sizes, kids learn to think critically and approach challenges from various angles.
As children engage in this hands-on activity, they also improve their fine motor dexterity. The delicate task of weaving strands together requires precision and control, honing their ability to manipulate small objects and develop hand-eye coordination. This skill is essential for everyday tasks like tying shoelaces or buttoning shirts.
Moreover, making paper cobwebs encourages children’s creativity and imagination. They can choose various colors, textures, and patterns to create unique designs that reflect their individuality. By exploring different combinations, kids discover the value of experimentation and the beauty of imperfection. To maximize these benefits, encourage your child to repeat this activity regularly, experimenting with new materials and techniques each time.
Materials Needed to Make Paper Cobwebs
To get started making your own paper cobwebs, you’ll need some basic supplies that are easy to find at home or in an art supply store. Let’s take a look at what you’ll need!
Basic Materials Required
To start making your very own paper cobwebs, you’ll need some basic materials. Don’t worry; they’re easily available at home or can be found at a craft store.
First and foremost, you’ll need various types of paper. You can use printer paper, notebook paper, or even newspaper to create different textures and effects in your cobweb design. It’s essential to have a variety of papers because they will allow you to experiment with different patterns and designs.
Next up are the scissors. You’ll need a good pair of sharp, kid-friendly scissors for cutting out shapes and strips of paper. Don’t forget to also grab some glue – white school glue or a hot glue gun can work well depending on your design.
Other necessary tools include a pencil or marker for drawing guides, a ruler for straight cuts, and a surface to work on that’s protected from messes. You might also want to have a few old CDs or straws handy to help you create the web-like structure of your design.
Optional Embellishments for Extra Fun
Now that you’ve created your paper cobwebs, it’s time to think about adding some extra flair! Optional embellishments can really take your project to the next level and make it even more fun for kids. Let’s talk about some materials you can use to add color, texture, or interest to your paper cobwebs.
You could try using glitter – a classic choice that never goes out of style. Simply sprinkle a pinch over your cobwebs and watch as they sparkle in the light. Alternatively, you could use sequins for a more dramatic effect. These shiny discs can be stuck onto your web using glue or tape, adding a touch of luxury to your design.
If glitter or sequins aren’t quite your thing, why not try using stickers? They come in all shapes and sizes, from creepy crawlies to flowers, and can add a fun surprise to your cobwebs. You could also experiment with other materials like beads, pom-poms, or even yarn – the possibilities are endless!
Remember, the key is to have fun and be creative. Encourage kids to get involved in choosing the embellishments and experimenting with different combinations.
Step-by-Step Guide to Making Paper Cobwebs
Now it’s time to get creative and messy! In this section, we’ll walk you through making your very own paper cobwebs using just a few simple materials.
Preparing the Workspace
Before we dive into the fun part – creating our paper cobwebs – let’s make sure we have a comfortable and safe workspace set up. This will help us stay focused and avoid distractions that can come with working on a creative project.
First, find a flat surface to work on, like a table or countertop. Make sure it’s clear of any clutter or obstacles that might get in the way of our paper cobwebs. Now, let’s talk about seating – we want to make sure you’re comfortable while creating your masterpiece! Consider using a chair with good back support, and take breaks if you need to stretch your legs.
To minimize distractions, try working in a quiet room or area where you can focus without interruptions. Turn off the TV, put away your phone, and ask family members or friends to give you some space while you work. We’ll also provide some tips on how to stay focused later in our guide, but for now, let’s get settled in and ready to create!
Creating the Web Base
Creating the web base is one of the most exciting parts of making paper cobwebs! It’s where you get to see your web start to take shape. To create the foundation of your web, you’ll need a few strips of paper or other materials, depending on what you’re using.
First, lay down two long strips of paper parallel to each other on a flat surface. These will be the base of your web. Make sure they’re straight and evenly spaced – you can use a ruler or measuring tape to help with this. Next, take another strip of paper and place it perpendicularly across the two base strips, creating an “X” shape.
The key is to be patient and pay attention to detail here. If your base strips aren’t perfectly aligned, it can throw off the entire web when you start adding more details. To make sure everything is even, try folding a small crease in one of the base strips before attaching the perpendicular strip. This will help guide it into place.
Remember, making paper cobwebs is all about having fun and experimenting with different designs! Don’t be afraid to get creative and try new things – you can always adjust your web as you go along.
Tips and Variations for Paper Cobwebs
Want to add some extra magic to your paper cobwebs? Let’s explore some fun tips and variations to make them even more special!
Encouraging Creativity and Imagination
Encouraging creativity and imagination is key when it comes to making paper cobwebs. You want your kids to have fun while exploring their artistic side, experimenting with different designs, patterns, and colors.
To get them started, try not having a plan or preconceived idea of what the final product should look like. This will allow them to think freely and come up with something entirely new and unique. You can also ask open-ended questions like “What do you think this spider web would look like if it were made out of rainbows?” or “How could we make this web glow in the dark?”
Another great way to encourage creativity is by giving them a variety of materials to work with. Cardstock, tissue paper, and even old book pages can add texture and interest to their design. Don’t be afraid to get messy – let them experiment with different colors, folding techniques, and layering methods.
Some fun ideas to try include making 3D spider webs using cotton balls or pom-poms, or creating a “spider’s lair” by decorating a small box or container with glittery paper. The possibilities are endless, so sit back, relax, and let their imagination run wild!
Adapting the Activity for Different Age Groups
When working with different age groups, it’s essential to adapt the paper cobwebs activity to meet their unique needs and skill levels. For toddlers, start by using pre-cut shapes and gluing them onto a large piece of paper. This will help them develop their fine motor skills while creating a simple cobweb design.
As preschoolers progress, you can introduce more complex shapes and colors. Encourage them to experiment with different textures and patterns, such as glitter or stickers. This age group can also learn about basic fractions by dividing the paper into sections for each cobweb strand.
Elementary school students can take it a step further by creating more intricate designs using smaller shapes and multiple colors. They can also practice math concepts like measurement and geometry while designing their cobwebs. To add an extra challenge, consider setting specific parameters, such as a limited color palette or a minimum number of strands. This will help them develop problem-solving skills and think creatively.
Remember to provide guidance and support according to each age group’s needs, ensuring everyone has a fun and engaging experience with paper cobwebs!
Displaying and Preserving Paper Cobwebs
Now that you’ve created your amazing paper cobwebs, let’s talk about how to display them proudly and keep them looking their best for years to come!
Display Ideas for Kids’ Artwork
Displaying children’s artwork is not only a way to encourage their creativity but also to create a sense of pride and accomplishment. As you’re busy preserving those delicate paper cobwebs, why not give the same love to their artwork? Here are some display ideas that will help you showcase your little one’s masterpieces.
Framing is an excellent option for kids’ artwork, especially if it’s a 3D piece or has sentimental value. You can choose frames in various shapes and sizes to match the artwork’s style. For example, a wooden frame with a rustic finish would complement a nature-inspired drawing. If you’re not into framing, consider mounting their art on a canvas board or even a repurposed piece of wood.
Creating a gallery wall is another fantastic way to display multiple pieces at once. Group similar artwork together by color, size, or theme, and don’t be afraid to mix it up with frames of different styles. You can also use a large blank wall as a “gallery” and attach the artwork using adhesive putty or command strips for easy removal.
Remember, displaying kids’ artwork is not just about showcasing their creations but also about making them feel special. So go ahead, get creative, and make it a fun family project!
Long-Term Preservation Methods
So you’ve created your beautiful paper cobwebs and now it’s time to think about preserving them for years to come. This is where things can get a bit tricky, but don’t worry, we’ve got some simple methods that will help keep your artwork looking its best.
One popular method is lamination. You can take your paper cobwebs to a local copy shop or do it at home with a laminator. Laminating protects the surface from dust and moisture, making it easy to clean and display for years. However, be sure to use a good quality laminate that is acid-free and won’t yellow over time.
Another option is glazing, which involves applying a thin layer of varnish or acrylic spray to protect the paper cobwebs. This method not only protects against dust and moisture but also gives your artwork a beautiful glossy finish.
Using acid-free materials from the start can also help preserve your paper cobwebs in the long run. When handling any type of paper, it’s essential to use gloves to prevent oils from your skin getting transferred to the surface, which can cause damage over time. By using acid-free materials and following these preservation methods, you’ll be able to enjoy your artwork for years to come.
Frequently Asked Questions
How can I encourage my child to explore different designs and patterns in their paper cobwebs?
Encourage experimentation by providing a variety of colored papers, scissors, and other materials. You can also show examples of intricate web designs or ask your child to replicate a specific pattern. Remember, the goal is to foster creativity, so don’t worry too much about perfection! As they work on different designs, be sure to praise their efforts and imagination.
Can I use paper cobwebs as a way to teach my child about STEM concepts like gravity and tension?
Absolutely! You can explain how the web’s structure relies on tension between individual links to hold its shape. To make it more engaging, try creating a scenario where you “break” a part of the web and ask your child to come up with ways to repair it without collapsing the entire structure.
What are some tips for working with younger children who may struggle with fine motor skills?
For young children, consider using larger paper strips or pre-cut shapes. You can also try using glue sticks instead of liquid glue, which tend to be easier to manage. Be patient and encourage them to take breaks if their hands get tired.
How can I store and display my child’s finished paper cobwebs without damaging the artwork?
To preserve your child’s creations, consider laminating or framing their work. You can also display them in a dedicated area of your home where they can be admired by family members. When it comes to storing them, opt for acid-free materials like folders or albums that will help maintain the paper’s quality.
What are some ways I can adapt this activity for children with special needs or abilities?
Adaptations may include using assistive technology like adaptive scissors or providing additional support for fine motor skills. You can also modify the task to focus on specific skills, such as counting and color recognition. Most importantly, be open to feedback from your child about what works best for them!