
Fall is in the air, and with it comes a whole lot of creativity! As a parent or caregiver, you know how much fun your little ones have when they’re making art. This season, why not take that excitement to the next level by exploring some amazing pumpkin painting ideas for kids? Not only will this activity get them thinking creatively, but it’ll also make their homes look like a cozy fall wonderland. From whimsical woodland scenes to playful animal friends, we’ve got you covered with a range of techniques and display tips to inspire your mini artists. In this article, we’ll dive into the world of pumpkin painting inspiration for kids, sharing our top picks for designs, materials, and presentation ideas that are sure to spark their imagination.
Getting Started with Pumpkin Painting
Get creative with pumpkin painting by starting small – begin with basic techniques, tools, and supplies to make your masterpiece a reality. Let’s dive into the fundamentals!
Choosing the Perfect Pumpkins
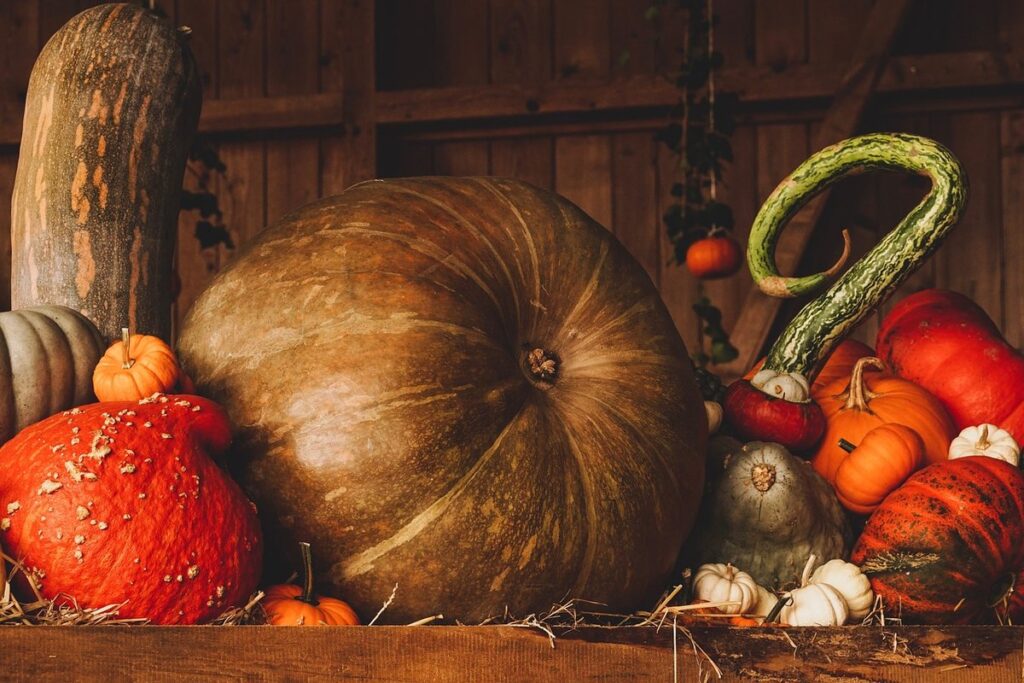
When it comes to pumpkin painting with kids, choosing the perfect pumpkin is crucial for a successful and enjoyable project. The size, type, stem length, and texture of the pumpkin all play important roles in determining its suitability for painting.
Let’s start with size: larger pumpkins can be more challenging to paint, especially for younger children, as they require more surface area to cover. On the other hand, smaller pumpkins may not provide enough space for creative designs. Consider a medium-sized pumpkin (around 10-15 pounds) for most kids’ projects.
In terms of type, there are several options available: sugar pie, jack be little, and Connecticut field are popular choices for painting due to their smooth, hard rinds that take paint well. Avoid pumpkins with soft or bumpy skin, as these can be difficult to paint evenly.
When selecting a pumpkin, also consider the stem length – longer stems make it easier to hang the painted pumpkin on display, but shorter stems won’t affect the overall design.
Preparing Your Workspace
Before you and your little artist get started with pumpkin painting, it’s essential to prepare your workspace for a fun and mess-free experience. Begin by covering all the surfaces that you don’t want to get paint on, such as tables, countertops, or floors. You can use old sheets, newspaper, or plastic tablecloths to create a protective barrier.
Next, gather all the necessary supplies within arm’s reach. This will save you from having to stop and search for items in the middle of painting. Make sure your child is dressed in an old shirt or smock that can get stained, as this will make clean-up much easier later on. You’ll also need a variety of paintbrushes, sponges, and other tools for creating different textures and effects.
Finally, take a minute to explain the concept of messiness to your child and what to expect during the painting process. Encourage them to be creative and have fun with it! With these simple steps, you’ll be well-prepared for a fun and memorable pumpkin-painting experience that will leave everyone smiling.
Fall-Themed Painting Ideas
Get creative and let your little ones’ imagination run wild with these fun and easy fall-themed painting ideas that are perfect for kids. From pumpkins to leaves, we’ve got you covered!
Whimsical Woodland Scenes
Create enchanted woodland scenes on your pumpkin using natural elements like leaves, twigs, and pinecones. This adds a magical touch to your design while connecting kids with the great outdoors.
To start, gather materials such as real or artificial leaves, small twigs, and pinecones in various shapes and sizes. You can also use paint to mimic these textures and colors. Use a reference image of a forest floor or woodland scene to get inspiration for placement and arrangement.
Begin by painting a simple background color on your pumpkin to resemble the sky or earth. Next, add leaves to the design using a small brush or sponge. Start with large leaves at the bottom and work your way up, overlapping them slightly for a more realistic look.
Incorporate twigs and pinecones to create depth and interest in your scene. You can use a hot glue gun to attach these elements to the pumpkin if needed. To add some whimsy, try arranging the natural elements to resemble animals or shapes, like a squirrel’s tail or a rabbit’s ears.
Vibrant Harvest Motifs
Painting pumpkins with harvest-themed designs is a great way to get kids involved in the autumn spirit. Imagine a bright orange pumpkin adorned with colorful grapes and leaves, symbolizing an abundance of fruit and foliage. Or, picture a cornucopia overflowing with juicy apples, perfectly ripe pears, and plump, red tomatoes.
To create these vibrant harvest motifs, start by sketching out your design onto the pumpkin using a pencil or paint pen. Consider incorporating a variety of fruits and vegetables that are in season during fall, such as acorns, squash, or pumpkins themselves. You can use stencils or freehand it – whatever works best for you and your little ones.
For a fun twist, try using a combination of bright colors and textures to make the design pop. For example, paint a large, red apple with yellow and green stripes, then add some fluffy brushstrokes to give it a soft, textured look. Don’t be afraid to get creative and experiment with different techniques – after all, that’s half the fun!
Animal Friends on Pumpkins
Let’s get creative with adorable animal friends on pumpkins, where kids can imagine and paint their favorite woodland creatures amidst fall foliage.
Cuddly Cats and Dogs
When it comes to painting animal faces or silhouettes on pumpkins, kids love creating adorable and playful designs. But to make them truly special, try capturing the unique personalities of cuddly cats and dogs.
To start, think about what makes your pet stand out – is it their bright green eyes or silly grin? Or perhaps it’s their laid-back demeanor or energetic personality. Take note of these distinctive features when planning your design. For example, a happy-go-lucky golden retriever might have a smiling face with bold brushstrokes and playful textures.
When painting the animal’s silhouette, consider using simple shapes to create a sense of movement or energy. A running cat, for instance, could be depicted with curved lines and dynamic colors. Remember, it’s all about capturing the essence of your pet – not just their physical appearance.
For kids who struggle to draw realistic features, try focusing on expressive and exaggerated elements like big eyes, floppy ears, or wagging tails. These characteristics will make your design instantly recognizable and lovable, just like the real animal!
Whimsical Woodland Creatures
Let’s transport ourselves to an enchanted woodland where magic reigns supreme. Who wouldn’t want to paint their pumpkin with a whimsical woodland creature? It’s time to get creative and bring these fantastical friends to life!
Imagine painting a delicate fairy perched on a lily pad, surrounded by vibrant flowers or a majestic unicorn prancing through the forest, its horn shining bright against the foliage. You can even incorporate other mythical beings like dragons, mermaids, or phoenixes into your design.
To get started, gather a variety of brushes, paints, and stencils that evoke the colors and textures of nature. Consider using pastel hues to give your creature an ethereal quality. For example, paint a unicorn’s mane with gentle sweeps of pale pink and lavender. Add some sparkle with glitter or metallic paint for an extra touch of magic.
As you design, think about where in the forest your creature might live. Does it dwell in a sunny meadow or under the canopy of ancient trees? Let the whimsy guide your brushstrokes as you bring this woodland wonder to life on your pumpkin!
Creative Techniques and Tips
Now that you’ve got some amazing pumpkin painting ideas, let’s dive into some creative techniques to take your masterpieces to the next level. We’ll share our favorite tips and tricks for kids of all ages!
Stencils and Stampers
When it comes to creating intricate designs on pumpkins, stencils and stampers are amazing tools that can help kids unleash their creativity. Stencils are perfect for achieving crisp, clean lines and symmetrical patterns. You can find stencils in various shapes and sizes at craft stores or online. For example, you can use a pumpkin stencil to create a festive jack-o’-lantern design.
Stampers, on the other hand, add texture and depth to your designs. Kids love using stampers to create fun patterns like polka dots, stripes, or even letters and numbers. You can use foam, wood, or rubber stampers in different shapes and sizes. To use a stamper, simply dab it onto paint and stamp it onto the pumpkin.
To combine both techniques, try using a stenciled design as a base and then adding texture with a stamper on top. This will add an extra layer of visual interest to your pumpkin. For instance, you can stencil a simple jack-o’-lantern face and then use a stamper to create textured eyebrows or a mouth. Experimenting with different stencils and stampers is all about having fun and getting creative!
Painted Patterns and Swirls
Get creative with painted patterns and swirls on your pumpkin! This technique is perfect for kids who love making messes (in a good way!) and want to add some extra flair to their jack-o-lantern.
To create striped designs, start by using stencils or painter’s tape to create straight lines on the pumpkin. Then, paint over the lines with your chosen color, allowing each stripe to dry before adding more stripes. For a marbled effect, drizzle different colors of paint onto the pumpkin and use a toothpick or small tool to swirl them together.
Polka dots are another fun design that’s easy to create using a small dotting tool or even just the end of a wooden skewer. Simply dab on small dots all over the pumpkin in your chosen color, spacing them out evenly for a uniform look. You can also use a sponge brush to create swirly designs by dripping paint onto the pumpkin and then spreading it around with the brush.
Remember, the key to creating these patterns is to let the paint dry completely between layers, allowing each design element to set before adding more color. This will help prevent any bleeding or smudging of colors. Encourage your kids to experiment with different techniques and see what kind of unique designs they come up with!
Displaying Your Masterpiece
Now that you’ve finished painting, it’s time to show off your masterpiece! Let’s talk about creative ways to display your artwork proudly in your home.
Display Ideas and Arrangements
Once you and your little ones have finished painting their masterpieces, it’s time to showcase them proudly. Displaying pumpkin paintings can be just as creative as the painting process itself! To get started, gather some inspiration from these display ideas and arrangements.
Start by grouping similar colors or themes together to create a cohesive look. For example, you could arrange all the orange-hued pumpkins on one shelf, while saving the blue and green ones for another spot. This adds visual interest and creates a beautiful rainbow effect.
Consider incorporating other fall decorations like dried corn husks, branches with leaves, or small vases with candles to complement your pumpkin paintings. For a whimsical touch, hang some macrame garlands or fairy lights around the display area. You can also use decorative baskets or wooden crates to add depth and texture to your arrangement.
Remember, the key is to have fun and be creative! Encourage your kids to get involved in arranging their artwork and other decorations. They’ll love seeing their masterpieces take center stage, and it’s a great way to spend quality time together as a family.
Preserving Your Artwork
When it’s time to take down your child’s pumpkin masterpiece from display, you’ll want to make sure their artwork lasts for years to come. Protecting and preserving your child’s pumpkin painting creations requires a few simple steps.
To start, varnish your child’s pumpkin with a clear, water-based sealant specifically designed for painted pumpkins. This will help protect the paint from fading and chipping over time. You can apply one or two coats of varnish, depending on the product instructions, making sure to follow any recommended drying times between applications.
Proper storage is also essential in preserving your child’s artwork. Store the pumpkin in a dry, cool place away from direct sunlight. If you’re planning to store it for an extended period, consider wrapping the pumpkin in acid-free tissue paper or bubble wrap to prevent damage from handling or dust accumulation.
Before storing, gently wipe the pumpkin with a soft cloth to remove any dirt or debris that may have accumulated during display. With these simple steps, your child’s pumpkin painting will remain vibrant and protected for years to come.
Frequently Asked Questions
Can I use store-bought paint or do I need to buy specialized pumpkin painting supplies?
You can definitely use store-bought paint, but keep in mind that it may not adhere well to the pumpkin’s surface. For a more durable finish, consider investing in specialty pumpkin paints or acrylics specifically designed for ceramics and crafts.
What if my child accidentally spills paint on the table or floor during the painting process?
Don’t worry! It’s all part of the creative process. Clean up spills immediately with soap and water to prevent stains from setting in. Consider covering your workspace with newspaper, old sheets, or a plastic tablecloth for added protection.
How can I help my child create more intricate designs on their pumpkin without getting overwhelmed?
Encourage them to start small by breaking down larger designs into simpler elements. Use stencils, stickers, or pre-made patterns as a starting point, and gradually add details as they gain confidence in their abilities.
Can I use real leaves or natural materials from my garden for the painting design?
Absolutely! Get creative with natural elements like dried flowers, pinecones, and real leaves to add an organic touch to your pumpkin art. Just be sure to press them between paper towels before applying paint to ensure they stick well.
What’s a good way to display my child’s finished masterpiece after it dries?
Consider displaying their artwork in a prominent place like the front porch or entryway, surrounded by other fall decorations. Alternatively, you can create a pumpkin village with multiple painted pumpkins and arrange them on a wooden board or tray for a festive look.