
Are you ready to get creative with your little ones this fall? Pumpkin painting is an excellent way to encourage self-expression, fine motor skills, and imagination in kids. It’s also a great activity for family bonding time! With just a few simple materials, you can turn plain pumpkins into vibrant works of art that reflect their unique personalities. But don’t worry if you’re not artistic – our easy pumpkin painting ideas are designed for kids of all ages to enjoy, regardless of skill level. In this article, we’ll share fun and creative techniques to help your mini-me’s unleash their inner artist and decorate the perfect pumpkins for Halloween or Thanksgiving. From basic strokes to advanced designs, we’ve got you covered with easy-to-follow steps and inspiring ideas!
Introduction to Pumpkin Decorating
Welcome to the world of pumpkin decorating, where creativity meets seasonal fun! In this section, we’ll share simple and inspiring ideas for kids to get started.
Benefits of Pumpkin Painting for Kids
When it comes to pumpkin painting for kids, there are numerous benefits that extend far beyond just creating a beautiful decoration. One of the most significant advantages is that it helps children develop their fine motor skills. Painting requires precise movements and control over the brush or sponge, which can be challenging even for adults! By engaging in this activity, kids can improve their dexterity and hand-eye coordination.
Pumpkin painting also encourages creativity and self-expression. Children are free to experiment with different colors, patterns, and designs, allowing them to express themselves uniquely. This type of creative freedom is essential for kids’ emotional development, fostering confidence and individuality. To make the most of this benefit, consider providing a variety of paint colors and letting your child choose their favorite design.
In addition to fine motor skills and creativity, pumpkin painting can also help children develop problem-solving skills. As they experiment with different techniques and designs, they’ll encounter obstacles and setbacks. By persevering and trying new approaches, kids learn to think critically and develop a growth mindset.
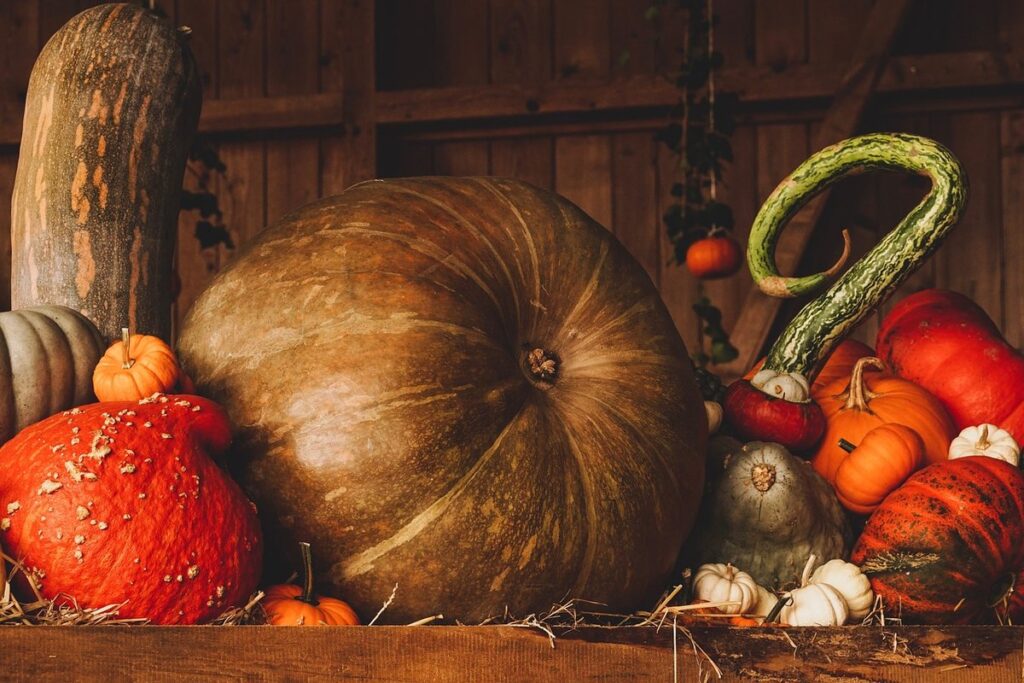
Preparing Your Pumpkin for Painting
When it comes to painting pumpkins with kids, choosing the right pumpkin is crucial for a successful and enjoyable project. Look for pumpkins that are specifically labeled as “painting” or “decorating” pumpkins, as they tend to be smoother and less porous than carving pumpkins. These types of pumpkins typically have a hard, glossy surface that’s perfect for painting.
Before you start painting, make sure your pumpkin is clean and dry. Use a soft-bristled brush to gently scrub the surface with soap and water, then let it air-dry completely. This will ensure that your paint adheres evenly and doesn’t lift off the pumpkin’s surface. When selecting paint, opt for acrylic or tempera paint specifically designed for use on pumpkins – these are usually more durable and less likely to chip or fade.
If you’re using a real pumpkin, be sure to apply a coat of primer first to help your paint stick better. For a more kid-friendly option, consider using foam or plastic pumpkins that can be painted again and again without the worry of decay or mess.
Basic Pumpkin Painting Techniques
Now that you’ve got some inspiration for your little one’s masterpiece, let’s dive into the basics of pumpkin painting: techniques that are easy to master and fun for kids to try.
Introduction to Stencils and Freehand Painting
When it comes to decorating pumpkins with kids, one of the first things you’ll need to decide on is whether to use stencils or go for a freehand painting approach. Both methods have their own unique benefits and challenges, so let’s dive into the details.
Using stencils can be a great way to introduce kids to pumpkin painting, as it allows them to focus on creating patterns and designs without worrying about making mistakes. Simply place the stencil over the design area, and let your child fill in the shapes with paint. This method is also perfect for young children who are still developing their fine motor skills.
Freehand painting, on the other hand, can be a more challenging but rewarding experience for kids. It allows them to express their creativity and bring their own unique designs to life. To make freehand painting easier, try using larger brushes or sponges, which will help your child achieve broader strokes and more defined shapes.
One tip for beginners is to start with simple stencils or patterns and gradually move on to more complex designs as your child becomes more confident in their abilities. This will not only build their skills but also their self-esteem, making the experience even more enjoyable!
Easy-to-Use Stencil Designs
One of the most enjoyable aspects of pumpkin painting is using easy-to-use stencil designs that bring out the kid in all of us. If you’re looking for a fun and creative way to get started with pumpkin painting, consider incorporating simple stencil designs into your project.
These stencils are perfect for kids because they allow them to create intricate patterns and designs without having to worry about free-handing it. Plus, they provide a sense of accomplishment when they see their finished pumpkin come together.
Some popular stencil designs include stripes, polka dots, and leaves. You can find pre-made stencils at most craft stores or online. To use them, simply place the stencil on your pumpkin and paint over it with your chosen color. For added detail, try layering different colors to create a unique ombre effect.
Tips for using stencil designs with kids: make sure to choose stencils that fit your child’s skill level and personality. For example, if they’re just starting out, stick with simple shapes like circles or squares. And don’t be afraid to get creative – let them add their own personal touch by experimenting with different colors and patterns!
Basic Brushstrokes and Color Mixing
When it comes to basic pumpkin painting techniques, mastering brushstrokes and color mixing is essential for young artists. Start by teaching kids different types of strokes: flat, round, and zig-zag. The flat brushstroke is great for filling large areas with a single color, while the round brushstroke is perfect for detail work like adding eyes or a mouth to your pumpkin design.
For color mixing, begin with primary colors – red, yellow, and blue – and demonstrate how to mix them together to create secondary colors like orange, green, and purple. Show kids how to blend colors by layering different shades on top of each other. For example, you can layer a light yellow coat over a darker yellow base for a beautiful sunset effect.
Remember to use soft, gentle strokes when blending colors to avoid muddying the original color. Also, encourage kids to experiment with mixing their own unique colors by combining primary colors in different ways. This will not only help them develop their fine motor skills but also foster creativity and self-expression through art.
Creative Pumpkin Painting Ideas
Let’s get creative! This next part of our guide will share fun and easy pumpkin painting ideas perfect for kids to try, from spooky designs to adorable characters.
Themed Paintings: Animals and Characters
Who says pumpkins have to be plain and boring? With a little creativity and imagination, you can turn them into a vibrant work of art that’s sure to delight both kids and adults alike. Themed paintings featuring beloved animals and characters are an excellent way to add some personality to your pumpkin.
Let’s start with the classics: cats and dogs! Paint a cute cat face or doggy design on your pumpkin, complete with whiskers, ears, and a wagging tail. Your little ones will love creating these adorable designs. For a more advanced look, try painting a majestic lion or a playful tiger on your pumpkin.
You can also bring their favorite cartoons to life on the pumpkin! Paint a bright and cheerful SpongeBob SquarePants, a lovable Minions from Despicable Me, or even a beloved Disney princess. The possibilities are endless, and with a few simple steps, you can create a one-of-a-kind masterpiece that’ll make your family’s porch stand out this Halloween season.
Tips for kids: Use stencils or stickers to help guide your design, and don’t be afraid to experiment with different colors and patterns!
Nature-Inspired Designs: Leaves and Flowers
Get Your Little Ones to Unleash Their Inner Artists with Nature-Inspired Designs!
Who says pumpkins have to be spooky? This fall season, let’s try something new and exciting! Nature-inspired designs are a great way to get kids involved in pumpkin painting without the usual ghosts, bats, or spiders. Imagine a beautiful leaf-patterned pumpkin or a vibrant flower-adorned gourd on your porch – it’s sure to bring a smile to everyone’s face!
To create nature-inspired designs using leaves and flowers, gather some real leaves from your yard or nearby park. Collect different shapes, sizes, and colors for a unique look. You can arrange them in patterns, create a collage, or even use the veins as a guide to paint around. For flower-inspired designs, try painting simple petals or use stencils to create more intricate details.
Make it fun by letting your little ones get creative with the placement of leaves and flowers. Encourage them to experiment with different colors and textures to add depth to their design. Remember, there’s no right or wrong – just have fun and enjoy the process!
Abstract Art and Patterns
Abstract art and patterns offer a world of possibilities for kids to express their creativity while painting pumpkins. This unique approach encourages experimentation and imagination, allowing children to break free from traditional design constraints. One way to incorporate abstract art is by using expressive brushstrokes and vibrant colors.
For example, try the “Swirling Storm” technique: use a paintbrush dipped in blue paint to create swirling motions on the pumpkin’s surface. Add white or yellow for contrasting accents. This effect mimics the dynamic movement of clouds in a stormy sky. Another idea is the “Ribbon Effect,” where kids dip their brush in a single color and then drag it across the pumpkin, creating a series of connected loops.
To take patterns to the next level, consider using stencils or stickers featuring unique shapes, like chevrons or polka dots. Alternatively, let kids create their own designs by taping off sections with painter’s tape and painting between them. This encourages experimentation while still providing some structure. The possibilities are endless when embracing abstract art and patterns – get ready to unleash your child’s inner artist!
Safety Precautions for Pumpkin Painting
Before you get creative, let’s make sure you and your little ones stay safe while painting those pumpkins. This section covers essential precautions to take before starting your masterpiece.
Protective Gear and Clothing Requirements
When it comes to pumpkin painting with kids, safety should always be our top priority. One crucial aspect of safe pumpkin painting is dressing for the job! To avoid accidents and make cleanup a breeze, it’s essential to wear protective gear and clothing.
Start by slipping on some old clothes or a smock that can get dirty. This will help prevent paint from staining your favorite outfits. You’ll also want to protect those hands with gloves, whether they’re latex or fabric. This will not only save your skin from stains but also make it easier for little ones to grip and hold their brush.
Don’t forget about safety goggles! These can be especially helpful when working with small children who may get overexcited or accidentally squirt paint into their eyes. Have some wipes on hand too, just in case of any spills or accidents.
Remember, safety is all about being prepared. Take a few minutes to gather your gear and make sure everyone’s dressed for the fun ahead. With these simple precautions in place, you’ll be free to focus on creating beautiful, spooky, or sweet pumpkin designs with your little artists!
Tips for Handling Paints and Materials Safely
When working with paints and materials for pumpkin painting, safety should always be top of mind. Children can get overexcited while painting, which may lead to accidents if proper precautions are not taken.
To prevent injuries, make sure children wash their hands thoroughly before starting to paint. This will help prevent any potential exposure to chemicals or stains on their skin.
When handling paints and materials, teach kids to use gloves when needed, especially for projects that require using a lot of paint or stain. This will protect their skin from stains and irritation.
Always supervise young children while they’re painting, as they may accidentally ingest the paint if it’s not sealed properly in its container. Make sure all supplies are kept out of reach, and the area is well-ventilated to avoid inhaling fumes from paints or materials.
Regularly clean up spills immediately after they occur to prevent slipping hazards.
Cleaning Up After the Project
When it’s time to wrap up the pumpkin painting project, make sure to clean up thoroughly to avoid any mess or hazards. Start by disposing of leftover paint and materials responsibly. Check if the paint is still usable and consider donating it to a local art program or school. If not, dispose of it in an eco-friendly manner by taking it to a hazardous waste collection facility.
For paper towels, plates, and other disposable materials used during the project, simply throw them away in your regular trash. For any washable paint smudges on tables or countertops, clean them up with soap and water immediately to prevent staining.
Don’t forget to rinse and store all painting supplies properly, including brushes, sponges, and palettes. This will keep them ready for the next project and prevent any damage from drying out. Finally, dispose of any pumpkin scraps responsibly by composting them or putting them in your garden as a natural fertilizer. By following these simple steps, you’ll be able to clean up after the project with ease and minimize any environmental impact.
Displaying Your Masterpiece
Now that you’ve created a beautiful pumpkin masterpiece, let’s talk about how to showcase it proudly on your front porch, and I’ll share some creative display ideas with you!
Presentation Ideas: Tables, Shelves, and More
Once you’ve completed painting those adorable pumpkins with your little ones, it’s time to showcase their masterpiece. Displaying their artwork proudly is a great way to encourage kids’ creativity and confidence.
For this purpose, you can use tables or shelves in various ways:
• Place the pumpkin on a decorative table near an entrance or living area, where family members can admire it together.
• Use a shelf or display case in a hallway or playroom to showcase multiple pumpkins at once.
Consider repurposing old wooden crates or boxes as a unique and rustic way to display your child’s artwork. You can also hang the pumpkins on walls using hooks or 3M picture hanging strips for a more dramatic effect.
When displaying their pumpkin, you can add some complementary decorations such as artificial leaves, twigs, or candles to create a festive atmosphere. This will not only make the pumpkin stand out but also teach your child about mixing and matching different textures and colors.
Remember, display ideas are endless, so feel free to get creative and come up with unique ways to showcase your child’s masterpiece!
Encouraging Creativity and Self-Expression
As you work on creating unforgettable pumpkin painting ideas with kids, it’s essential to remember that this experience is about so much more than just a fun activity. It’s an opportunity to nurture their creativity and self-expression. When children are encouraged to think outside the box and explore their imagination, they develop essential life skills like confidence, problem-solving, and critical thinking.
To encourage creativity in your little ones, try setting up a pumpkin-painting station with various tools and materials. This might include paintbrushes of different sizes, sponges, stickers, stencils, or even household items like straws and toothpicks. You can also provide a variety of colors to experiment with and inspire unique combinations.
As your child works on their masterpiece, ask open-ended questions that stimulate their imagination. For example: “What color would you choose for the pumpkin’s stem?” or “How do you think we could add some texture to this design?” By doing so, you’ll be guiding them towards making intentional choices and taking ownership of their creative process.
Most importantly, remember to let go of perfectionism! Allow your child to experiment, make mistakes, and learn from them. This is an essential part of the creative journey – and it will help build resilience and a growth mindset that will benefit them far beyond this pumpkin-painting activity.
Frequently Asked Questions
What if my child is very young or inexperienced with painting? Can they still participate in pumpkin decorating?
Yes, kids of all ages can participate in pumpkin decorating, regardless of their fine motor skills or painting experience. Start by using washable paints and providing them with simple stencils or templates to follow. As they gain confidence and skill, you can gradually introduce more complex designs and techniques.
How do I ensure my child’s masterpiece is safe for display indoors?
To make your child’s pumpkin decoration safe for indoor display, choose non-toxic paints specifically designed for kids. Also, consider using a waterproof sealant to protect the design from fading or damage. Place the pumpkin in a dry area away from direct sunlight and heat sources.
Can I use any type of paint on pumpkins, or are there special considerations?
Not all types of paint are suitable for pumpkins. Acrylic paints and tempera paint are great options because they’re non-toxic and easy to clean up. However, avoid using oil-based paints or those containing heavy metals, as they can damage the pumpkin or cause health concerns.
How do I store my child’s decorated pumpkin when it’s not on display?
To preserve your child’s artwork, store the pumpkin in a dry area, away from direct sunlight and heat sources. You can also consider coating the pumpkin with a clear sealant to protect the design from fading or damage.
Can I reuse stencils and templates for future projects?
Yes, most stencils and templates are reusable, making them an excellent investment for future art projects. Simply clean them gently with soap and water, and they’ll be ready for use again. This will help reduce waste and encourage your child to experiment with new designs and techniques.