
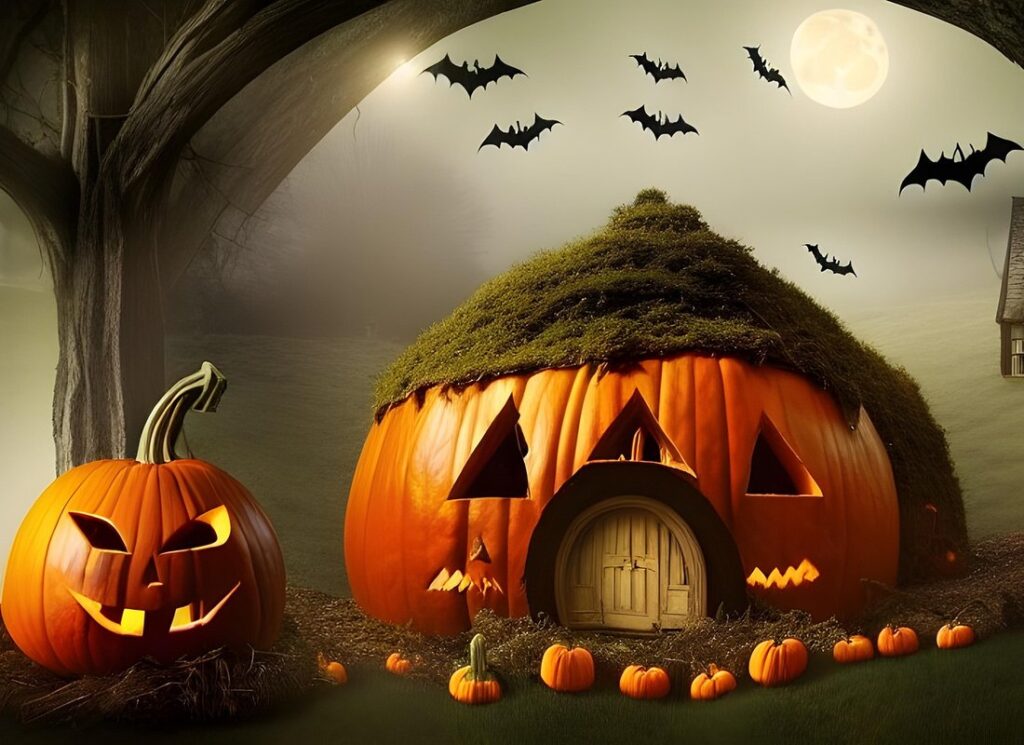
Pumpkin season is just around the corner, and with it comes the perfect excuse to get creative with your little ones. Painting pumpkins with your kids can be such a delightful way to spend quality time together while fostering their artistic skills and fine motor development. Not only will you create beautiful and unique decorations for your home, but you’ll also make some amazing memories along the way. In this article, we’ll take you through our top cute painting ideas for pumpkins that are perfect for kids of all ages to enjoy. From simple designs to more intricate patterns, we’ve got you covered with inspiration and expert tips on how to get started. Whether you’re a seasoned artist or a crafty newcomer, join us as we dive into the world of pumpkin art!
Introduction to Pumpkin Decorating
Welcome to our guide on cute painting ideas for pumpkins, where we’ll show you how to bring your gourd games to a whole new level. Let’s start with the basics of pumpkin decorating!
Benefits of Art Projects for Kids
When it comes to engaging kids in creative activities, art projects like painting pumpkins are not only fun but also incredibly beneficial for their development. One of the most significant advantages of such projects is that they help improve fine motor skills. Painting a pumpkin requires precision and control, which can be challenging even for older kids. By practicing this skill, children develop hand-eye coordination and dexterity, essential for tasks like writing, drawing, and even playing musical instruments.
Art projects also foster creativity and self-expression in kids. When given the freedom to choose colors, patterns, and designs, they’re encouraged to think outside the box and experiment with new ideas. This process develops problem-solving skills and helps build confidence as they see their creations come to life. Moreover, painting pumpkins allows children to express themselves through art, which can be a powerful way to communicate emotions and thoughts.
To maximize these benefits, try providing kids with various materials like stencils, stickers, and texture paste to add depth and interest to their designs. Encourage them to experiment with different techniques, such as layering or blending colors.
Importance of Parent-Child Bonding through Art
Engaging in creative activities with your child is one of the most effective ways to foster a sense of togetherness and make lasting memories. When it comes to decorating pumpkins, this activity becomes an even more special bonding experience for both you and your little ones.
As you paint or decorate the pumpkin together, your child will be drawn into a world of imagination and creativity, where they can let their thoughts and ideas flow freely. This collaborative effort not only encourages teamwork but also develops problem-solving skills as you and your child work together to bring a design to life. For instance, if you’re using paint, your child might help with mixing colors or applying different textures.
To make the most of this experience, be sure to let your child take the lead in designing their pumpkin’s look. Encourage them to think about what kind of patterns and colors they want to use, and offer guidance only when needed. By doing so, you’ll not only be creating something beautiful but also nurturing a lifelong appreciation for art and creativity in your child.
Preparing for Pumpkin Painting Fun
Before you start getting creative, let’s get your little ones ready to paint their pumpkins with some essential supplies and prep steps that are easy to follow.
Choosing the Right Pumpkins and Brushes
When it comes to painting pumpkins with kids, choosing the right ones is crucial for creativity and durability. Opt for a variety of sizes and shapes to cater to different artistic styles and skill levels. For younger children, smaller pumpkins (about 5-7 inches in diameter) are ideal, as they’re easier to handle and less overwhelming. Larger pumpkins can be used by older kids or for more intricate designs.
Consider the material of the pumpkin too – real or fake? Real ones can be a bit more fragile, but they add an extra layer of authenticity to the project. On the other hand, foam or plastic pumpkins are sturdier and perfect for frequent use. You can also repurpose old gourds or buy them at your local nursery.
As for brushes, look for soft-bristled ones that are gentle on the pumpkin’s surface. Natural hairbrushes work well, but synthetic ones are easier to clean and maintain. For kids, consider using smaller brushes (1/2 inch wide) that fit comfortably in their hands. Experiment with different brush strokes and techniques to achieve unique textures and effects – it’s all about having fun!
Gathering Materials and Setting Up a Workspace
Before you start painting those pumpkins, let’s get one thing straight: preparation is key! To ensure a fun and mess-free experience for both you and the little ones, gather the following essential materials:
* Paint (acrylic or watercolor) in various colors and patterns
* High-quality paintbrushes in different sizes
* Sponges and foam brushes for textured effects
* Smocks or old shirts to protect clothing from stains
* Drop cloths or tablecloths to cover work surfaces
Now, let’s set up a safe and organized workspace. Designate a area that’s easy to clean and free from breakables. Cover your work surface with a drop cloth or tablecloth, and lay out the materials within arm’s reach. This will prevent any accidents or spills from ruining the party. Make sure the kids are wearing their smocks and have washable paint on hand. With these simple precautions in place, you’re ready to get creative! Remember to encourage the little ones to experiment and have fun – after all, that’s what pumpkin painting is all about!
Basic Painting Techniques for Kids
To add some extra magic to your pumpkin creations, let’s dive into some fun and easy painting techniques that kids can master in no time. We’ll cover the basics of color mixing and brushstrokes!
Introduction to Color Theory and Mixing Colors
Color theory is like magic for kids – it lets them turn ordinary paint into extraordinary artwork. Let’s start with the basics: primary colors are red, blue, and yellow. These colors can’t be made by mixing other colors together, but they can create a rainbow of hues when combined.
When you mix two primary colors, you get secondary colors. For example, when you combine blue and yellow, you make green! Try it out with your little ones – paint a blue circle and add some yellow to the middle. Watch as the colors blend together to form a beautiful shade of green.
But that’s not all – you can also create tertiary colors by mixing primary and secondary colors. For instance, adding a bit of red to your green will make it more teal-like. The possibilities are endless! To get started, grab some paint, paper, or even use colored markers to play around with different color combinations.
As kids experiment with colors, they’ll learn about concepts like hue, saturation, and value – all essential building blocks for creating stunning artworks.
Simple Stroke Techniques: Lines, Dots, and Swirls
When it comes to painting cute designs on pumpkins for kids, mastering simple stroke techniques is key. These basic strokes are not only easy to learn but also versatile and fun. One of the simplest techniques is creating lines, which can be used to draw stems, vines, or even facial features.
To create lines, start by holding your brush at a 45-degree angle and gently stroking it across the pumpkin in a smooth motion. Encourage kids to experiment with different line widths and styles, such as thick and thin, straight and curved. For example, they can use a thick line for the stem and a thinner line for the vines.
Dots are another fun stroke technique that kids love! To create dots, simply dip your brush in paint and tap it onto the pumpkin gently. Encourage kids to arrange their dots into patterns or designs, such as eyes, noses, or mouth. Swirls are also easy to master and add a cute touch to any design. Simply rotate your brush in a circular motion to create swirly lines that can be used for details like fur or leaves.
By mastering these simple stroke techniques, kids will be able to unleash their creativity and paint adorable designs on their pumpkins.
Creative Pumpkin Painting Ideas
Get ready for some seriously sweet and spooky creative painting ideas that your little ones will love, from playful cats to magical witches! We’ve got a pumpkin makeover waiting just for you.
Nature-Inspired Designs: Leaves, Flowers, and Trees
Get creative with nature’s beauty by painting leaves, flowers, and trees on your pumpkin! This design theme is perfect for kids who love exploring the outdoors. Let them bring their favorite plants to life on their pumpkins using bright colors and playful brushstrokes.
To create a beautiful leaf design, start by painting a base color of green or yellow on the pumpkin. Then, use a small brush to add veins and texture to each leaf. You can also paint multiple leaves in different shapes and sizes to create a fun and playful look. Consider using metallic paint for added shine and dimension.
For flowers, try painting large, bold blooms with bright colors like pink, orange, or yellow. Add some delicate details with a small brush, such as stamens or petals. Kids can also experiment with ombre effects by gradating the color of each petal from light to dark.
Trees are another great option for nature-inspired designs. Paint a tall, slender tree trunk and branches using brown or gray paint, then add some colorful leaves or flowers to create a beautiful canopy. Encourage kids to get creative with their design and make it unique to their own style!
Whimsical Characters: Cats, Dogs, and Other Creatures
When it comes to painting whimsical characters on pumpkins, animals are an obvious and adorable choice. Kids love cats, dogs, and other creatures, so why not bring them to life on a pumpkin? Start by sketching out the basic shape of your animal using a pencil or a marker. Keep in mind that pumpkins are slightly rounded, so you may need to adjust your design accordingly.
For a cat pumpkin, try painting on some whiskers, ears, and a cute nose. You can add a few loose strokes to create a textured look. For dogs, go for bold colors and expressive eyes – kids love making their dog’s personality shine through in the design. Other animals like rabbits, squirrels, or even dragons are also great options.
Remember, the most important thing is to have fun! Encourage your little artists to let their imagination run wild and add their own unique touches to their designs. You can use stencils or freehand it – the more creative, the better!
Advanced Techniques and Tips
Take your pumpkin painting skills to the next level with these expert tips, tricks, and techniques that will add an extra wow factor to your little one’s artwork. Get ready for some creative inspiration!
Glazing and Layering Effects
Glazing and layering effects can add an extra wow factor to your kids’ pumpkin designs. To achieve this, you’ll need a few basic materials: paint, a small brush, and some water. Start by painting the main design on the pumpkin using acrylic or tempera paint. Then, let it dry completely.
Now it’s time for glazing. Mix a bit of paint with water to create a thin consistency. This will be your “glaze.” Use a small brush to apply the glaze over specific areas of the design. You can add multiple layers for deeper color and texture. For example, if you’re painting a sunset design, try applying a light orange glaze over the entire surface first, then adding darker shades with subsequent layers.
To create even more interest, experiment with layering techniques. Start with a base coat of paint, let it dry, then apply a second coat with a different color or texture. For instance, you could paint a simple jack-o-lantern face on the pumpkin, let it dry, and then add some additional details like eyelashes or teeth using a smaller brush and a contrasting color.
Using Stencils and Other Tools
Using stencils and other tools is an excellent way to help kids achieve intricate designs and patterns on their pumpkins. These tools can make painting a lot more fun and less intimidating for young artists.
One of the best tools you can use are painter’s tape and stencils. Painter’s tape allows kids to create crisp, clean lines around shapes and designs. For example, if your child wants to paint a pumpkin with stripes or polka dots, simply apply the tape in the desired pattern and they’ll be able to achieve a professional-looking design.
You can also use foam sponges or brushes with built-in stencils to create unique textures and patterns. This is perfect for kids who want to get creative with their designs but struggle with holding a brush. These tools are also great for adding intricate details, such as veins on a leaf or the texture of bark.
Additionally, you can use stickers or stamps to add extra design elements. Stickers can be used to create shapes and patterns, while stamps can be used to create textures and backgrounds. By using these tools, kids can create elaborate designs that they might not have been able to achieve otherwise.
Displaying and Preserving Your Masterpieces
Now that you’ve created your adorable pumpkin art, let’s talk about how to showcase them proudly in your home, and ideas for preserving your little masterpieces.
Tips for Drying and Sealing Painted Pumpkins
To keep your painted pumpkins looking their best throughout the fall season, proper drying and sealing is crucial. It’s essential to let the paint dry completely before handling or displaying your masterpiece. You can speed up this process by placing the pumpkin on a wire rack, allowing air to circulate around it.
Once the paint is dry, apply a clear coat of varnish or sealant to protect the design from fading and chipping. This will also make cleanup easier in case of any spills or accidents. For best results, use a water-based sealant that won’t yellow over time. If you’re using an oil-based paint, consider applying a layer of wax instead.
To ensure your painted pumpkin lasts longer, keep it away from direct sunlight and heat sources. Avoid placing it near heating vents, radiators, or fireplaces, as this can cause the paint to crack or fade faster. With proper care and attention, your hand-painted pumpkin will remain vibrant and intact throughout the fall season.
Make sure to reapply sealant every few weeks to maintain the finish and extend its lifespan.
Display Ideas: From Porches to Tables
Now that you’ve completed those adorable painted pumpkins with your kids, it’s time to show them off! Here are some creative display ideas to bring out the best in your little masterpieces. Whether you’re looking for a festive fall vibe or a whimsical touch, we’ve got you covered.
Start by considering your outdoor spaces – porches, patios, and stoops are all perfect spots to create a seasonal display. Try grouping multiple painted pumpkins on a decorative pedestal or tiered planter, adding some greenery like ferns or succulents for a pop of color. You can also use them as a centerpiece for your outdoor dining table or hang them from a porch railing with twine or ribbon.
Bring the fall fun inside by displaying your painted pumpkins on a mantel or side table. Mix and match different sizes, shapes, and colors to create a visually appealing arrangement. Add some candles, pinecones, or other seasonal decorations to tie everything together. For a more rustic look, try placing them in a vintage wooden crate or basket filled with hay or dried flowers.
Remember, the possibilities are endless! Don’t be afraid to experiment and have fun with it – after all, it’s a great way to spend quality time with your little ones and create lasting memories.
Frequently Asked Questions
How do I ensure my child’s painted pumpkin lasts for the entire fall season?
Make sure to dry your child’s painted pumpkin completely, either by air-drying it for several days or using a fan to speed up the process. Once dry, apply a clear coat of varnish or sealant to protect the paint and prolong its lifespan.
What if my child makes a mistake while painting? Can they fix it easily?
Yes! Mistakes can be fixed with a little patience and creativity. Encourage your child to try to cover up mistakes with additional coats of paint or use a small brush to touch up any errors. This is also a great opportunity to teach them about layering and covering techniques.
How do I introduce color theory and mixing colors to my child in a fun way?
Start by explaining the basic color wheel and how primary colors can be mixed to create secondary colors. Use simple examples, such as mixing red and yellow paint to make orange. You can also use real-life objects, like fruit or leaves, to demonstrate different shades and tints.
Can I use stencils with my child to create more complex designs?
Yes! Stencils are a fantastic way to introduce your child to more intricate designs without feeling overwhelmed. Start by using simple shapes and gradually move on to more detailed patterns. This will help build their fine motor skills and hand-eye coordination.
How long does it take for painted pumpkins to dry completely before displaying them?
It typically takes 2-3 days for a painted pumpkin to dry completely, depending on the thickness of the paint and environmental conditions. Make sure to check your painted pumpkins daily, using a fan or hair dryer to speed up the process if needed.