
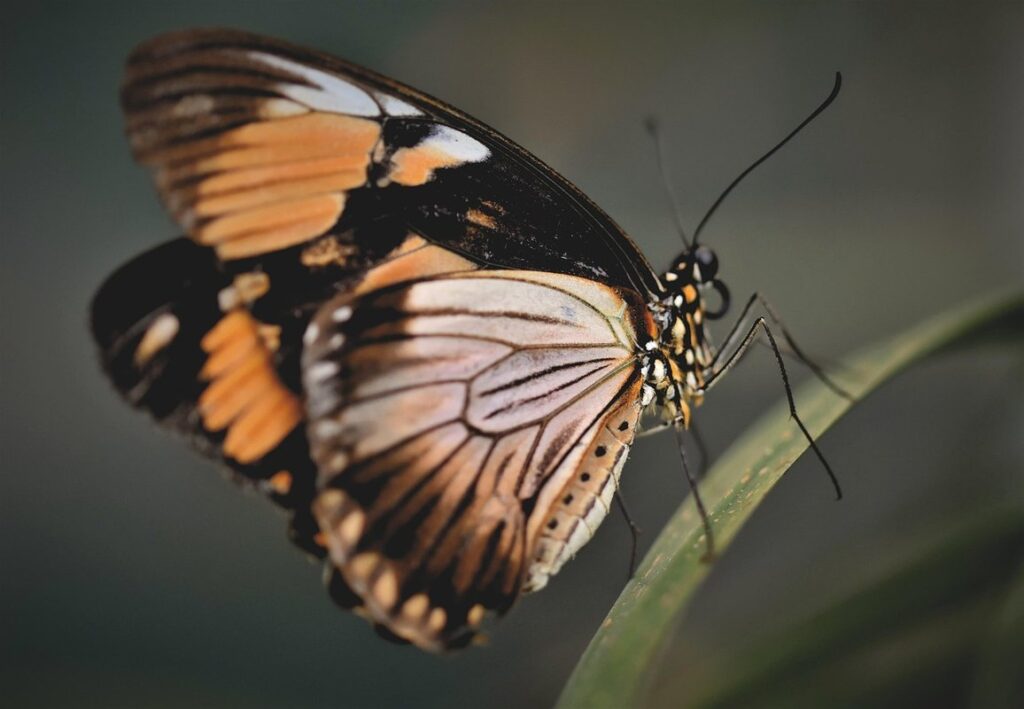
If you’re like many crafty enthusiasts, you’re always on the lookout for ways to add some extra magic to your projects. And let’s be real, who doesn’t love butterflies? Those delicate, colorful creatures have a way of making any art piece instantly more captivating. But did you know that using butterfly templates can take your crafts to the next level? From scrapbooking and card-making to painting and drawing, these templates are a game-changer for creating unique and beautiful projects with ease. In this article, we’ll delve into the world of butterfly templates for crafts, exploring the benefits, types, and design tips you need to know to get creative. Whether you’re a seasoned crafter or just starting out, you’ll learn how to incorporate these versatile templates into your next project and make it truly special.
Introduction to Butterfly Templates
Welcome to the world of butterfly templates, where creativity knows no bounds! In this next part, we’ll explore what you can expect from these versatile and inspiring designs.
What are Butterfly Templates?
Butterfly templates are pre-designed cutting files or patterns that help crafters create beautiful butterfly shapes for various creative projects. These templates can be used with a range of materials, including paper, cardstock, felt, and even metal. The purpose of these templates is to provide a quick and easy way to cut out intricate butterfly designs without having to draw them from scratch.
With butterfly templates, crafters can create stunning decorations for parties, events, or special occasions. For example, you can use them to make personalized gift tags, wedding favors, or birthday decorations. You can also incorporate them into scrapbooking, card-making, and other paper crafting projects.
Butterfly templates are versatile and can be used with various techniques, such as die-cutting, laser cutting, or even hand-cutting using scissors. They come in different styles, from realistic to whimsical designs, making it easy for crafters to choose the perfect one for their project. Whether you’re a seasoned crafter or just starting out, butterfly templates offer an excellent way to add a touch of elegance and beauty to your creations.
Benefits of Using Butterfly Templates
Using butterfly templates for crafts can bring numerous benefits to your creative journey. For one, it saves you time and effort that would otherwise be spent on designing intricate shapes from scratch. With a template, you can quickly cut out perfectly symmetrical butterflies, allowing you to focus on other aspects of your project.
Another advantage is the increase in accuracy. Human error can lead to imperfect cuts or proportions, which can be frustrating when working with delicate materials. Butterfly templates eliminate this risk, ensuring that each butterfly is identical and precisely cut. This level of consistency is especially important when creating multiple pieces for a design or display.
Butterfly templates also enhance your creativity by providing inspiration and structure. They allow you to experiment with different scales, orientations, and arrangements, making it easier to try new ideas without the pressure of perfecting each piece from scratch. By leveraging these benefits, you can produce stunning butterfly crafts that showcase your skills and artistic vision.
Types of Butterfly Templates Available
Butterfly templates come in various formats to cater to different crafting styles and preferences. Digital butterfly templates are popular among crafters who prefer working on their computers or mobile devices. These templates can be easily downloaded, edited, and printed as needed. They’re ideal for creating custom designs, experimenting with different colors, and making last-minute adjustments.
Printable butterfly templates offer a convenient option for those who prefer to work offline or don’t have access to digital tools. These templates are designed to be printed on paper or cardstock and can be cut out and used immediately. They’re perfect for projects that require precision cutting, such as intricate designs or detailed illustrations.
Paper craft templates, often referred to as die-cut or punch-out templates, allow crafters to create complex shapes and designs without the need for specialized tools or software. These templates feature pre-cut designs that can be easily assembled using adhesives, glue, or other crafting materials. They’re ideal for creating intricate 3D models, layered designs, or elaborate scenes.
When choosing a template type, consider your skill level, project requirements, and personal preference.
Choosing the Right Butterfly Template for Your Craft
When selecting a butterfly template, it’s essential to consider the type of craft you’re making and your personal design style. This will help you choose the perfect template for your project.
Understanding Template Requirements
When selecting a butterfly template for your craft project, it’s essential to consider several key factors. The first thing to think about is the size of the butterfly you need. Will it be a large, show-stopping piece or a small, delicate embellishment? Make sure the template you choose can accommodate the desired size.
Next, consider the shape of the butterfly. Do you want a realistic, detailed design or something more stylized and abstract? If you’re looking for a traditional, symmetrical shape, be sure to select a template that matches your expectations. On the other hand, if you prefer a more whimsical, organic design, you can opt for a template with a more fluid, irregular shape.
Lastly, think about the intricacy level of the butterfly design. Do you want something simple and easy to cut out, or are you looking for a more complex, detailed pattern? Consider the tools and materials you have available, as well as your personal skill level, when choosing a template with varying levels of complexity. By carefully considering these factors, you can ensure that your chosen butterfly template meets the needs of your project.
Common Uses for Butterfly Templates in Crafts
Butterfly templates are incredibly versatile and can be used in a wide range of craft projects. If you’re a scrapbooker, butterfly templates can add a beautiful touch to your pages. For example, you could use them to create a border around a photo or as a decorative element on a background page.
Card making is another popular use for butterfly templates. They can be used to create stunning centerpieces for birthday cards, wedding invitations, and other special occasion greetings. Simply print out the template, cut it out, and glue it onto your card design. You could also add additional embellishments like glitter or rhinestones to give it an extra touch.
If you’re an art journaler, butterfly templates can be used to create unique and eye-catching designs on your pages. Try using them as a background element or incorporate them into your artwork as part of a larger design. You could also experiment with different colors and patterns to match the theme of your journal page.
When working with butterfly templates in any craft project, don’t be afraid to get creative and try new things! Experiment with different sizes, shapes, and colors to add visual interest to your designs.
Designing Your Own Butterfly Template
Now that you have a solid understanding of butterfly templates, it’s time to get creative and design your very own custom template. We’ll guide you through the process step-by-step.
Basic Design Principles
When designing your own butterfly template, it’s essential to consider some fundamental design principles that will make your craft stand out. Symmetry is a great place to start. Think about the shape of a butterfly’s wings – they’re typically symmetrical on either side of the body. To achieve this in your template, try using a mirror-image approach when designing each wing.
Balance is also crucial in creating an aesthetically pleasing butterfly template. You can balance elements by distributing them evenly across the design or using visual weight to create harmony. For instance, if you have a large shape on one side of the butterfly, balance it out with a smaller element on the other side.
Negative space is another vital design principle to consider when designing your butterfly template. Negative space refers to the empty areas between and around elements in a design. It’s not just about filling up the space – sometimes less can be more. Consider leaving some negative space around the butterfly shape to create a sense of freedom and movement.
To add visual interest, you can also experiment with textures and patterns on your butterfly template. By combining different materials or colors, you’ll create a unique piece that showcases your creativity. Remember, there’s no one-size-fits-all approach to designing a butterfly template – have fun experimenting with different design principles until you find what works best for you!
Software and Tools for Designing Templates
When it comes to designing butterfly templates for your craft projects, you’ll want to use software and tools that can bring your creative vision to life. There are numerous options available, ranging from graphic design programs to digital drawing apps.
One popular choice is Adobe Illustrator, a powerful vector graphics editor that’s ideal for creating intricate designs like butterflies. With its robust set of tools and features, you can create custom shapes, lines, and effects with ease. Additionally, it integrates seamlessly with other Adobe Creative Cloud applications.
If you’re new to graphic design or prefer a more user-friendly interface, consider using Canva or GIMP. These software options offer a range of templates and design elements that can help you get started quickly. You can also use digital drawing apps like Procreate or Autodesk Sketchbook for a more intuitive and expressive experience.
When choosing a tool, consider your skill level, desired outcome, and any specific features you need. Experiment with different options to find the one that best suits your needs.
Advanced Techniques for Creating Unique Butterfly Templates
Now that you’ve mastered the basics of creating butterfly templates, it’s time to take your skills to the next level and discover advanced techniques to create truly one-of-a-kind designs. Get ready to unlock new levels of creativity!
Incorporating Embellishments and Textures
To take your butterfly templates to the next level, it’s time to explore the world of embellishments and textures. These added details can transform a simple design into a stunning work of art. Let’s start with paper embellishments – you can use patterned paper to create beautiful wings or add die-cut flowers, leaves, and other shapes to give your butterflies some extra flair.
For an even more dramatic effect, try incorporating foil or metallic elements. You can wrap foil around the template to create a shiny surface or use foil-stamping techniques to add intricate designs. Fabric embellishments are another great option – consider using lace, ribbons, or even felt to add texture and interest to your butterflies.
When working with embellishments and textures, remember to balance them thoughtfully. Too many elements can overwhelm the design, while too few may leave it looking bland. Experiment with different combinations to find the perfect harmony of style and creativity.
Working with Different Shapes and Forms
When working with butterfly templates, experimenting with different shapes and forms can add an extra layer of uniqueness to your craft projects. One way to achieve this is by using irregular shapes, which can be created using various techniques such as cutting out freehand designs or using a craft knife to cut intricate patterns.
For instance, you can use an oval-shaped template for a butterfly’s body and then attach it to a wing shape that has been cut into a floral pattern. This creates a beautiful and eye-catching design that deviates from the traditional symmetrical shapes often used in butterfly templates.
To incorporate 3D elements, consider using foam or cardstock to create raised designs on your butterfly template. You can use dimensional adhesive to attach these elements, adding depth and dimensionality to your craft project. Alternatively, you can use die-cutting machines with intricate dies that cut out three-dimensional shapes, such as flowers or leaves, which can be used as part of the butterfly’s design.
These techniques allow for a high degree of customization and experimentation, enabling you to create truly one-of-a-kind butterfly templates that reflect your personal style.
Tips and Tricks for Printing and Cutting Butterfly Templates
To get the most out of your butterfly templates, we’ll share essential tips on printing and cutting them accurately every time. This will ensure your project turns out flawlessly, just as you envisioned it!
Best Practices for Printing
When printing butterfly templates for crafts, it’s essential to follow some best practices to ensure that they turn out crisp and clear. First and foremost, make sure the resolution of your printer is set high enough. A minimum resolution of 300 dpi (dots per inch) is recommended for most craft projects. If you’re using a laser printer, this may already be set as default.
Next, choose the right paper for your project. For butterfly templates, it’s best to use cardstock or lightweight vellum. These papers are sturdy enough to hold their shape and won’t buckle under the weight of any embellishments. Avoid printing on regular copy paper, as it may not provide the desired level of durability.
Lastly, pay attention to color settings when printing your butterfly templates. If you’re using a photo printer, make sure the color profile is set to “draft” or “standard.” For laser printers, use the “high-quality text” setting. This will help prevent any issues with color accuracy and ensure that your printed butterflies look vibrant and lifelike.
When it comes to color, keep in mind that some templates may be designed for specific printing techniques or mediums. Always check the template’s instructions before printing to avoid any unwanted results. By following these simple tips, you’ll be able to print beautiful butterfly templates that are perfect for your next craft project.
Techniques for Accurate Cutting
When it comes to cutting out butterfly templates accurately, you have several techniques at your disposal. Let’s start with the basics: using scissors. This is a great option for small batches of butterflies or when working with thicker paper. To get clean cuts, use sharp scissors and cut in one smooth motion, applying gentle pressure.
For larger quantities or more intricate designs, consider using a craft knife. These tools are specifically designed for cutting paper and come with various blade types suited to different materials. When using a craft knife, always cut on a stable surface and keep your fingers away from the blade. It’s also essential to maintain your craft knife regularly by cleaning and sharpening it.
Another option is die-cutting machines, which offer precise cuts and can be especially useful for intricate designs or large batches. These machines are available in various sizes and types, so choose one that suits your needs. When cutting with a die-cutting machine, make sure to adjust the settings according to the paper type and design complexity.
Regardless of the technique you choose, it’s crucial to work carefully and patiently to achieve accurate cuts. If you’re new to cutting butterfly templates, start with a few test pieces to get familiar with the process and your chosen tool.
Conclusion: Maximizing Your Creative Potential with Butterfly Templates
As we’ve explored the world of butterfly templates, let’s recap how you can effectively use them to unlock your full creative potential and bring your unique vision to life.
Recap of Key Takeaways
As we wrap up our exploration of butterfly templates for crafts, it’s essential to recap the key takeaways that will help you maximize your creative potential. By now, you should have a clear understanding of why choosing the right template is crucial and how designing with creativity in mind can elevate your projects.
One of the most significant points we covered was the importance of selecting a template that aligns with your project’s theme and style. Whether you’re working on a delicate paper craft or an intricate scrapbook page, having a well-designed template as a starting point ensures that your finished product is cohesive and visually appealing. Remember to consider factors like color palette, layout, and embellishment options when selecting a template.
In addition to choosing the right template, we emphasized the importance of designing with creativity in mind. This means taking calculated risks, experimenting with new techniques, and incorporating personal touches into your project. Don’t be afraid to deviate from the original design or add unique elements that reflect your artistic vision. Some examples include incorporating hand-drawn illustrations, using texture overlays, or adding dimensional embellishments.
To put these tips into practice, try setting aside a small amount of time each day to brainstorm and sketch out new ideas for your project. Experiment with different techniques and materials until you find what works best for you. And don’t be afraid to get inspired by the work of other crafters – often, the best ideas come from taking elements that resonate with us and making them our own.
By keeping these key takeaways in mind, you’ll be well on your way to unlocking your full creative potential with butterfly templates. Remember to stay flexible, have fun, and enjoy the process of creating something truly unique and special.
Frequently Asked Questions
Can I customize butterfly templates to fit my personal style?
You can definitely personalize your butterfly templates! Many template designs come with adjustable features, allowing you to change colors, shapes, or sizes to match your project’s theme. You can also experiment with different software tools and techniques to create unique variations of the original design.
How do I ensure accurate cutting results when using butterfly templates?
Yes, accuracy is crucial when working with delicate butterfly designs. To minimize errors, make sure to use a high-quality printer or cutting machine, and follow the manufacturer’s guidelines for settings and calibration. You can also experiment with different materials and testing methods to find what works best for your specific project.
Can I use butterfly templates in combination with other crafting techniques?
Butterfly templates are incredibly versatile and can be paired with various techniques to create stunning results. Consider combining them with embossing, die-cutting, or even metal stamping to add extra texture and dimension to your projects. Experiment with different materials and techniques to discover new possibilities.
What’s the best way to store and organize my butterfly templates?
To keep your digital and physical templates organized, consider creating a dedicated folder or database for each project. Label and categorize files according to theme, type, or material used. You can also use cloud storage services to access your templates from anywhere and collaborate with others.
Can I create my own custom butterfly templates using software?
Yes, designing your own butterfly template is definitely possible! Familiarize yourself with graphic design software like Adobe Illustrator or Inkscape, and experiment with different shapes, patterns, and textures. Keep in mind that creating a high-quality template requires attention to detail and knowledge of design principles.