
Colouring is an essential part of childhood development, providing a creative outlet while fostering fine motor skills. For kids who love nothing more than indulging in sweet treats, colouring pictures of ice cream can be a dream come true! But it’s not just about having fun – this activity also offers numerous benefits that can support your child’s cognitive growth and overall well-being. By colouring ice cream pictures, kids can explore their creativity, improve their hand-eye coordination, and develop problem-solving skills in a playful way.
In this article, we’ll delve into the world of colouring ice cream pictures for kids. We’ll share tips on getting started, techniques to enhance your child’s experience, and fun activities that will make colouring even more engaging. Whether you’re a parent looking to encourage your child’s creativity or an educator seeking new ways to engage young learners, we’ve got you covered.
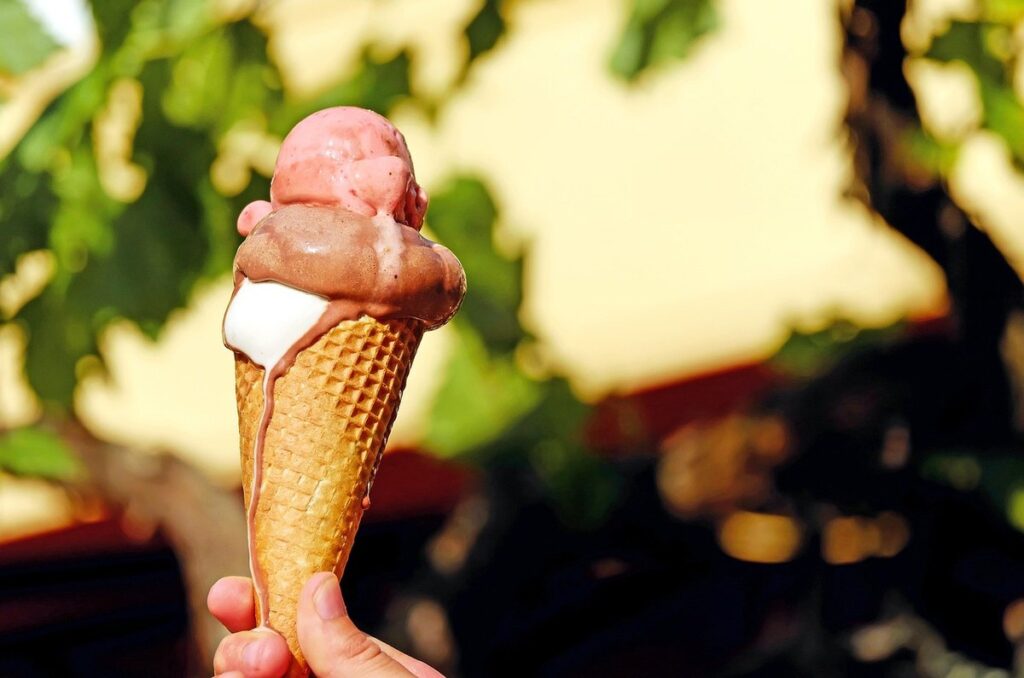
Introduction to Colouring Ice Cream
Let’s get started on our yummy adventure! In this first part, we’ll learn how to mix and match colours to create a rainbow of ice cream treats.
Why Colouring is Good for Kids
Colouring has long been recognized as an essential activity for children’s development, and it’s no surprise why. When kids colour, they’re engaging in a multifaceted experience that benefits their cognitive abilities, fine motor skills, and emotional well-being.
Cognitively, colouring helps children develop problem-solving skills, hand-eye coordination, and spatial awareness. As they navigate between different colours and shapes, they’re processing information, making connections, and exercising critical thinking. For instance, when colouring a picture of an ice cream cone, kids need to consider the shape and size of the cone in relation to the scoop of ice cream.
Colouring also boosts fine motor skills as children learn to control their pencil or crayon, developing dexterity and hand strength. This is especially important for young children who are still refining their motor skills. Emotionally, colouring provides an outlet for self-expression, allowing kids to convey their feelings and imagination through vibrant colours.
To encourage your child’s creativity, try setting aside dedicated time each day or week for colouring. Offer a variety of materials, such as crayons, markers, or paints, and let them choose their favourite subjects – like ice cream pictures! As they colour, engage with them, ask questions, and provide positive feedback to foster their love for creative expression.
Choosing the Right Tools and Materials
When it comes to colouring pictures of ice cream for kids, choosing the right tools and materials is essential. You want to ensure that the colours stay vibrant and the paper can handle repeated use.
For kids’ colouring projects, we recommend using high-quality paper that’s specifically designed for drawing and colouring. Look for paper with a smooth finish, as it will make it easier for little hands to hold the pencil or crayon. You can opt for plain white paper or choose themed ice cream-coloured paper to add an extra touch of fun.
When it comes to coloured pencils, markers, and crayons, we recommend using washable ones that are safe for kids’ use. These will make clean-up a breeze in case of any accidental spills. Some popular brands offer vibrant colours and soft tips that are perfect for creating detailed ice cream designs. Consider investing in a few sets of these materials to keep your colouring sessions well-stocked.
Remember, the right tools can bring out the best in your child’s artwork. With the right materials, they’ll be able to focus on creating their own unique ice cream masterpieces!
The Psychology of Colour in Ice Cream Pictures
Colour plays a huge role in making ice cream pictures irresistible, but have you ever stopped to think why certain colours are more effective than others in grabbing kids’ attention? Let’s dive into the psychology behind it all.
Understanding Colour Preferences
When it comes to colouring pictures of ice cream for kids, understanding their unique preferences is key. You might be surprised at how much influence colour has on a child’s creativity and self-expression. For instance, if your little one loves the bright colours of bubblegum pink or electric blue, they may prefer a picture with these hues.
To tap into this creative potential, try observing what colours your child gravitates towards when given free rein to choose from crayons, markers, or paint. Do they tend towards bold and bright, or softer pastels? Understanding their colour inclinations can help you plan future activities and tailor the colour palette of your ice cream pictures accordingly.
By giving children control over the colours used in their art projects, you not only encourage creativity but also develop their decision-making skills. This approach can also be a fun way to bond with your child while sparking imagination and problem-solving abilities.
Emotional Connection to Colour
When it comes to colouring pictures of ice cream, the emotional connection we make with certain hues can be just as important as the sweetness of the treat itself. Did you know that colours have the power to evoke emotions and influence our mood? Let’s dive into how different colours can create a specific atmosphere when used in ice cream pictures.
For instance, red is often associated with excitement and energy – perfect for a bright strawberry sundae or a vibrant cherry on top! Using this colour can get your little one’s creative juices flowing and add an extra layer of fun to their artwork. On the other hand, blue is calming and soothing – ideal for a creamy blueberry or a serene vanilla cone. By incorporating these colours, you can help your child express their emotions in a more subtle way.
Consider using warm colours like orange and yellow to create a sense of happiness and optimism. These hues are perfect for depicting a scoop of lemon ice cream or a sprinkle of cinnamon on top! Conversely, cool colours like green and purple can represent growth and creativity – great for illustrating a fresh mint chip or a rich chocolate brownie.
Step-by-Step Guide to Colouring Ice Cream Pictures
Let’s dive into creating a beautiful ice cream picture! This step-by-step guide will walk you through colouring your favourite ice cream treats.
Choosing the Perfect Ice Cream Picture
When it comes to choosing the perfect ice cream picture for your little ones to colour, it’s essential to pick one that sparks their imagination and creativity. A dull or uninspiring image can quickly lead to boredom, so let’s dive into some tips on how to select a fun and engaging ice cream picture.
Firstly, consider the age group of the children who will be colouring the picture. For younger kids, simpler designs with bold colours and fun shapes are usually a hit. A picture of a smiling ice cream cone or a happy sundae with colourful toppings is perfect for this age group. On the other hand, older kids might enjoy more complex designs featuring different types of ice cream, sauces, and decorations.
Think about the theme you’re going for as well. Do you want to focus on summer vibes, beach parties, or maybe even a magical winter wonderland with hot chocolate? A picture that fits your theme will not only add context but also make colouring more enjoyable.
Ultimately, choose a picture that reflects your child’s personality and interests. If they love a particular flavour of ice cream, look for a picture featuring that exact treat. This personal touch will make the experience even more special and memorable!
Basic Colouring Techniques
When colouring ice cream pictures, it’s essential to master some basic techniques that will bring your creation to life. Let’s start with outlining, which is the foundation of any coloured picture. Use a black marker or fine-tip pen to draw a light outline around each part of the ice cream, such as the scoop, cone, and toppings. This helps define the shapes and gives your colouring a clear structure.
Next, move on to shading, which adds depth and dimension to your picture. To create smooth shades, use gentle circular motions with your coloured pencils or markers. Focus on areas where the light would naturally fall, such as the curved surfaces of the ice cream scoop or the ridges on the cone. You can also experiment with layering different shades to achieve a realistic look.
Don’t forget about textures! Using different colours can help distinguish between various textures in your picture. For instance, you could use blue for the sprinkles and pink for the whipped cream. Experiment with mixing colours to create unique shades that fit the mood of your ice cream picture.
Advanced Colouring Techniques for Older Kids
Now that you’ve mastered the basics, it’s time to take your ice cream colouring skills to the next level! This section will show you some advanced techniques to make your pictures truly pop.
Layering Colours for Depth
When it comes to creating visually appealing ice cream pictures, layering colours is an essential technique that older kids can master. By applying colours in layers, you can add depth and dimension to the picture, making it look more realistic and inviting.
To get started, choose a base colour for your ice cream cone or bowl. This will provide a solid foundation for the rest of your design. Next, select a secondary colour that complements the base colour. For example, if you’re using yellow as your base colour, you can use pink or orange as your secondary colour.
Now it’s time to layer on some texture and shading. Use a darker shade of your base colour to create shadows and add depth to your design. You can also experiment with mixing colours to create unique shades and hues. For instance, mixing blue with white will give you a pale blue that’s perfect for adding highlights to your ice cream.
Remember, the key to layering colours is to have fun and be creative! Encourage older kids to experiment with different combinations of colours and techniques to achieve the desired effect. With practice, they’ll become pros at creating mouth-watering ice cream pictures in no time.
Creating Texture with Different Materials
When it comes to creating realistic-looking ice cream pictures, texture is just as important as colour. To add some extra oomph to your drawings, try using different materials to create unique textures for each scoop of ice cream.
For a creamy texture, use a mixture of pastels and blending stumps. Start by applying layers of soft pink or white pastel to create the base tone, then blend with a stump to soften the edges and create a smooth finish. You can also add some darker shades around the edges for a more realistic effect.
If you want to create a crunchy texture, like nuts or sprinkles, try using glitter markers or stickers! These are perfect for adding a bit of sparkle and visual interest to your drawing. Simply apply the glitter in small dots or lines, depending on what kind of topping you’re trying to depict.
For a more rustic, chunky texture, use thick crayons or coloured pencils with a rough edge. Apply heavy layers of colour to create a chunky, 3D effect – it’s perfect for depicting rocky road or brownie bits! Remember, the key is to experiment and have fun with different materials until you find the textures that work best for your picture.
Tips for Parents and Caregivers
As you help your little ones colour their favourite ice cream treats, it’s normal to wonder how to make the experience safe and enjoyable for all involved. Here are some helpful tips just for you!
Encouraging Creativity
Encouraging kids to think outside the box and express their creativity while colouring ice cream pictures is a great way to promote their artistic development. As a parent or caregiver, you play a significant role in nurturing their imagination and innovation.
One way to encourage creativity is by providing open-ended prompts. Instead of asking them to simply “colour this ice cream cone,” say something like, “Imagine you’re at the beach on a hot summer day. What does your ice cream look like?” This will help them think beyond the literal representation and explore their creativity.
You can also try giving them unconventional tools to colour with, such as cotton buds, sponges, or even household items like straws and pipe cleaners. These unusual materials will add an extra layer of excitement and experimentation to their colouring experience.
Another tip is to join in on the fun! Sit down alongside your child and show them that creativity is a collaborative process. You can also display their artwork proudly, encouraging them to make more and be proud of their creations. By doing so, you’ll not only be fostering their creative skills but also strengthening your bond with them.
Managing Mess and Expectations
Managing mess and expectations is an essential part of making colouring pictures of ice cream a enjoyable experience for both you and your child. The first step is to set realistic expectations about what it means to colour pictures. Explain to your child that mistakes are okay, and they can be fixed with a little creativity.
When engaging in the colouring process, try to minimize mess by using washable markers or crayons. Cover your workspace with paper or a tablecloth to protect against stains. If your child accidentally colours outside the lines, gently remind them it’s okay and encourage them to experiment with different techniques.
It’s also crucial to manage your own expectations about what the end product should look like. Avoid criticizing your child’s work, as this can lead to frustration and disappointment. Instead, focus on the process of creating something together. Praise their efforts and creativity, even if the final result is not perfect.
Conclusion and Further Exploration
Now that you’ve coloured all these yummy ice cream pictures, let’s summarize what we learned together and see where your creativity takes you next!
Celebrating Finished Work
As you’ve worked through this fun and creative activity with your child, it’s time to celebrate their finished masterpiece! Displaying your child’s coloured ice cream picture proudly can bring a sense of accomplishment and pride. Consider framing the artwork or placing it in a special spot where it can be admired for years to come.
You might also want to create a display or gallery wall dedicated to your child’s artwork, including this colourful ice cream picture alongside other creations. This way, they’ll see their progress and growth as an artist over time.
Another idea is to have your child write a story or poem inspired by the coloured ice cream picture. This can be a great way to encourage creative writing and storytelling skills while keeping the activity’s memory alive.
Remember to give genuine praise and acknowledgement when displaying or discussing the artwork with your child. Be specific about what you like, whether it’s the colours used, the composition, or the overall creativity that went into the picture.
Additional Resources for Colouring Fun
If you and your little ones are hooked on colouring pictures of ice cream, there’s even more fun to be had! Beyond this blog post, here are some fantastic resources where kids can discover even more colourful and mouth-watering ice cream illustrations.
For those who love to get creative with their favourite treats, consider investing in “Colour Your Own Ice Cream” books. These books are filled with detailed illustrations of various ice cream flavours, from classic vanilla to decadent chocolate brownie. Kids will have a blast colouring in their own cone or sundae creations!
If you’re looking for something more interactive, there are several fantastic apps and online platforms that offer digital ice cream colouring pages. Some popular options include Colourise, Prisma, and Autodesk Sketchbook. These tools not only provide access to endless ice cream illustrations but also allow kids to experiment with different colours and techniques.
To make the most of these resources, encourage your child to explore each one, discovering new and exciting designs along the way. Who knows what their next favourite flavour will be?
Frequently Asked Questions
How Can I Encourage My Child to Use Their Imagination When Colouring Ice Cream Pictures?
Encourage your child’s imagination by asking open-ended questions, such as “What kind of ice cream flavor is this?” or “What toppings would you add to make it even more special?” This will help them think creatively and explore their own ideas. You can also provide different scenarios or props, like a beach ball for a seaside-themed ice cream, to inspire their creativity.
What If My Child Struggles with Mixing Colours to Create Different Shades?
If your child is having trouble mixing colours, start by introducing basic colour theory concepts, such as primary and secondary colours. Use simple exercises, like mixing two primary colours to create a secondary colour, to help them understand the basics. You can also use pre-mixed paints or markers with built-in colour combinations to make it easier.
Can I Adapt Colouring Ice Cream Pictures for Children with Special Needs?
Yes. Colouring can be adapted for children with special needs by using assistive technology, like speech-generating devices or touch-based tools, to facilitate their creative expression. You can also use tactile materials, such as textured paints or paper, to accommodate children who prefer hands-on activities.
How Do I Handle Mess and Expectations When Colouring with My Child?
To manage mess and expectations, prepare a dedicated colouring space with washable supplies and cover surfaces with paper or a tablecloth. Communicate clearly with your child about what you expect in terms of clean-up and creativity. Consider setting small goals and rewards to motivate them.
What Are Some Tips for Encouraging Creativity When Colouring Ice Cream Pictures?
To encourage creativity, provide various materials and tools, like glitter, stickers, or different brushes, that can add unique textures and effects to their artwork. Ask your child to experiment with new techniques, such as layering colours or using stencils, to challenge themselves creatively.