
Are you ready to waddle your way into the world of creative crafting? If so, we’ve got a fun and easy project that’s perfect for families or individuals who want to express their artistic side: making a cotton ball penguin craft! Who wouldn’t love these adorable little birds with their fluffy white feathers and tuxedo-like markings? With just a few simple materials, you’ll be well on your way to creating your very own penguin pals. In this article, we’ll take you through each step of the process in a clear and easy-to-follow manner. You’ll learn how to create the perfect cotton ball base, add those adorable eyes and beak details, and finish off with some finishing touches that will make your penguin stand out. Get ready to unleash your creativity and have fun making this adorable cotton ball penguin craft!
Introduction to the Project
Welcome to our fun and easy cotton ball penguin craft project, where you’ll learn how to create adorable waddling friends from start to finish. This introduction sets the stage for a creative adventure.
Benefits of a Cotton Ball Craft
Spending quality time with loved ones is essential for creating lasting memories and strengthening relationships. One way to achieve this is by engaging in a fun and creative activity together – like making a cotton ball penguin craft! Not only is it an enjoyable experience, but it also offers numerous benefits that can be felt long after the project is complete.
Developing fine motor skills is one of the primary advantages of working with small materials like cotton balls. As you carefully pick up and place each ball onto your penguin’s tuxedo-like feathers, you’re improving hand-eye coordination and dexterity. This skill is crucial for everyday activities, such as tying shoelaces or even playing musical instruments.
Beyond fine motor skills, creating a cotton ball craft allows individuals to express their creativity freely. You can experiment with different colors, patterns, and textures to bring your penguin to life. Whether you’re working individually or in a group, this creative outlet fosters self-expression and confidence.
Materials Needed for the Project
To bring your cotton ball penguin craft to life, you’ll need some essential materials. You can find most of these at your local craft store or online. Start with the obvious: a bunch of fluffy cotton balls! Depending on how big you want your penguin to be, you might need anywhere from 20 to 50 cotton balls. Make sure to grab a few extra just in case.
Next up are some basic crafting supplies like white glue and scissors. You’ll also need some sturdy paper for the body and flippers of your penguin. Construction paper or cardstock work great for this project. If you’re feeling fancy, add some waddling feet by cutting out two small oval shapes from a contrasting color.
Consider adding some personality to your penguin with additional embellishments like googly eyes, a beak made from orange felt, or even a scarf crafted from yarn. For these extra details, check out online craft stores like Amazon or Michael’s for inspiration and supplies. You can also repurpose items you have at home, such as buttons or ribbons, to add a unique touch. Have fun experimenting with different materials to make your penguin truly one-of-a-kind!
Designing Your Penguin Craft
Now that you’ve gathered all your materials, it’s time to get creative and start designing your adorable cotton ball penguin craft. Let’s dive into the fun part!
Understanding Penguin Anatomy
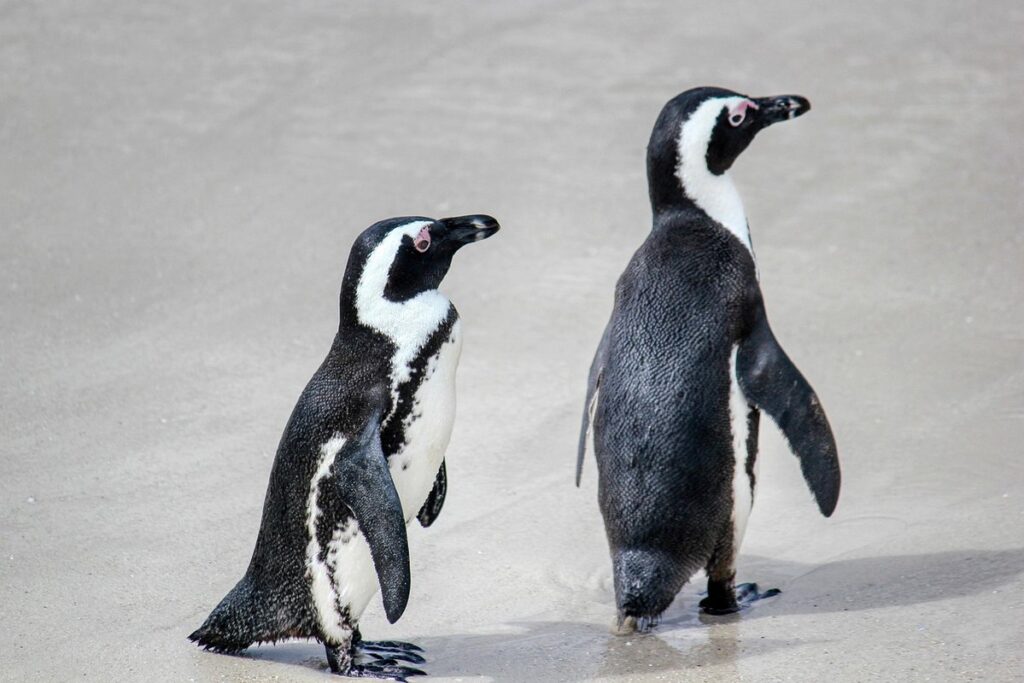
When working on your cotton ball penguin craft, it’s essential to understand the physical characteristics of these adorable birds. Let’s dive into the distinctive features that make penguins so unique and see how you can replicate them in your project.
Penguins are known for their tuxedo-like feathers, which are actually a type of flightless bird plumage. To mimic this look, use black cotton balls to create the “tuxedo” effect on your penguin’s body. You can glue these in rows or use a small brush to paint them on for a more textured look.
Their flippers are another defining feature of penguins. In reality, they’re modified wings that help penguins swim and dive in the water. For your craft project, you can create flipper shapes using white cotton balls and attach them to the sides of your penguin’s body.
Finally, penguins have distinctive beaks that range from bright orange to yellow. You can use orange or yellow cotton balls to create a similar look on your penguin’s head. Remember to shape and glue these carefully to achieve the right proportions. By incorporating these physical characteristics into your craft project, you’ll end up with a remarkably realistic penguin!
Choosing a Background for Your Penguin
When it comes to adding a background to your cotton ball penguin craft, you’ve got several options to choose from. Each one can help bring your penguin’s habitat to life and make the overall project more visually appealing.
One option is to use paper textures as your background. You can opt for a simple white or gray sheet of cardstock, or get creative with patterned paper like polka dots or chevrons. Paper textures are easy to work with, inexpensive, and can be easily cut into shape using scissors or a craft knife.
Another option is to use fabric as your background. This adds an extra layer of texture and interest to the project. You can choose a plain color or patterned fabric like stripes or florals. Just make sure to secure it to a piece of cardboard or cardstock before adding your cotton ball penguin, so it doesn’t get damaged.
Digital designs are also worth considering. These can be downloaded from websites or apps and printed onto paper or cardstock. They offer endless design options, from realistic landscapes to whimsical illustrations. The benefits of digital backgrounds include ease of use and instant customizability.
Creating the Cotton Ball Texture
Now that you have a pile of cotton balls, it’s time to create the textured look by gently compressing them onto your penguin figure. This is where the magic happens!
Applying Glue to the Cotton Balls
When applying glue to the cotton balls, it’s essential to do so in a way that creates a textured surface. To achieve this, you’ll want to use a generous amount of glue, but not so much that it causes clumping. A good rule of thumb is to apply a small dot of glue to each cotton ball and then gently spread it outwards with your fingers or a craft tool.
To avoid clumping, make sure the cotton balls are evenly spaced apart on your work surface before applying the glue. This will prevent them from sticking together as the glue dries. You can also use a toothpick or small skewer to carefully separate any stuck-together cotton balls.
As you apply the glue, gently agitate the cotton balls back and forth with your fingers to distribute the adhesive evenly. This is especially important when working with larger numbers of cotton balls. By doing so, you’ll create an even coat that’s perfect for creating a textured surface.
Building Up the Layers
Now that you have a good foundation of glueing and arranging your cotton balls, it’s time to build up those layers for a truly dimensional texture. When creating the cotton ball penguin feathers, remember that layer upon layer is key to achieving that thick, fluffy look.
To start building up the layers, apply a small amount of glue to the surface you’re working on, and then add one or two cotton balls at a time. Make sure they’re evenly spaced and not overlapping each other too much. As you continue adding layers, experiment with different amounts of glue and cotton ball sizes to achieve the desired texture.
Remember that it’s better to err on the side of caution when building up layers – it’s easier to add more than to remove excess. Stop adding layers once you’ve reached the desired thickness, usually around 3-5 inches deep. This will ensure that your feathers aren’t too bulky or overwhelming for the penguin body.
As a general rule of thumb, aim for about 1-2 mm of glue between each layer for best results. This might take some trial and error to get right, but don’t worry – it’s all part of the creative process!
Adding Details to Your Penguin
Now that you have your penguin’s basic shape, it’s time to add some personality and flair with details like eyes, beaks, and feet. Let’s dive into the fun part – adding all the finishing touches!
Using Scissors to Create Features
Now that you have your penguin’s body and flippers created, it’s time to add some personality with features like eyes, nostrils, and a beak. One of the most effective ways to create these features is by using scissors to cut out shapes from paper or cardstock.
To start, gather your paper or cardstock in various colors to match your penguin’s coloring. You’ll want to choose a black for the eyes and nostrils, as well as a dark gray or brown for the beak. Use a pair of sharp scissors to carefully cut out small circles for the eyes, making sure they are evenly sized.
When cutting out the nostrils, you can use a slightly different technique – try using a smaller circle cutter or even a toothpick to create the holes. For the beak, aim for an elongated triangle shape, using a ruler as a guide if needed. Experiment with different angles and sizes to achieve a realistic look.
Embellishing with Markers or Paints
Now that you’ve given your penguin some basic shape and texture with cotton balls, it’s time to add some personality and color! One of the most fun ways to do this is by using markers or paints. But before we dive into the creative part, let’s talk about safety first.
When working with art supplies like markers or paints, make sure you’re in a well-ventilated area and wash your hands thoroughly afterwards. For younger crafters, consider using washable markers or tempera paint that’s specifically designed for kids. This will make clean-up a breeze and reduce the risk of accidents.
Now, let’s get creative! With markers, try adding details like eyes, beaks, or even feathers to your penguin. You can also use different colors to create texture and depth on its tuxedo-like belly. For paints, consider using watercolors or acrylics for a more vibrant look. Don’t forget to add some personality with glitter or stickers – just be sure to follow the same safety precautions as before.
Remember, the most important thing is to have fun and experiment with different techniques until you find what works best for your penguin!
Displaying Your Finished Penguin
Now that you’ve created your adorable cotton ball penguin, it’s time to showcase its uniqueness and find a special place for it in your home. Let’s learn how to display it proudly!
Display Ideas for a Cotton Ball Penguin
When it comes to displaying your finished cotton ball penguin, you want to showcase its unique charm and personality. Here are some creative ideas to inspire you:
One of the simplest yet elegant ways to display your penguin is to frame it. You can use a small picture frame or a shadow box to add depth and dimension to the piece. This is especially suitable if you’ve added embellishments like glitter, sequins, or beads to give it an extra touch.
Alternatively, you could turn your penguin into a beautiful ornament for your Christmas tree or any other special occasion. You can attach a small loop or string to the top of the penguin and hang it on your tree, creating a whimsical and playful scene.
For a more immersive experience, consider creating a diorama with multiple penguins. This can be done by arranging them in a miniature landscape made from cardboard, felt, or even paper mache. You could create a snowy scene with icebergs, mountains, or even a beachy setting with palm trees and seashells.
Remember, the possibilities are endless when it comes to displaying your finished penguin! Get creative and have fun experimenting with different ideas until you find one that showcases its unique charm.
Tips for Preserving the Craft
Now that you’ve completed your adorable cotton ball penguin craft, it’s time to think about preserving its texture and longevity. You want your masterpiece to remain a conversation starter for years to come, right? To achieve this, consider sealing it with varnish or using archival materials.
When choosing a varnish, opt for one specifically designed for crafts made from paper or fabric products. These types of varnishes are usually water-based and non-yellowing, ensuring your penguin’s colors remain vibrant. Apply a thin layer to the entire piece, making sure to follow the manufacturer’s instructions. This will protect it from dust, moisture, and fading.
Alternatively, you can use archival materials like acid-free tissue or matboard to create a protective barrier between your penguin and the environment. These materials are specifically designed for storing artwork and documents, so you know they’ll keep your craft safe.
Remember, the key is to be gentle when handling your sealed or archived piece. Avoid exposing it to direct sunlight, moisture, or extreme temperatures. By taking these simple steps, you can enjoy your cotton ball penguin craft for years to come.
Frequently Asked Questions
What if I don’t have cotton balls of different sizes?
You can use a hot glue gun to melt the ends of cotton balls, allowing you to stretch them to achieve the desired size for your penguin craft. This technique is especially helpful when working with smaller or irregularly shaped cotton balls.
Can I use other materials instead of markers or paints for embellishments?
Yes! While markers and paints are popular choices for adding details to your penguin craft, you can also experiment with other materials like glitter, stickers, or even real feathers. Just be sure to follow the recommended application instructions for each material to ensure a long-lasting finish.
How do I prevent my cotton ball penguins from falling apart over time?
To extend the life of your cotton ball penguin craft, apply a clear coat of varnish or Mod Podge to protect it from dust and moisture. This will help maintain its texture and appearance even after repeated handling.
Can I make variations of this craft using different types of materials?
Absolutely! Consider adapting this project by substituting cotton balls with wool roving, felt, or even shredded fabric. These materials can add unique textures and possibilities for customization to your penguin design.