
Are you ready to unleash your little one’s creativity and help them develop essential skills through play? Slime and sand activities are not just fun, but they also promote cognitive, emotional, and motor skill development in kids. These sensory-rich materials allow children to express themselves freely while learning about textures, shapes, and colors.
In this article, we’ll show you how to create a safe and engaging environment for your child to explore slime and sand with our easy-to-follow DIY projects and tips. We’ll cover everything from setting up a messy-free workspace to encouraging creativity and imagination in your little one. By the end of this article, you’ll have all the tools and inspiration you need to get started on these exciting activities that will stimulate your child’s growth and development while having a blast!
Introduction to Slime and Sand
Get ready to dive into the fun world of slime and sand, where you’ll learn all about these super cool materials that kids just love to play with!
Benefits of Sensory Play
Sensory play is an essential part of childhood development, and slime and sand are two of the most popular and engaging sensory materials for kids. But what exactly makes sensory play so beneficial? The answer lies in its impact on cognitive, emotional, and motor skill development.
When children engage in sensory activities like playing with slime or sand, they’re not just having fun – they’re also developing important skills that will benefit them throughout their lives. For example, sensory play helps children develop their fine motor skills as they manipulate the materials, such as stretching and molding the slime or digging and pouring the sand. This is especially beneficial for young children who are still learning to use their hands and fingers.
In addition to physical development, sensory play also supports cognitive growth by encouraging exploration, discovery, and problem-solving. Kids love to experiment with different textures, smells, and colors, which helps them develop critical thinking skills and learn about cause-and-effect relationships.
Preparing Your Child for Sensory Activities
As you prepare to introduce slime and sand activities to your child, it’s essential to create a safe environment that fosters exploration and creativity. Before starting, take some time to prepare your space and establish clear boundaries.
First, choose a dedicated area for slime and sand play, free from breakable or valuable items. Cover the floor with a plastic tablecloth or old sheets to make cleanup easier. Make sure any electrical outlets are safely secured, and consider using outlet covers for added protection.
Establishing boundaries is also crucial. Let your child know that slime and sand activities should take place in designated areas only, and that certain materials (like small toys or electronics) are off-limits. Encourage them to wash their hands after playtime and to avoid touching their face or eyes while handling slime or sand.
To further prepare your child, explain the concept of “clean zones” – areas where messy activities should not be performed. This will help them develop self-regulation skills and respect for others’ spaces. By setting clear expectations and preparing a safe environment, you’ll set your child up for a fun and engaging slime and sand experience!
Making Slime: A Fun and Easy Activity
Get ready for some gooey fun as we show you how to make slime from scratch, using just a few simple ingredients that are easy to find. It’s a great way to get creative and have fun!
Basic Slime Recipe
Let’s get started with making slime! The basic ingredients you’ll need to make slime are probably already lurking in your kitchen. You’ll need a bottle of white glue, such as Elmer’s or Washable School Glue, and water. For the fun part, grab some food coloring – this is where kids can let their creativity shine! Choose one color for now, but remember, you can always mix colors later to create new hues.
Now, here comes the science-y part: borax! Borax is a necessary ingredient that helps our slime come together. Don’t worry; it’s not as scary as it sounds. In fact, borax is a common household item found in many laundry detergent packets and some cleaning products. Just be sure to ask an adult for help when measuring out the right amount.
To make slime, start by mixing together 1/2 cup of glue and 1/4 cup of water in a bowl. Add a few drops of food coloring – remember, too much is better than not enough! Mix it up until the color is evenly distributed. Next, slowly add borax to the mixture, stirring constantly with a spoon or spatula.
Customizing Your Slime
Now it’s time to unleash your creativity and make your slime truly one-of-a-kind! One of the best things about making slime is that you can customize it to fit your personality and style. Let’s talk about some ways to do just that.
Colors: Add a splash of color to your slime by mixing in a few drops of food coloring or liquid watercolors. You can create a single solid hue, like bright pink or electric blue, or mix different colors together to create a unique ombre effect. For example, if you combine red and yellow, you’ll get a lovely orange shade.
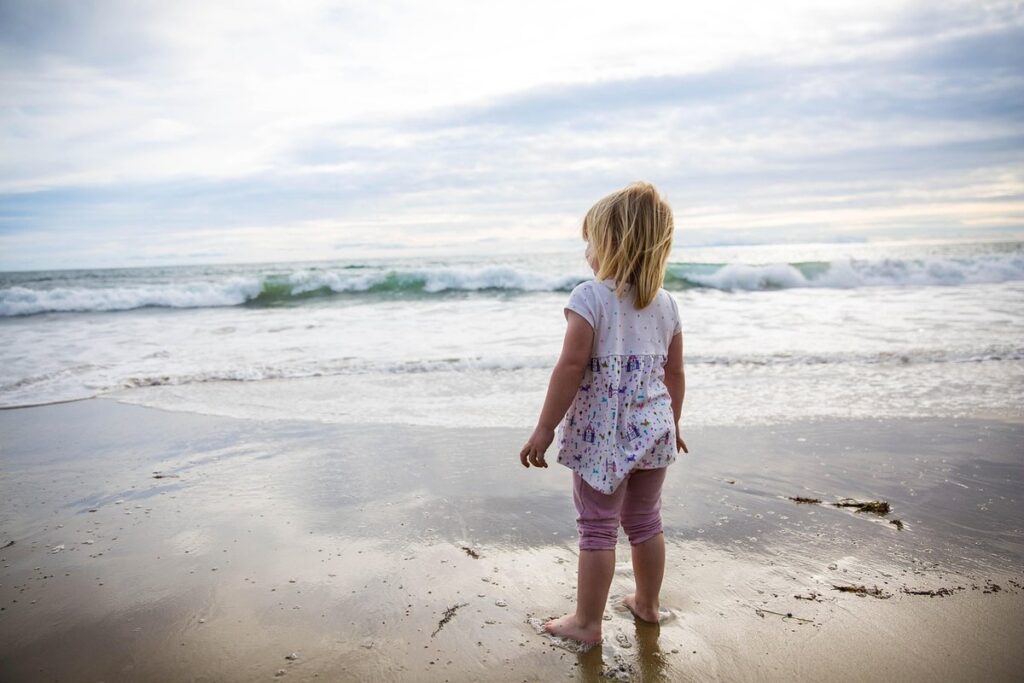
Textures: Experiment with adding different textures to your slime for an extra-special touch. Try mixing in some glitter, sequins, or even small beads for a fun surprise. If you want something a bit more tactile, add some sand, rice flour, or even shredded coconut to give your slime a soft and squishy feel.
Add-ins: Take your slime to the next level by incorporating other fun ingredients like scents, herbs, or spices. You can use essential oils to create fragrant slime, or mix in dried herbs like lavender or chamomile for a soothing experience. Get creative and experiment with different combinations – the possibilities are endless!
Making Sand Art: A Creative Outlet for Kids
Get ready to unleash your child’s creativity as we dive into making beautiful sand art, a fun and easy activity perfect for kids of all ages!
Introduction to Sand Art
Creating sand art is an excellent way to encourage kids’ creativity and imagination while developing their fine motor skills. Sand art involves crafting intricate designs, patterns, and shapes using colored sands, shells, or other natural materials. This activity not only allows children to express themselves but also helps them develop hand-eye coordination and dexterity.
To start with sand art, you’ll need a container filled with different types of sand, such as colored play sand, white sand, or even glass beads. You can also add seashells, pebbles, or small stones to create more interesting textures. Begin by demonstrating how to create simple designs using the wet sand technique. This involves applying water to the sand and shaping it with a tool or your hands.
As kids get more comfortable with the process, you can encourage them to experiment with different techniques, such as layering colors or creating patterns using small objects. By doing so, they’ll develop their problem-solving skills and learn to think creatively.
Tips for Creating Amazing Sand Art
Creating amazing sand art requires some creativity and practice, but with these tips, you’ll be well on your way to creating stunning designs. First, experiment with different shapes, such as spheres, cones, and pyramids, by using a variety of tools like seashells, sticks, or even household items like straws.
Patterns are another great way to add depth and interest to your sand art. Try creating stripes, polka dots, or chevrons using a stick or skewer to draw lines in the sand. You can also use small objects like beads, pebbles, or even seashells to create intricate patterns.
To make your designs truly unique, don’t be afraid to mix and match different shapes and patterns. For example, you could create a sphere surrounded by concentric circles, or a pyramid topped with a chevron pattern. Remember, the most important thing is to have fun and let your imagination run wild! Practice makes perfect, so keep experimenting and soon you’ll be creating stunning sand art designs that will impress anyone who sees them.
Some other tips to keep in mind include: using a mixture of fine and coarse sand for better texture, working on a smooth surface like a sandbox or a flat tray filled with sand, and taking your time to carefully create each design. With these tips and a little patience, you’ll be creating amazing sand art designs that will be the envy of all your friends!
Combining Slime and Sand: A New Twist on Old Favorites
Get ready to shake things up by combining two favorite textures: slime and sand, for a fun and messy sensory experience that kids will love experimenting with!
Ideas for Mixing Slime and Sand
Get ready to unleash your creativity and take slime-making to the next level! Combining slime and sand is an exciting way to create new textures and visual effects. One idea is to make sand-filled slime, also known as “slime-sand hybrid” or “sand-infused slime.” To do this, mix equal parts of clear glue, water, and sand in a bowl until the sand is fully incorporated. Add some food coloring, glitter, or scents to give it a personalized touch.
Another creative way to combine slime and sand is by making slime-shaped sand art. Use a cookie cutter or a mold to shape your slime into fun shapes like stars, hearts, or animals. Then, use a small brush or a stick to draw patterns or designs on the slime with colored sand or glitter. You can also press colored sand onto the slime surface for a unique effect.
Tips: Experiment with different ratios of slime to sand for varying textures and effects. Try using scented oils or glitters to enhance your creations. Don’t be afraid to get messy and have fun!
Safety Considerations When Mixing Substances
When mixing slime and sand, it’s essential to prioritize safety. This combination can be messy, and certain materials may cause skin irritation or eye problems if not handled properly. To avoid any potential hazards, make sure to wear protective gloves and eyewear before starting.
Choose a well-ventilated area for mixing the slime and sand. If you’re using borax or other strong chemicals, work near an open window or use a fan to circulate the air. Gloves will protect your skin from any irritants, but be aware that some materials may still cause staining or discoloration.
When working with slime and sand, it’s easy to get carried away and forget about eye safety. Wear goggles or glasses to shield your eyes from any potential splashes or spills. If you do accidentally get something in your eye, flush it out immediately with water and seek medical attention if necessary.
Remember, safety is a top priority when crafting slime and sand creations. With the right precautions in place, you can enjoy this fun activity without worrying about your skin or eyes.
DIY Slime and Sand Projects for Kids
Get creative and have fun making messy masterpieces with these easy-to-follow DIY slime and sand projects that are perfect for little hands to get stuck in. From squishy textures to sandy sculptures, the possibilities are endless!
Project 1: Slime Factory
Get ready to set up your very own slime factory at home with this fun and easy project! All you need is a little creativity and some cardboard boxes. Start by collecting various-sized boxes to create different sections of the factory. Cut out windows, doors, and other details to make it look like an actual factory.
Inside one of the largest boxes, create a “slime mixing” area with two smaller containers filled with water and glue. Add some food coloring and glitter for extra fun. Have your kids mix and match different slime recipes using this basic setup. You can also include small tools like spatulas, spoons, and scoops to make it more engaging.
To take it to the next level, use another box as a “slime storage” area, where kids can store their finished slime creations. Finally, decorate the entire factory with paint, stickers, or markers to give it a personalized touch. This project encourages creativity, problem-solving, and experimentation while having loads of fun making slime!
Project 2: Sand Art Display
Now that your little ones have created their masterpieces with sand art, it’s time to showcase them proudly! A well-crafted display can make all the difference in bringing out the colors and textures of their artwork. One great way to do this is by using frames or shadow boxes.
Frames are a popular choice for displaying sand art, as they come in various sizes and shapes. You can choose from simple wooden or metal frames to more decorative ones with intricate designs. When selecting a frame, consider the size of your child’s artwork and leave some space around it for a clean look. For example, if your child’s sand art piece is 8×10 inches, go for an 11×14 inch frame.
Alternatively, you can use shadow boxes to add depth and dimension to the display. These boxes have a recessed area that allows the artwork to be raised, giving it a beautiful perspective. Shadow boxes also provide ample space for adding decorative items like seashells, pebbles, or other beach-themed embellishments.
To make your display even more impressive, consider arranging multiple pieces in a collage-style format within the frame or shadow box. This will create a stunning visual effect and allow you to showcase all of their artwork at once!
Encouraging Creativity with Slime and Sand
Get ready for a blast of creativity as we dive into the world of slime and sand, two fun mediums that can spark imagination in your little ones. With these tactile materials, the possibilities are endless!
Tips for Encouraging Imagination
When engaging kids with slime and sand play, it’s essential to encourage their imagination and creativity. One way to do this is by providing a variety of materials and tools for them to experiment with. For instance, you can offer different textures and colors of slime or add various shapes and sizes of containers for them to use.
Encourage kids to explore and build their own creations, rather than following specific instructions or patterns. Ask open-ended questions like “What do you think will happen if we mix these two colors together?” or “How can you make this castle even taller?”
You can also try setting up different stations or areas for slime and sand play, each with its unique theme or focus. For example, a space station might have glow-in-the-dark slime and star-shaped containers, while a beach scene could feature blue-colored sand and seashell molds.
By giving kids the freedom to experiment and explore, you’ll be helping them develop their imagination and creativity.
Ideas for Extending the Activity
Once you’ve created your slime and sand masterpieces, it’s time to think beyond the craft itself. One of the best ways to extend the activity is by encouraging storytelling and role-playing scenarios. Invite your child to create a narrative around their slime or sand creation. Ask them to describe what it looks like, where it lives, and what kind of adventures it goes on. This can help develop their language skills, imagination, and creativity.
For example, if they created a colorful slime, perhaps it’s a magical potion that brings good luck. You could create a story together about how the slime travels to different places, granting its users with happiness and success. Alternatively, you could set up a pretend play scenario where your child becomes the scientist who creates the slime, using props like test tubes, goggles, and lab coats.
This type of imaginative play not only extends the activity but also fosters critical thinking, problem-solving, and collaboration skills. So why not take it to the next level? Challenge your child to come up with a story or scenario that incorporates multiple senses – what does their slime creation look like, sound like, smell like, feel like, and taste like?
Frequently Asked Questions
Can I use store-bought slime or sand for sensory play, or do I need to make my own?
You can definitely start with store-bought slime or sand, but making your own allows you to customize the ingredients and texture to suit your child’s preferences. Additionally, homemade slime and sand are often more cost-effective and eco-friendly. If you’re short on time, using pre-made products is a great starting point.
How do I prevent messes when working with slime and sand in my home?
To minimize messes, set up a dedicated workspace with a tablecloth or plastic sheeting to make cleanup easier. You can also use storage containers to separate the materials and encourage your child to clean up as they go. For added protection, consider setting up a “slime and sand zone” with washable surfaces and easy-to-clean flooring.
Can I combine different textures and colors of slime or sand for unique sensory experiences?
Absolutely! Mixing and matching various textures and colors can create exciting new sensations and encourage creativity in your child. Try combining glittery slime with textured sand or experimenting with different color combinations to see what your child enjoys the most.
What safety precautions should I take when introducing slime and sand play to young children?
When working with young children, ensure they’re supervised at all times during slime and sand activities. Also, be mindful of any allergies or sensitivities, and provide a safe environment by covering surfaces and washing hands thoroughly after playtime.
How can I extend the lifespan of my homemade slime and prevent it from drying out?
To keep your homemade slime fresh for longer, store it in an airtight container and avoid exposing it to direct sunlight. You can also add preservatives or moisturizers like coconut oil or glycerin to help maintain its texture and longevity. Regularly cleaning and maintaining the workspace can also help prevent slime from drying out.