
Hey there, little artists! Are you excited to create some magical snowflakes this winter season? We’ve got just the thing for you – a fun and easy DIY craft using toilet rolls that’s perfect for kids like you! Who says you need fancy materials to make beautiful things? Not us! With just a few simple steps and some creative thinking, you’ll be creating your own unique snowflakes in no time.
In this article, we’re going to show you how to transform humble toilet rolls into stunning winter wonders. We’ll take you through a step-by-step guide on making these amazing snowflakes, complete with tips and ideas for displaying and sharing your creations with family and friends. So grab a roll (or two, or three…) and get ready to unleash your creativity!
Introduction to Snowflakes
Let’s learn all about snowflakes, those delicate and beautiful creations that fall from the sky! We’ll explore what makes them so unique.
What Are Snowflakes?
So you want to know what snowflakes are? Well, let me tell you, they’re pretty amazing! Snowflakes are delicate, lacy patterns that form in the sky when water vapor in the air freezes into ice crystals. This process happens when the air is cold enough for the water vapor to turn directly into ice without going through the liquid phase.
In nature, snowflakes are formed high up in the atmosphere, where it’s chilly and there’s plenty of moisture. As the air rises, the water vapor cools down, and the water molecules start sticking together to form tiny ice crystals. These crystals then stick together, growing bigger and more intricate as they move through the air.
You might be wondering why snowflakes are so popular with kids (and adults too!). Well, one reason is that they’re incredibly unique – no two snowflakes are alike! This makes them a great theme for crafts and art projects. Plus, making your own paper snowflakes from toilet rolls is a fun and creative way to learn about these beautiful natural wonders.
Importance of Arts and Crafts in Childhood Development
Arts and crafts activities play a vital role in shaping children’s cognitive, emotional, and social development. When it comes to creating snowflakes from toilet rolls, parents can foster essential skills while having fun together.
Cognitively, arts and crafts help children develop problem-solving abilities, hand-eye coordination, and fine motor skills. For instance, cutting out intricate patterns on the toilet roll paper requires focus and attention to detail, which are crucial for future academic success. Additionally, creating unique snowflakes encourages critical thinking and experimentation with different shapes, sizes, and colors.
Emotionally, arts and crafts activities help children express themselves creatively, build confidence, and develop self-esteem. Making mistakes is an integral part of the process, but it allows kids to learn from their errors and try again. This resilience-building exercise is invaluable for future challenges.
Socially, engaging in arts and crafts promotes teamwork, sharing, and communication between children. When working on a joint project, like creating a snowflake garland, they can share ideas, take turns, and learn from one another’s strengths. By incorporating arts and crafts into their daily routine, parents can provide a well-rounded education that nurtures their child’s entire being.
Gathering Materials
To get started, we’ll need some simple materials that you might already have at home, such as toilet paper rolls and a few basic craft supplies. Let’s take a look at what you’ll need to create your very own snowflakes!
Essential Supplies Needed for Snowflake Craft
To create beautiful snowflakes from toilet rolls, you’ll need some essential supplies. Start by gathering the basic materials:
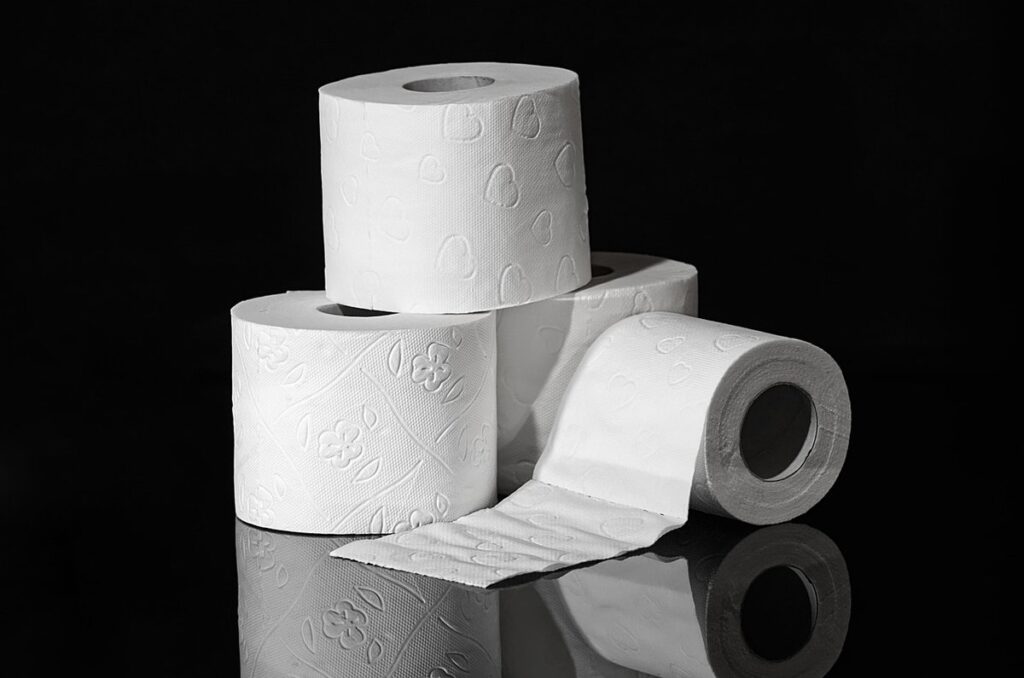
* Toilet paper rolls (you can use a few or several, depending on the size of your project)
* A pair of sharp scissors specifically for cutting and shaping the roll
* White glue or school glue to hold your design in place
* A flat surface to work on, such as a table or countertop
In addition to these basic supplies, you can get creative with extra decorations. Some ideas include:
* Glitter, sequins, or other small sparkly objects to add some extra shine
* Markers, colored pencils, or crayons for coloring and drawing patterns
* String, yarn, or ribbon for hanging your finished snowflakes
* Stickers or stamps to create fun designs
Remember, the beauty of making snowflakes from toilet rolls lies in their simplicity. Feel free to experiment with different materials and techniques to create unique designs. Encourage kids to get creative and have fun with the process! You can also collect multiple rolls to create larger snowflakes or use them as a template for more intricate designs.
Tips for Parents: Preparing Children for Crafts
When it comes to creating beautiful snowflakes from toilet rolls with your kids, preparation is key. But before you even pick up a tube, take some time to prepare your little ones for the crafty fun ahead.
First things first, set up a safe workspace where your child can spread out and get creative without any hazards getting in the way. Make sure they’re sitting at a stable table or desk with enough room to roll out their snowflakes without knocking anything over. You might also want to cover your work surface with some old sheets or newspaper to catch any stray scraps of paper.
Next, talk to your child about what they can expect during this activity and encourage them to think creatively about how they’ll make their snowflake unique. Ask open-ended questions like “What shape do you think would look best?” or “How many layers will we need for a super-snowy effect?” This will help them develop problem-solving skills and foster a sense of ownership over the project.
To minimize mess, have your child wear old clothes or an apron to protect their clothes from any stray glue or paper scraps. You can also prepare some snacks in advance, like crayons and colored pencils, that are easy for little hands to manage. By setting the scene right from the start, you’ll be amazed at what creative masterpieces your kids come up with!
Designing Snowflakes
Now that you’ve got your toilet roll snowflake template, it’s time to get creative and add some personality to your design. Let’s explore how to make it truly unique!
Basic Shapes and Patterns for Kids to Try
Getting creative with basic shapes and patterns is an excellent way to start designing snowflakes. Kids can begin by experimenting with simple shapes like triangles, hexagons, and circles. These shapes can be used individually or combined to create more complex designs.
For example, a triangle can be used as the base of a snowflake, while a circle can add a pretty center detail. Hexagons are also great for creating intricate patterns and adding texture to your design. To get started, cut out multiple copies of each shape from your toilet roll paper.
Once you have all your shapes cut out, it’s time to think about how they can be arranged to create interesting patterns. Try rotating the shapes or flipping them over to see what new designs emerge. You can also experiment with layering shapes on top of each other to add depth and dimension to your snowflake.
Using Templates or Free-Form Designs
When it comes to designing snowflakes from toilet rolls, you’ve got two main approaches: using templates and creating free-form designs. Both methods have their benefits, so let’s dive into the pros of each.
Using templates can be a great way to get started, especially if you’re new to making snowflakes. You can find lots of free templates online or create your own simple shapes like triangles or squares. These pre-made designs help kids (and adults!) focus on decorating rather than worrying about getting the shape right. Plus, it’s a fantastic way to teach children about patterns and symmetry.
On the other hand, creating free-form designs allows for endless creativity and imagination. With toilet rolls being circular in nature, you can get really inventive with swirls, spirals, or even three-dimensional shapes! This approach encourages kids to think outside the box (or roll!) and experiment with different techniques like layering, folding, or cutting.
For younger children, using templates might be a better starting point. However, as they grow in confidence, moving on to free-form designs can help develop their fine motor skills, creativity, and problem-solving abilities.
Creating Snowflakes from Toilet Rolls
Get ready to create some winter magic! In this part, we’ll show you how to turn simple toilet rolls into unique and beautiful snowflakes for your home.
Step-by-Step Guide to Making a Basic Snowflake
To make a basic snowflake from a toilet roll, start by decorating it with some string or thread. Tie a few pieces of thread around the middle of the tube to create the center of your snowflake. Make sure they are evenly spaced and not too tight.
Next, fold one side of the tube over the middle section, creasing the paper as you go. This will help you create the symmetrical design that’s characteristic of snowflakes. Press down gently on the fold with your finger to make it crisp.
Repeat this process with the other sides, folding each one over the middle section and pressing it in place. As you add more folds, your snowflake should start to take shape. You can use a pencil or marker to draw a pattern on the tube before decorating it with string for extra flair.
Remember, the key to creating a beautiful snowflake is patience and attention to detail. Take your time, and don’t be afraid to experiment with different folds and designs. With practice, you’ll be making intricate snowflakes in no time!
Additional Tips and Variations
Want to make your snowflakes truly unique and dazzling? Let’s explore some fun variations on the basic design. Why not try using different colors of paper for each layer? You can use traditional white or cream-colored toilet rolls, but why stop there? Use brightly colored rolls or even patterned ones like polka dots or stripes to add a pop of color.
Or, take it up a notch and get creative with embellishments! Sprinkle some glue on your design and add glitter for a sparkly effect. You can use stick-on gems, sequins, or even beads to give your snowflakes an extra touch of magic. If you’re feeling adventurous, try adding stickers, stamps, or even washi tape to create intricate patterns.
Remember, the key to making these variations work is to keep it simple and balanced. Don’t overload your design with too many colors or embellishments – less is often more! Experiment with different combinations to find what works best for you. With a little imagination and creativity, your snowflakes will be truly one-of-a-kind masterpieces that will delight friends and family alike.
Displaying and Sharing Snowflakes
Now that you’ve made your snowflake, it’s time to show it off! We’ll explore how to display and share your creative masterpiece with family and friends.
Ways to Showcase Snowflake Creations at Home
Displaying your snowflake creations is just as much fun as making them. Here are some ideas to showcase your beautiful toilet roll snowflakes at home:
You can create a light box effect by placing the snowflakes between two glass panels or a glass jar and a plain paper. This way, you can display multiple snowflakes side by side and enjoy their delicate patterns in a unique way.
To add an extra touch of magic, consider hanging your snowflakes near a window where they catch the sunlight and twinkle like tiny diamonds. Alternatively, you can create a mobile using fishing line or thread to suspend them from the ceiling. This will make it seem as though your snowflakes are floating in mid-air.
If you have a lot of snowflakes, you could even create a snowflake gallery on a wall by pinning them up with a large piece of cardboard or fabric as the backdrop. This is an excellent way to show off all your creations and enjoy them together.
Ideas for Sharing Snowflakes with Others
Sharing your snowflake creations with others is one of the most fun parts of making them. Imagine surprising your family members or friends with a unique piece of art that you made yourself! You can share your snowflakes in many ways, such as decorating their homes, giving them as gifts, or even sending them through the mail.
To start sharing your snowflakes, think about who would love to receive one. Maybe it’s grandma who loves handmade crafts, or a friend who just had a birthday. Once you’ve decided on the lucky recipient, carefully place your snowflake in an envelope or a protective case to prevent damage during transit.
You can also use this opportunity to teach kids about the importance of sharing and showing appreciation for others. They can make a few extra snowflakes to give away, which will not only bring joy to those who receive them but also encourage the givers to be more thoughtful and creative.
Conclusion and Next Steps
Now that you’ve made some amazing snowflakes from toilet rolls, it’s time to think about what’s next! Let’s summarize our fun project together.
Recap of the Fun of Making Snowflakes from Toilet Rolls
As we conclude our fun-filled journey of making snowflakes from toilet rolls, let’s take a moment to reflect on what we’ve learned and experienced. We started with the simple yet amazing fact that toilet rolls can be transformed into delicate snowflake masterpieces. With just a few basic materials like paper rolls, scissors, glue, and some creativity, kids can create their own unique snowflakes.
We explored various techniques for cutting and folding the paper to achieve different designs and patterns. From simple folded shapes to intricate cut-out details, we saw how every design has its own special charm. We also learned about the importance of patience and perseverance in creating these beautiful snowflakes.
As a parent or caregiver, it’s wonderful that you’ve spent time with your child engaging in this creative activity. Research shows that hands-on crafts like making snowflakes have numerous cognitive and emotional benefits for children, including improved fine motor skills, self-confidence, and imagination. So, don’t stop at just one snowflake – encourage your little ones to keep exploring and experimenting with different designs and techniques!
Additional Arts and Crafts Ideas for Kids
As you’ve had so much fun creating unique snowflakes from toilet rolls with your kids, it’s time to think about what other arts and crafts projects they might enjoy. There are countless ideas to explore, but here are a few that are sure to be hits.
One idea is to make paper flowers together. You can use colored paper or even newspaper to create beautiful blooms. Simply cut out petal shapes, assemble the flower by gluing the petals in place, and voilà! Your kids will love watching their creations grow. To add an extra touch of magic, you can attach a small stem made from a pipe cleaner or a stick.
Collages are another great option for arts and crafts projects with kids. Gather old magazines, scissors, glue, and some paper, and let your child’s imagination run wild. They can cut out images that inspire them and create a collage on a large sheet of paper. You could even challenge them to make a themed collage, like an underwater scene or a cityscape.
These projects not only encourage creativity but also fine motor skills, problem-solving, and self-expression – all essential for children’s development. So why not give them a try? Who knows what amazing creations your kids will come up with next!
Frequently Asked Questions
What materials can I use to display my snowflakes at home?
You can use a variety of materials to display your snowflakes, such as string lights, ribbons, or even a DIY frame made from popsicle sticks and glue. Get creative and think about what will make your snowflakes stand out in a room! Consider using a large piece of cardboard or a canvas as the background for a stunning display.
Can I use colored toilet rolls to make rainbow-colored snowflakes?
Yes, you can definitely experiment with colored toilet rolls to create unique and colorful snowflakes. Simply wrap different colored paper around the roll before cutting out your design. This adds an extra layer of creativity to the craft and allows kids to express their personal style.
How can I encourage my child to be more creative when making snowflakes?
Encourage your child to experiment with different shapes, patterns, and colors by asking open-ended questions like “What do you think would happen if we added some glitter?” or “Can you show me a new way to fold the paper?” Also, provide a variety of materials for them to choose from, such as scissors, glue, and markers.
What should I do with leftover toilet rolls after making snowflakes?
There are plenty of creative ways to reuse toilet rolls beyond just making snowflakes. Consider transforming them into puppets, hats, or even bird feeders. You can also recycle them by cutting off the cardboard core and flattening the paper for other craft projects.
Can I make snowflakes with my child if they have special needs or limited dexterity?
Yes, you can absolutely adapt this activity to suit your child’s abilities. Consider using pre-cut shapes or templates to simplify the process, or even creating a “snowflake factory” where each child has their own workstation and materials. This way, everyone can participate and enjoy the experience together!