
Are you looking for fun and creative ways to keep your little ones engaged this holiday season? If so, you’re in luck! With Christmas just around the corner, we’ve got some exciting news for all the kids (and kids-at-heart) out there. We’ve curated a collection of easy-to-make lolly stick crafts that are perfect for kids to get creative and make their Christmas merrier.
These fun projects not only provide an outlet for their creativity but also teach them essential skills like problem-solving and fine motor control. From making adorable ornaments to crafting beautiful garlands, our kid-friendly ideas will have your little ones buzzing with excitement. In this article, we’ll dive into the world of lolly stick crafts and explore the endless possibilities they offer during the festive season. So, get ready to unleash your child’s creativity and make this Christmas one to remember!
Introduction to Lolly Stick Crafts
Welcome to the wonderful world of lolly stick crafts, where a simple candy treat can become a magical building block for endless creative fun. Let’s get started on some festive Christmas ideas!
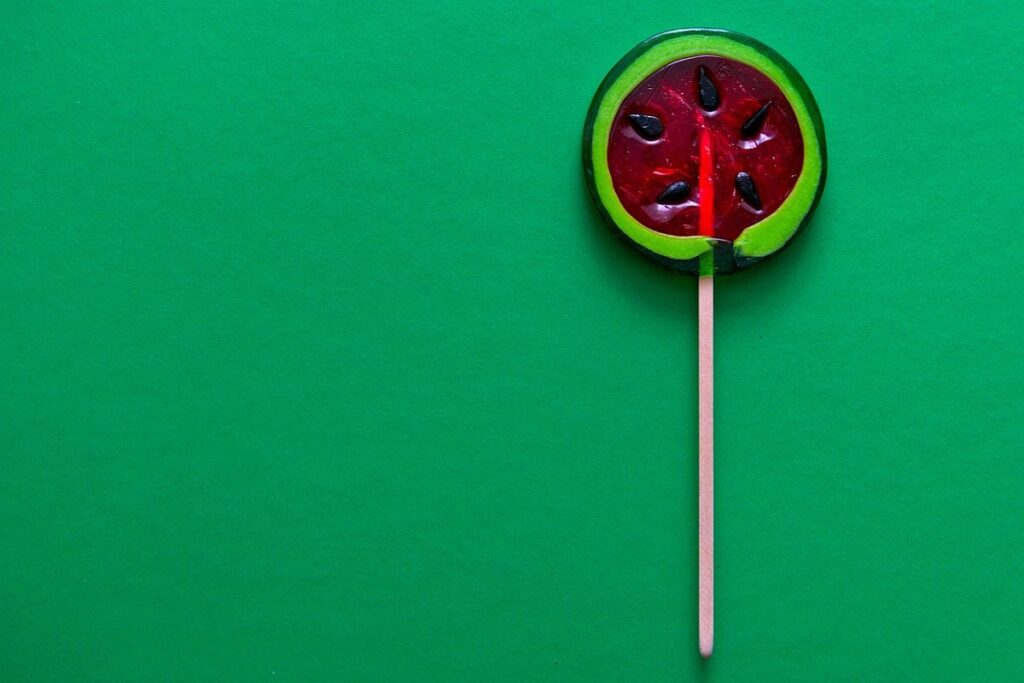
What are Lolly Sticks?
So you’re wondering what lolly sticks are all about? Lolly sticks, also known as candy sticks or popsticks, are small wooden dowels used to hold together the layers of a lollipop. They’re usually made from wood pulp or bamboo and come in various shapes and sizes.
But why are they perfect for Christmas crafts? For one, their versatility is unmatched. You can use them to create festive ornaments, decorations, and even gift tags. Their slender shape makes them easy to work with, and you can cut them to any length you need. Plus, they’re inexpensive and eco-friendly, making them a great choice for kids’ crafts.
Imagine using lolly sticks to make a beautiful Christmas tree ornament. Simply glue the sticks together in a triangular formation, add some glitter, and voilà! You’ve got a stunning piece of holiday decor. The possibilities are endless when it comes to lolly stick crafts, and we’re excited to share some ideas with you throughout this section.
Benefits of Using Lolly Sticks in Christmas Crafts
When it comes to crafting with kids during the holiday season, using lolly sticks is an excellent choice. Not only are they inexpensive and readily available, but they also offer a range of benefits that make them perfect for Christmas crafts.
One of the most significant advantages of using lolly sticks is their cost-effectiveness. You can purchase a pack of 100 lolly sticks for just a few dollars, making them an affordable option for families on a budget. This means you can create multiple projects without breaking the bank. For instance, you could make a set of decorations or gift tags using a single pack.
Another benefit of using lolly sticks is their environmental friendliness. Unlike traditional materials like cardboard and paper, lolly sticks are biodegradable and non-toxic. This makes them an excellent choice for families who prioritize eco-friendliness. Additionally, lolly sticks are incredibly easy to use – simply glue them together or attach decorations as needed.
To get started with your lolly stick crafts, you’ll need a pack of 100 sticks, some glue, scissors, and any desired embellishments. With these basic materials, the possibilities for creative projects are endless!
Simple Lolly Stick Ornaments
Get creative with our simple lolly stick ornaments that are perfect for decorating your Christmas tree, made using just a few basic materials. We’ll show you how to make them in minutes!
How to Make a Basic Snowflake Ornament
To make a basic snowflake ornament using lolly sticks, you’ll need some simple materials. Gather 2-3 lolly sticks of the same length and bend them into a zig-zag pattern to create the snowflake’s arms. Hold the sticks together with one hand and use glue to secure them in place.
Next, decorate your snowflake by sprinkling glitter or stickers onto the glued area. Make sure not to add too much glue as it can make the ornament heavy. You can also add a small dot of glue at the top of each arm to create a more defined shape.
Once dry, hang your snowflake in a window or from the Christmas tree using a piece of string or twine. To add an extra touch, use a lolly stick as a hanger and tie a small bow around it before attaching the ornament.
Tips for making this project fun for kids include letting them choose their own decorations and encouraging experimentation with different colors and patterns. With these simple steps and materials, you can create a beautiful and delicate snowflake ornament to decorate your home for Christmas.
Making a Star-Shaped Ornament with Lolly Sticks
Creating star-shaped ornaments with lolly sticks is a great way to add some sparkle to your child’s Christmas decorations. You’ll need 5-6 lolly sticks per ornament, some glue, and a pencil for this activity.
To start, help your child arrange the lolly sticks in a star shape on a flat surface. Make sure they’re evenly spaced and the edges are aligned. Once they have their design sorted out, use a small amount of glue to hold each stick in place.
To create the points of the star, simply bend the top end of each lolly stick into a 90-degree angle. You can also encourage your child to decorate their ornament by using paint, glitter, or markers to add some extra festive flair. Another fun way to personalize it is by writing a special message or drawing a small design on each point with a fine-tip marker.
With the glue dry, carefully lift and hang up your new star-shaped lolly stick ornament. These are perfect for decorating your Christmas tree, door, or even as a gift tag.
3D Lolly Stick Creations: Houses and Scenes
Get creative with your Christmas crafting! In this next part, we’ll show you how to build adorable houses and entire scenes using just lolly sticks and a bit of imagination.
Building a Simple Christmas House with Lolly Sticks
To build a simple Christmas house with lolly sticks, start by gathering materials such as lolly sticks of varying lengths, white glue, scissors, and decorations like small holly leaves or tiny figurines. Begin by preparing the base of the house using 2-3 longer lolly sticks glued together in a rectangular shape.
Next, create the walls of the house by gluing smaller lolly sticks to the sides of the base, overlapping each stick slightly for added stability. Use a few longer sticks to create the roof, angling them at an angle to give it a pitched look. For a more realistic effect, use glue to attach small details like tiny windows, doors, or even a chimney.
To add some festive flair, decorate your lolly stick house with mini holly leaves, tiny Christmas trees, or small figurines of Santa or reindeer. You can also use glitter, paint, or other craft supplies to give it a more personal touch. With patience and creativity, you’ll have a charming little Christmas house in no time!
Creating a Snowy Scene with Lolly Sticks
To create a snowy scene with lolly sticks, start by gathering materials such as white glue, water, and small rocks or beads for added texture. You’ll also need multiple layers of lolly sticks in varying sizes to build depth.
Begin by gluing two lolly sticks together, side by side, to form the base of your scene. This will be the foundation upon which you’ll build. For a snowy effect, dip the top of each stick into white glue and sprinkle with glitter or small white beads before allowing it to dry completely.
Continue adding layers of lolly sticks, each time gluing them at an angle to create texture and depth. Use smaller sticks for snow-covered trees or hills, and larger ones for structures like buildings or bridges. As you build, experiment with different glue-to-water ratios to achieve a frosty, opaque finish.
To add some sparkle to your scene, sprinkle shredded coconut or small sequins onto the wet glue. This will create a beautiful, snowy texture that resembles freshly fallen snow. With patience and practice, you’ll be able to craft a breathtaking winter wonderland using just lolly sticks and a little bit of creativity!
Lolly Stick Garland and Mobiles
Get creative with our easy lolly stick garland ideas, perfect for decorating your Christmas tree, room, or even making a festive mobile to hang from the ceiling.
Making a Lolly Stick Christmas Tree Garland
Making a Lolly Stick Christmas Tree Garland is a fun and creative activity that kids will love. To get started, you’ll need a variety of lolly sticks in different sizes and shapes. You can use craft sticks, straws, or even bamboo skewers to create the “trees” for your garland.
Begin by sorting the lolly sticks into three categories: small, medium, and large. This will help you create a visually appealing garland with varying heights and textures. Next, cut out green paper strips in different widths to use as the leaves for your trees. You can also add some white or yellow paper to create snowflakes or other festive details.
To assemble the garland, start by gluing a small lolly stick tree to a length of string or twine. Add a few leaves and any additional decorations you like. Then, move on to the next size category, gluing each tree to the previous one in sequence. Continue this process until you’ve used up all your materials and created a beautiful, colorful garland that’s perfect for decorating your Christmas tree or mantel.
Creating a Mobile with Lolly Sticks and Decorations
Creating a Mobile with Lolly Sticks and Decorations is a fun and creative activity that kids will love. To make a beautiful mobile using lolly sticks, start by gathering the materials you’ll need: lolly sticks, string or fishing line, beads, pom-poms, and any other decorations you like.
Begin by gluing two lolly sticks together to form an “H” shape. This will be the base of your mobile. Next, thread a bead or pom-pom onto each lolly stick, leaving about an inch between each decoration. Tie the string or fishing line around the top of the lolly stick “H” and tie it to the bottom of the first lolly stick with a bead or pom-pom.
Continue adding more lolly sticks, beads, and pom-poms to create a colorful and symmetrical mobile. You can use different colors or shapes of decorations to match your Christmas theme. Make sure to leave enough space between each decoration so they don’t get tangled together.
As you add each new lolly stick, tie the string around it and make sure it’s secure. This will help keep your mobile steady and prevent it from falling apart. With a little patience and creativity, you’ll have a beautiful lolly stick mobile to hang in your window or from the ceiling.
Advanced Lolly Stick Designs: Gift Tags and Cards
Take your lolly stick creations to the next level by learning how to make beautiful gift tags and cards using these versatile treats in fun and creative ways. Get inspired!
Designing Customized Gift Tags with Lolly Sticks
Creating customized gift tags with lolly sticks is a fun and creative activity that kids will love. To get started, gather a few simple materials like lolly sticks, glue, scissors, ribbons, and stamps (if using). Begin by cutting the lolly stick to the desired length for your gift tag.
Next, use a small amount of glue to attach the lolly stick to a piece of cardstock or a tag blank. This will provide a stable base for your design. Now it’s time to add some personality with embellishments like ribbons or stamps. Cut a small ribbon into a bow shape and attach it to the top of the gift tag using glue. Alternatively, use a stamp to create a fun message or design.
For an extra touch, consider adding a few glitter dots or a sprinkle of sequins around the design. This is where kids can let their imagination shine! With these simple steps, you’ll have beautifully customized gift tags that add a personal and thoughtful touch to any present.
Making a 3D Christmas Card with Lolly Sticks
To create a stunning 3D Christmas card using lolly sticks, glue, and decorations like glitter or stickers, you’ll need to gather the following materials: lolly sticks of different lengths, white glue, scissors, a ruler or straightedge, glitter or stickers for decoration, and any additional embellishments you’d like.
Start by preparing your lolly sticks. Cut them into various lengths to create the framework of your card. You can use shorter sticks for the base and longer ones for the sides. Use white glue to attach the sticks together, starting from the bottom and working your way up. Make sure to hold each stick in place for a few seconds until the glue sets.
Once you have your 3D shape formed, decorate it with glitter or stickers. You can add some festive holly leaves, berries, or even a small Christmas tree made from lolly sticks. Be creative and experiment with different combinations of decorations. When dry, attach a gift tag or a message to the card using glue or string. This unique 3D card is now ready to be gifted to loved ones during the holiday season.
Remember, it’s all about having fun and experimenting with different designs!
Frequently Asked Questions
How can I store lolly sticks for future crafts?
You can store lolly sticks in a dry place, such as a container or plastic bag, to keep them from getting damaged. It’s also a good idea to label the container so you know what’s inside. This way, you can easily access your stored lolly sticks whenever you need them for future craft projects.
Can I use colored lolly sticks instead of plain ones?
Yes! Colored lolly sticks are a great way to add an extra touch of creativity to your crafts. You can choose sticks that match the theme or color scheme of your project, or use them to create unique patterns and designs.
What if my child struggles with fine motor control while using lolly sticks?
It’s completely normal for young children to have trouble with fine motor skills when working with small materials like lolly sticks. To make it easier for them, try using larger lolly sticks or providing assistance with tasks that require precision.
Can I use lolly stick crafts as a learning experience in a classroom setting?
Yes! Lolly stick crafts are an excellent way to incorporate hands-on learning into your classroom. You can adapt the projects to fit different age groups and skill levels, making it a fun and engaging activity for students of all ages.
How do I choose the right lolly sticks for my specific craft project?
When choosing lolly sticks for your project, consider the size, shape, and color you need. For example, if you’re making an ornament, you may want to use shorter sticks with a specific color or pattern in mind. It’s also essential to have enough sticks on hand, so plan ahead and order extra if needed.