
Are you tired of the same old boring arts and crafts with your little ones? Look no further! Paper plate art activities are here to revolutionize your kid’s creative playtime. Not only are they inexpensive, but they also provide a world of possibilities for kids to develop their fine motor skills and express themselves freely. With just a few simple materials, you can transform humble paper plates into stunning works of art that will make you proud.
In this article, we’ll explore the exciting realm of paper plate art activities for kids. We’ll share our top picks for creative projects that are perfect for developing fine motor skills and encouraging self-expression. From colorful masks to decorative lanterns, we’ll show you how to create a variety of fun and easy crafts using paper plates. So, get ready to unleash your child’s creativity and have fun making memories together!
Introduction to Paper Plate Art
Welcome to the world of paper plate art, where creativity and fun come together! In this next part, we’ll explore the basics of getting started with paper plates.
Benefits of Paper Plate Art for Children
Engaging in hands-on activities like paper plate art can have a profound impact on a child’s development. One of the most significant benefits is the improvement of fine motor skills. As children manipulate and cut out shapes from paper plates, they exercise their hand-eye coordination, finger dexterity, and overall hand strength. This is particularly crucial during early childhood, as it lays the foundation for future abilities like writing, drawing, and even playing musical instruments.
But paper plate art goes beyond just physical development. It’s also an excellent way to foster creativity and self-expression in children. By providing a variety of materials and encouraging kids to experiment with different techniques, you’re giving them the freedom to express themselves authentically. For instance, you can try projects like making masks, hats, or other decorative items using paper plates as the base material.
Incorporating hands-on activities into your child’s daily routine is essential for their overall development. Not only do they help build cognitive skills and fine motor control, but they also promote social interaction and emotional growth.
Materials Needed for Paper Plate Art Projects
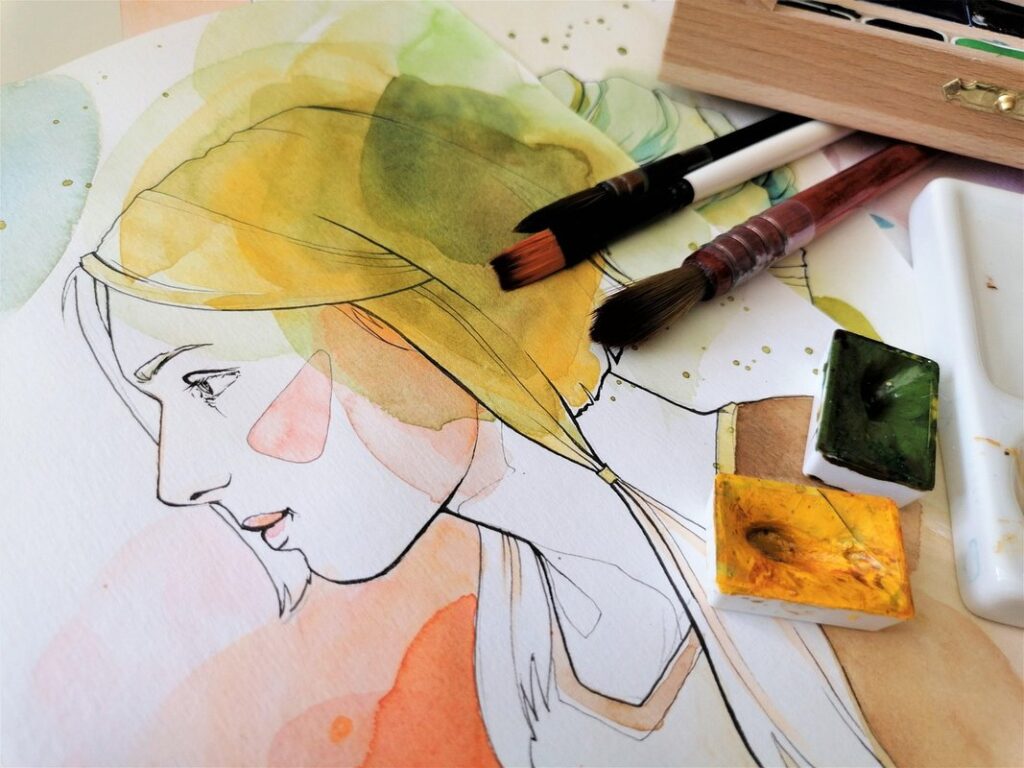
To get started with paper plate art projects, you’ll need some basic materials that will open up a world of creative possibilities for kids. At its core, most paper plate art projects require the following supplies: paper plates, scissors, glue, and paint. You can also use markers, crayons, or colored pencils to add extra details and colors.
When it comes to paper plates, you can use any type – plain or decorated. If you want to make your project more exciting, consider using different shapes and sizes of plates. Scissors are a must-have for most projects, as they’ll be used to cut out shapes, designs, and patterns. Make sure the scissors are kid-friendly, with blunt tips and easy-to-grip handles.
Glue is another essential item that will help kids stick their creations together. White glue or school glue work well, but you can also use hot glue guns (with adult supervision). Paint is where creativity really takes center stage – choose from acrylics, tempera, or watercolors to create unique textures and effects.
Easy and Fun Paper Plate Crafts for Kids
Get creative with your kids using everyday materials like paper plates, scissors, and glue! This section showcases 5 fun and easy craft ideas to try at home.
Simple Plate Mask Making
Making a simple plate mask is an excellent way to encourage creativity and self-expression in kids. To get started, gather a paper plate, scissors, glue, markers, and any other embellishments you’d like to use.
Begin by cutting out eye holes from the center of the plate. This will create the face area where your child can see through. Next, let them cut or draw patterns around the edges of the plate using markers or paint. They can also add shapes, designs, or even a mouth hole if they prefer.
For a more personalized touch, encourage your child to decorate their mask with stickers, stamps, or other craft supplies. You can also help them apply glue and attach feathers, ribbons, or other embellishments to create a unique look.
Remember, the beauty of making masks is that there are no wrong answers – it’s all about having fun and being creative! So don’t be afraid to let your child’s imagination run wild as they design and decorate their very own plate mask. With just a few simple materials, you can help foster their creativity and self-expression.
Paper Plate Puppets: A Guide to Creating Characters
Creating paper plate puppets is an excellent way to encourage kids’ creativity and imagination. With just a few simple materials, you can bring these characters to life. To start, gather a paper plate, construction paper, scissors, glue, markers, and any other embellishments you like.
First, cut out the mouth, nose, and eyes from construction paper and glue them onto the plate. Use markers to draw on eyebrows, hair, or other facial features. You can also add arms, legs, or other body parts using strips of paper or felt. Don’t forget to leave space for moving parts like mouths that open and close.
For a fun twist, try creating different personalities by altering the design. For instance, you could create a silly clown with oversized shoes or a princess with a sparkly crown. Remember to let your child’s imagination shine when creating their own unique characters.
To add an interactive element, attach strings or sticks to enable the puppets to move. This can be achieved by gluing a small stick or pencil into the back of the plate and attaching it to the hands or feet with string or yarn. With these simple steps, you’ll have a delightful paper plate puppet in no time!
Advanced Paper Plate Art Techniques for Older Kids
Take your paper plate art skills to the next level! In this advanced techniques section, we’ll explore creative ideas perfect for older kids who are ready to try more complex designs.
Collage Making with Paper Plates
Creating collages with paper plates is an excellent way to introduce older kids to more advanced techniques in paper plate art. To start, have them gather a variety of colored paper plates and scissors. Next, demonstrate how to layer different textures by cutting out shapes from the plates and gluing them onto a new surface. For instance, you can cut out strips from a blue plate and glue them onto a red plate, creating a unique layered effect.
To add more depth to their collages, encourage kids to experiment with different materials like tissue paper, foil, or even newspaper. They can cut these into shapes and layer them on top of the plates, creating interesting textures and patterns. For example, you can have them create a sunny sky by gluing yellow tissue paper over blue plates.
Remember to emphasize the importance of experimentation in art, allowing kids to try new techniques and make mistakes. As they work, ask open-ended questions like “What do you think will happen if we add more layers?” or “How can we use these textures to create a sense of movement?” This will help them develop their critical thinking skills while exploring the world of paper plate art.
3D Paper Plate Sculptures: A Guide to Creating Dimensional Art
Creating three-dimensional sculptures with paper plates is an exciting way to take your artwork to the next level. To start, you’ll need several paper plates of different sizes and colors. Begin by cutting out shapes from the larger plates to create a base for your sculpture. Then, use smaller plates to build layers on top, gradually adding details and textures.
To achieve balance and stability in your 3D sculpture, remember that less is often more. Avoid overloading one side with too many decorations or shapes, as this can cause the entire structure to lean. Instead, distribute weight evenly by placing objects strategically throughout the piece.
For added dimension, experiment with layering paper plate pieces at different angles and depths. You can also use glue, tape, or other materials to secure pieces in place while still allowing for flexibility. When complete, step back and admire your creation – you may be surprised by how much depth and character a simple paper plate sculpture can have!
Tips for Supervising Children During Paper Plate Art Activities
When engaging kids in paper plate art activities, it’s essential to strike a balance between encouraging creativity and ensuring their safety. Here are some tips to help you supervise effectively.
Safety Precautions for Paper Plate Crafts
When engaging your little ones with paper plate crafts, it’s essential to ensure their safety and well-being. A cluttered workspace can quickly turn into a hazardous environment, especially when working with sharp objects and materials. To prevent accidents, designate a specific area for the craft station, free from any breakable or fragile items.
Make sure children are seated comfortably and securely while handling paper plates, scissors, glue, and other art supplies. Sharp objects like scissors should be kept out of reach until they’re needed, and it’s crucial to demonstrate proper cutting techniques to avoid accidents. Keep an eye on your child at all times, especially when using materials like glue or paint, which can cause skin irritation or allergic reactions if not handled carefully.
Some additional safety measures include providing smocks or old shirts for children to wear while working on their crafts and ensuring the area is well-ventilated to avoid inhaling paint fumes. Regularly inspect your child’s workspace for any debris or hazards, and encourage them to clean up as they go along.
Encouraging Creativity in Children During Paper Plate Projects
When working with children on paper plate projects, it’s essential to create an environment that encourages creativity and imagination. One way to do this is by allowing them to experiment and explore different techniques without fear of making mistakes.
Begin by setting up a variety of materials and supplies, such as paint, markers, scissors, glue, and other embellishments. Encourage the children to get hands-on with the materials, exploring how they can be used in different ways. For example, you might ask them to try painting with their fingers or experimenting with different textures by layering paper plates.
As children work on their projects, resist the urge to direct them towards a specific outcome. Instead, ask open-ended questions that encourage them to think creatively, such as “What if we added some glitter to this design?” or “How do you think we could make this plate look like a real animal?”
By giving children the freedom to experiment and explore, you’ll be amazed at the unique and innovative creations they come up with. And remember, it’s not about creating perfect art – it’s about fostering creativity and imagination in our young artists!
Conclusion: Expanding the World of Paper Plate Art for Kids
As we’ve explored various paper plate art activities together, it’s time to wrap up and think creatively about how you can expand this fun and engaging world even further!
Ideas for Incorporating Paper Plate Art into Curriculum
Incorporating paper plate art into educational curricula can be a fun and creative way to engage young learners. One idea is to use paper plates as a material for exploring different artistic techniques such as collage, painting, or printing. For example, you could have students cut out shapes from the plates to create a collage of a specific theme like animals or flowers.
Another approach is to use paper plates as a teaching tool for learning about math and science concepts. You can use them to demonstrate principles like symmetry, geometry, or even explore the concept of reflection. For instance, you could cut out identical shapes from multiple plates and arrange them in different patterns to show examples of rotational symmetry.
You can also integrate paper plate art into language arts by having students write stories or create poetry inspired by their artwork. This not only encourages creativity but also develops their writing skills. By incorporating paper plate art activities into curriculum, teachers can provide a hands-on learning experience that makes complex concepts more accessible and enjoyable for young learners.
Further Resources for Paper Plate Art Inspiration
For those who want to take their paper plate art skills to the next level, here are some additional resources that can serve as inspiration and guidance.
If you’re looking for online tutorials, websites like Pinterest and YouTube have a wealth of paper plate art ideas and instructions. You can search for specific projects, such as making a paper plate butterfly or creating a mason bee feeder, and find step-by-step videos to follow along with. Additionally, websites like Craftsy and KidsActivities.net offer paper plate craft tutorials and printables that are perfect for kids.
If you prefer the feel of a physical book in your hands, there are many excellent craft books dedicated to paper plate art. Some popular titles include “The Paper Plate Book” by Wendy Pfeffer and “Paper Plate Crafts for Kids” by Nancy Davis Kho. These books offer a range of projects, from simple crafts like paper plate flowers to more complex creations like papier-mâché animals.
You can also join online communities or forums where parents and educators share their own paper plate art ideas and tips. Some popular options include Facebook groups and Reddit forums dedicated to kid-friendly arts and crafts.
Frequently Asked Questions
Can I use paper plates with different shapes and sizes for the same craft?
Yes, you can experiment with various plate shapes and sizes to add more texture and interest to your crafts. This is a great way to encourage children to think creatively about form and function.
How do I store and display my child’s finished paper plate art projects?
Consider using a pegboard or a 3-ring binder with page protectors to store the artwork, making it easy to switch out new projects without cluttering your space. You can also create a gallery wall in your home featuring your child’s creations.
What if I’m running low on paper plates or other materials – are there any alternatives?
Don’t worry! Paper plate art is all about repurposing and reusing, so you can always look for alternative materials like cardboard, construction paper, or even recycled materials to keep the creative spirit alive.
How do I involve younger siblings or children with special needs in paper plate art activities?
Make sure to adapt the activity to their skill level and abilities. For example, you can use pre-cut shapes or larger plates for younger kids, while older or more able-bodied children can help assist or create more intricate designs.
What’s the best way to encourage my child to experiment with different materials and techniques in paper plate art?
Provide a variety of materials and let them explore – sometimes the most interesting creations come from unplanned combinations. You can also set up stations for different activities, allowing your child to move between them at their own pace and interest level.