
Are you tired of searching for creative ways to keep your little ones engaged in arts and crafts? Look no further than paper plates! Those humble, disposable dishes have been transformed into an endless source of imagination and fun. With a few simple materials and some creativity, kids can turn them into amazing artworks that showcase their unique personalities. But what makes paper plate arts and crafts so special for kids? For one, they’re incredibly easy to make, requiring minimal supervision and mess. In this ultimate guide, we’ll explore the world of paper plate arts and crafts for kids, sharing easy-to-make projects, essential safety tips, and clever display ideas to inspire your child’s creativity. Get ready to unleash your mini artist’s imagination!
Introduction to Paper Plate Crafts
Welcome to the world of paper plate crafts, where creativity knows no bounds and messy fun is always on the agenda! Get ready to explore a treasure trove of easy and adorable projects.
What are Paper Plate Crafts?
Paper plate crafts are a fun and creative way for kids to express themselves through art. These simple yet engaging activities involve using paper plates as the primary material for crafting, often combined with other supplies like paint, glue, scissors, and markers. The versatility of paper plates makes them an excellent medium for kids to explore their imagination and develop various skills.
One of the significant benefits of paper plate crafts is that they promote fine motor skills development in young children. Cutting, pasting, and painting with paper plates help improve hand-eye coordination and dexterity. Additionally, these activities encourage creativity, problem-solving, and critical thinking as kids experiment with different techniques and designs.
Paper plate crafts also offer a cost-effective solution for parents or caregivers looking to engage their kids in arts and crafts without breaking the bank. The use of household materials like paper plates reduces waste and promotes eco-friendliness. Furthermore, these activities can be tailored to suit various age groups, making them an inclusive and enjoyable experience for children of all skill levels.
Importance of Art in Child Development
Art plays a vital role in shaping a child’s cognitive, emotional, and social growth. Engaging children in creative activities like paper plate crafts not only fosters their imagination but also enhances their problem-solving skills. Through the process of creating something from scratch, kids develop critical thinking and hand-eye coordination.
Emotionally, art provides an outlet for self-expression and exploration. Children can convey their feelings through colors, shapes, and textures, helping them better understand themselves and others. This emotional intelligence is essential in developing empathy and social skills.
When incorporating paper plate crafts into your child’s routine, consider the following tips: Encourage experimentation with various materials and techniques to promote creativity and confidence. Be a willing participant alongside your child, engaging in the creative process together. Don’t be afraid to make mistakes – they can often lead to new ideas and discoveries. By embracing art as an integral part of childhood development, you’ll provide your child with a solid foundation for future growth and learning.
Easy Paper Plate Craft Ideas for Kids
Get ready to unleash your child’s creativity with these fun and easy paper plate craft ideas that require minimal supervision and can be made in just a few minutes! We’ll share our top picks.
Decorative Plates: Masks, Hats, and More
Get creative with paper plates and help your kids make their own masks, hats, and decorative items. This is an excellent way to encourage imagination and self-expression while having fun. Start by gathering various paper plate shapes and sizes for different projects.
For a simple mask project, cut out eye holes from the center of a paper plate, then decorate it with paint, markers, or stickers. You can add elastic or a ribbon to hold it in place. For a more elaborate design, try cutting out intricate patterns on a separate piece of cardboard and gluing them onto the plate.
To make a hat, cut out a strip from a paper plate and shape it into a brim. Secure it with glue or tape, then decorate it with colorful markers or paint. Add some feathers, glitter, or other embellishments to give it a unique touch. You can also create decorative items like wands, flowers, or even jewelry by cutting out shapes from the plates and arranging them creatively. With paper plates as your base, the possibilities are endless!
Animal Crafts: Cats, Dogs, and Other Friends
Creating adorable animal-themed crafts with paper plates is a breeze and so much fun for kids! With just a few simple materials, you can bring their favorite furry friends to life. Let’s start with the basics: our feline friends, cats!
To make a cat craft, all you need is a paper plate, some construction paper, scissors, glue, and a marker. Cut out ear shapes from the construction paper and attach them to the top of the plate using glue. Draw on whiskers and a cute face with your marker. Add some colorful fur details using more construction paper or felt. Hang it up in their room or give it as a gift – they’ll love it!
Dogs are another popular choice, and you can make one by cutting out a paw print from the plate’s center. Attach ears made from construction paper or tissue paper to the sides of the plate. Use markers or crayons to draw on fur details, collars, and bows. Add some googly eyes for an extra playful touch!
For other animal friends like rabbits, hamsters, or even dragons, get creative with colors, shapes, and accessories!
Recyclable Paper Plate Projects
Get creative and make a mess, because we’re diving into some fantastic recyclable paper plate projects that your kids will love making and using! From decorations to gift wraps, we’ve got you covered.
Making Lanterns and Puppets
When you’re looking for creative ways to reuse paper plates, making lanterns and puppets is an excellent place to start. Not only do these projects encourage kids’ creativity and imagination, but they also promote upcycling and reduce waste.
To make a paper plate lantern, you’ll need a few simple materials: a paper plate, scissors, glue, paint or markers, and a string or stick for hanging. Cut out small shapes from the plate’s edges to create a design, then decorate it with paint or markers. Finally, punch a hole at the top of the plate and attach a piece of string or tie a stick through it.
For puppets, you can transform paper plates into different characters by cutting out eyes, mouths, and other facial features. Add some embellishments like felt, glue, or markers to create unique textures and expressions. You can also use different shapes and colors to represent various personalities. The possibilities are endless!
One fun twist on these projects is to let kids’ creativity shine by incorporating their own ideas and designs into the lanterns and puppets. This encourages self-expression and experimentation with materials in a safe and supportive environment.
You can make the experience even more engaging by challenging kids to create stories or scenarios featuring their paper plate characters, or by encouraging them to use their imagination to come up with new puppet personalities or backstories for the lanterns. The goal is to have fun while getting creative!
Decorative Mobiles and Garlands
Transforming Paper Plates into Vibrant Decorative Mobiles and Garlands for Kids
With just a few simple materials and some creativity, you can turn plain paper plates into stunning decorative mobiles and garlands that add a pop of color to any room. Start by collecting various sizes and colors of paper plates, along with scissors, glue, string or twine, and any other embellishments you like (such as glitter, stickers, or beads).
To create a colorful mobile, punch holes at the top and bottom of each plate, then thread them onto a piece of string or fishing line. Hang your mobile in a window or from a ceiling fixture to watch it sway gently in the breeze. For an added touch, glue a small object like a bead or a sequin to the center of each plate.
To make a garland, stack and glue multiple plates together, then cut out shapes or patterns along the edges to create a unique design. Hang your garland across a room or along a wall for a fun and playful display. Encourage kids to experiment with different colors and designs to create one-of-a-kind mobiles and garlands that reflect their personalities and creativity.
Advanced Paper Plate Crafts for Older Kids
As kids get older, their creativity and skills grow, making it a perfect time to try more complex paper plate crafts that will challenge and delight them. In this section, we’ll explore some fun projects suitable for advanced makers.
Mosaic Art and Collage Techniques
When it comes to creating visually stunning art pieces, older kids can benefit from exploring more complex techniques like mosaics and collages. Mosaic art involves creating a larger image using small, colorful tiles or pieces of material that are arranged to form a cohesive design.
To get started with mosaic art on paper plates, you’ll need a variety of materials such as paper plate fragments, glue, scissors, and a design plan. Kids can create mosaics by cutting out shapes from the paper plate and arranging them into a larger image. This technique requires patience and attention to detail, but the end result is well worth the effort.
Collage techniques are another great way for kids to express their creativity while experimenting with new skills. By combining different textures, colors, and patterns, they can create unique and visually striking art pieces. Encourage your child to experiment with different materials like paper, fabric, or even found objects like leaves or twigs. With a little practice, they’ll be able to create stunning collages that showcase their imagination and creativity.
Remember, the key to mastering mosaic and collage techniques is to encourage experimentation and exploration. Don’t be afraid to try new things and make mistakes – it’s all part of the creative process!
3D Sculptures and Paper Mache
Creating intricate 3D sculptures and paper mache projects using paper plates can be a thrilling experience for older kids. With some guidance, they’ll learn to think creatively and push the boundaries of what’s possible with this versatile craft material.
To start, you’ll need to collect various sizes and shapes of paper plates to serve as the base for your 3D sculpture. Cut out intricate designs or patterns from additional paper plates to create textures and add depth to your design. For a more realistic look, use a mixture of flour and water to create a papier-mâché paste, which can be applied to the plate using a brush.
Using this technique, kids can build elaborate structures such as miniature buildings, animals, or even mythical creatures. As they experiment with different designs and techniques, encourage them to think about scale, proportion, and balance in their creations. With patience and practice, these paper plate sculptures will come to life, showcasing the kids’ imagination and creativity.
Remember, it’s essential to let kids take the lead and make decisions about their project, allowing them to develop problem-solving skills and confidence in their abilities.
Safety Precautions and Materials Needed
Before you get creative, make sure to read through these essential safety precautions and gather all the necessary materials for a fun and successful paper plate art project.
Ensuring a Safe Crafting Environment
When working on paper plate arts and crafts projects with kids, it’s essential to create a safe and clean environment that encourages creativity while minimizing potential hazards. To start, make sure the crafting area is well-ventilated and free from distractions. This will help prevent accidents caused by tripping or getting entangled in loose materials.
Before beginning your project, lay out all necessary supplies within easy reach of your child to avoid having them stretch or lean forward, which can lead to straining their back or neck. Also, ensure that the work surface is stable and at a comfortable height for your child to sit and craft without putting excessive strain on their body.
Regularly clean up spills and messes as they occur to prevent slipping hazards and maintain a hygienic environment. Consider laying down old sheets or tablecloths to protect furniture from any accidental stains or splatters. By taking these simple precautions, you can help create a safe and enjoyable crafting experience for your child.
Essential Materials and Supplies
When engaging kids in paper plate arts and crafts, it’s crucial to have the right materials on hand. For a fun and creative session, you’ll need some essential supplies that can help prevent accidents and ensure a smooth experience for both you and the children.
Start by gathering sturdy paper plates – these will be your primary material for various projects. You can also collect construction paper, scissors, glue, markers, crayons, and any other materials you’d like to incorporate into your activities. Consider using washable paints or colored pencils for messy but fun art pieces. Don’t forget a few safety items: aprons, smocks, or even old shirts can protect clothing from stains.
When selecting supplies, opt for child-friendly alternatives to hazardous materials. For instance, use glue sticks instead of liquid glue to minimize the risk of accidents. You may also want to set up a dedicated crafting area with paper towels and soap nearby in case of spills. By preparing these basics and being mindful of safety precautions, you can foster an environment where kids feel encouraged to explore their creativity without any worries.
Displaying and Preserving Paper Plate Art
Now that you’ve created your amazing paper plate art, let’s talk about how to proudly display it for years to come. We’ll share tips on preserving and showcasing your little one’s masterpieces in this next section.
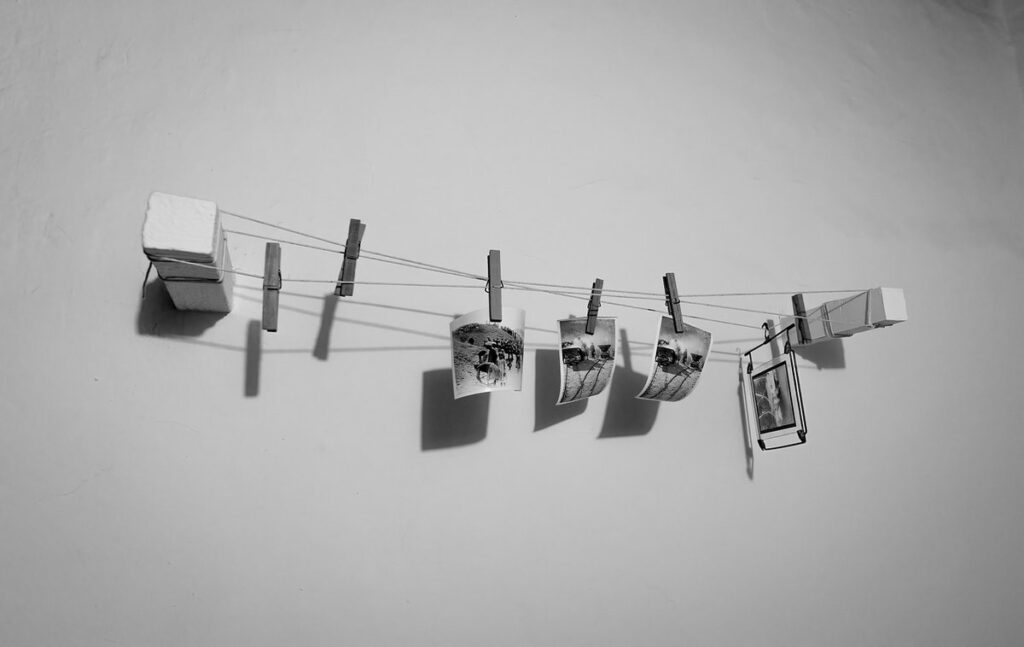
Ideas for Displaying Artwork
When it comes to showcasing your child’s paper plate masterpieces, you want to do more than just stick them on the fridge with magnets. You want to create a display that will inspire pride and creativity for years to come. Here are some creative ways to showcase kids’ paper plate art in the home or classroom:
Consider turning a wall into an art gallery by using string or twine to create a grid system, perfect for displaying multiple pieces at once. Alternatively, you can use a bulletin board or a large piece of corkboard to create a display area that’s easy to update and rearrange.
If you’re short on wall space, try repurposing an old picture frame or a shadow box to create a beautiful display case for your child’s artwork. You can also use museum-quality acid-free mats to preserve the art and add a professional touch.
Another idea is to create a collaborative display by grouping similar artworks together, such as all paintings of flowers or landscapes. This will not only make a big impact visually but also encourage kids to experiment with different techniques and themes.
Preserving Memories: Storage and Archiving
Preserving memories made with paper plate art is just as important as creating them. You’ve spent hours helping your child design and assemble a beautiful piece of art, only to have it sit on a shelf for years without a proper home. To ensure these masterpieces remain intact and cherished, let’s dive into the world of storage and archiving.
When storing paper plate art, consider using acid-free materials such as cardboard or plastic containers specifically designed for artwork preservation. This will protect your child’s creations from damage caused by moisture and UV light exposure. You can also use folders or albums with interleaving sheets to separate each piece and prevent scratching. Labeling each storage container with the artwork’s title, date created, and your child’s name will help you easily identify and access their masterpieces.
Remember, taking photos of your child’s artwork is a great way to preserve memories without dedicating physical space. This also allows you to share their creations with family and friends who may not be able to visit in person. Consider scanning or digitizing select pieces for safekeeping online, freeing up shelf space while keeping the memories alive.
Conclusion and Encouragement
Now that you’ve had fun making all sorts of amazing paper plate crafts, let’s summarize what we’ve learned and share some final encouragement to keep creating!
The Joy of Creating with Paper Plates
As you’ve witnessed firsthand, the joy of creating with paper plates is more than just a fun activity for kids – it’s an essential part of their development. By embracing paper plate crafts, you’re giving them the freedom to express themselves creatively, without worrying about making mistakes or wasting valuable materials.
This unique medium allows children to tap into their imagination and bring their ideas to life in a way that’s both engaging and accessible. Think about it – with just a few simple tools and some creativity, they can turn plain paper plates into colorful masks, elaborate hats, or even intricate sculptures. The possibilities are endless!
As a parent or caregiver, you play a significant role in nurturing this creative potential. By providing opportunities for your child to explore paper plate crafts, you’re not only encouraging their imagination but also teaching them valuable skills like problem-solving and critical thinking.
One of the most rewarding aspects of paper plate crafts is watching your child’s confidence grow as they experiment with different techniques and designs. You might be surprised at how quickly they develop a sense of pride in their creations, eager to share them with family and friends.
To foster this creative spark, try setting aside dedicated time for arts and crafts activities using paper plates. Encourage your child to explore different shapes, colors, and textures, and provide guidance when needed. You can also search online for inspiration or join a local craft group to connect with others who share your passion.
Remember, the joy of creating with paper plates is not just about making something new – it’s about embracing the process itself. By letting go of expectations and allowing your child to take the lead, you’ll be amazed at what they can achieve. So go ahead, get creative, and watch your child flourish in their own unique way!
Frequently Asked Questions
What if I’m short on time, but still want to encourage my child’s creativity with paper plate arts and crafts?
You can always start small by dedicating just 10-15 minutes a day or once a week to explore simple paper plate projects. This will help your child develop their fine motor skills and get creative juices flowing without feeling overwhelmed. Plus, you can involve them in the process of selecting supplies, making decisions on colors and designs, and even displaying their finished artwork.
How do I ensure my child’s safety while working with paper plates and various crafting materials?
Always supervise children when engaging in arts and crafts activities. Make sure to use washable paints, markers, and glue that won’t cause any allergic reactions or skin irritation. Keep scissors out of reach, and teach your child how to handle them properly. Also, encourage your child to clean up as they go along to maintain a clutter-free workspace.
Can I involve my older child in more advanced paper plate crafts projects?
Absolutely! As children grow and develop their skills, you can introduce more complex techniques like mosaics, collages, or even 3D sculptures using paper plates. This will help them build confidence in their abilities and explore different artistic expressions. Just remember to adapt the project according to your child’s age and skill level.
How do I display my child’s artwork and preserve their creations over time?
Displaying your child’s artwork is a great way to encourage their creativity and sense of pride. You can hang their artwork on walls, place it in frames, or even create a DIY gallery using cardboard or other materials. To preserve their creations, consider laminating them, taking high-quality photos, or storing them in acid-free storage containers.
Can I use recycled paper plates for these projects?
Yes! Using recycled paper plates is an eco-friendly approach that aligns perfectly with the spirit of arts and crafts. You can reuse old plates from home or collect them from friends and family members who might have some spare. This way, you’ll be teaching your child about sustainability while having fun creating together.