
Are you ready to dive into a world of colorful creativity with your little ones? Making underwater rainbow fish art and craft projects is not only fun, but it’s also an excellent way to encourage kids’ imagination and fine motor skills. Who wouldn’t love creating vibrant masterpieces that bring a splash of joy to any room? With the right guidance, you can help your mini artists create stunning pieces while learning valuable techniques and safety precautions along the way.
In this article, we’ll explore various materials and methods for making rainbow fish art and craft projects perfect for kids. From colorful paints to textured papers, we’ll cover it all, ensuring a fun and safe creative experience for your little ones. Whether you’re a parent looking for engaging activities or an educator seeking innovative ideas, our guide is packed with inspiration to bring the magic of underwater rainbow fish art into your home or classroom.
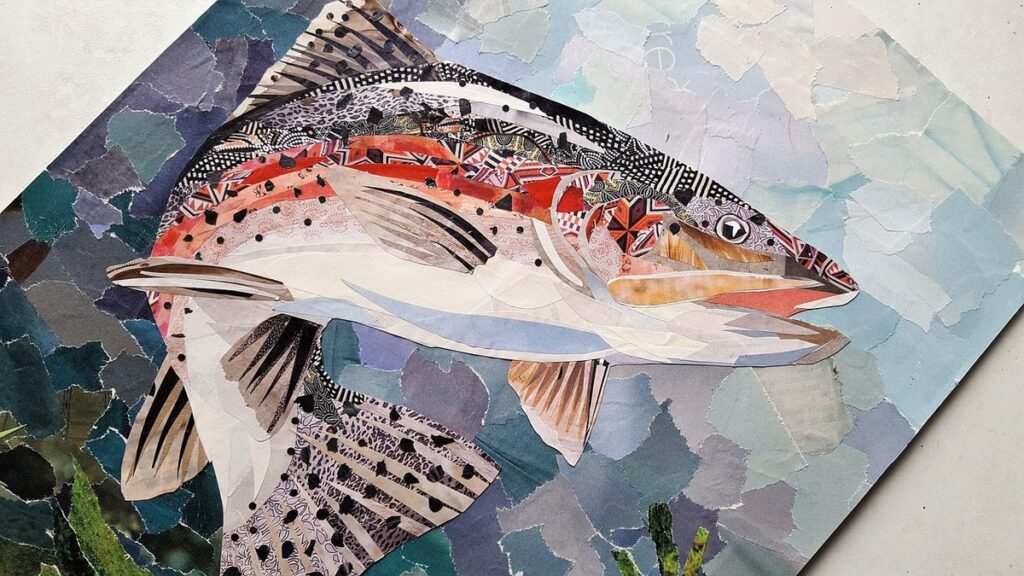
Introduction to Rainbow Fish Art and Craft
Welcome to our vibrant world of rainbow fish art and craft, where we’ll dive into fun and easy projects perfect for little artists. Get ready to splash some creativity!
Importance of Arts and Crafts in Child Development
When it comes to child development, arts and crafts activities play a vital role in fostering creativity, fine motor skills, and problem-solving abilities. Engaging in creative pursuits helps children develop their imagination and self-expression, which are essential for building confidence and self-esteem.
Fine motor skills, such as hand-eye coordination, dexterity, and manipulation of small objects, can be significantly improved through arts and crafts activities like painting, drawing, cutting, and pasting. For instance, a simple activity like finger-painting allows children to explore colors, textures, and patterns while developing their fine motor control.
Moreover, arts and crafts encourage creativity and problem-solving skills as children learn to think outside the box and come up with innovative solutions. They experiment with different materials, techniques, and styles, which helps build resilience and adaptability. In a rainbow fish art and craft activity, for example, children can explore various colors and patterns while learning about shapes and colors.
Arts and crafts activities not only promote creativity but also help develop critical thinking skills as children learn to analyze, evaluate, and communicate their ideas effectively. By engaging in arts and crafts regularly, you can see significant improvements in your child’s fine motor skills, creativity, and problem-solving abilities, setting them up for a lifetime of learning and self-expression.
Brief History of Rainbow Fish Symbolism
Rainbow fish have been a popular symbol across various cultures for thousands of years. They are often associated with good fortune and prosperity, particularly in Asian cultures. In ancient China, the rainbow fish was said to bring good luck and wealth, as it swam through crystal-clear waters. This symbolism is reflected in traditional Chinese art, where the fish is depicted swimming amidst lotus flowers.
In Japan, the rainbow fish is known as “koinobori,” which translates to “wind-carrying carp.” It’s a symbol of courage and perseverance, often displayed during festivals and celebrations. In many Indigenous cultures, the rainbow fish represents transformation and spiritual growth.
The association between rainbow fish and good fortune can be seen in various forms of art and craft. For instance, you can create a colorful mobile featuring rainbow fish shapes to hang above your child’s bed or play area. This will not only add a touch of whimsy but also infuse their surroundings with positive energy.
Materials Needed for Rainbow Fish Art and Craft Projects
To create beautiful rainbow fish art and craft projects, you’ll need some essential supplies that we’ve listed out below to make the process fun and easy. Get ready to dive in!
Essential Supplies
When starting a rainbow fish art and craft project with kids, it’s essential to have some basic supplies on hand. These will form the foundation of your creative endeavors and ensure that you’re well-equipped to bring your ideas to life.
To begin with, gather a variety of paints – watercolor or tempera work equally well for this type of project. You’ll also need markers, either fine-tip or broad-stroke, depending on the design. Don’t forget glue, both white school glue and clear glue can come in handy when working with different materials.
Next up are scissors – kid-friendly scissors that won’t cause accidents are a must-have. Alongside these, have a stock of colored paper for kids to cut out scales or other decorative elements. Construction paper is another great option as it comes in vibrant colors and various textures.
Optional Materials for Advanced Projects
For more advanced projects, you can take your rainbow fish art to the next level by incorporating additional materials that add texture and shine. Beads are a great option for creating intricate scales or adding decorative accents. You can use them alone or in combination with other embellishments like sequins or rhinestones.
Consider using fabric paint or markers to add patterned scales, fins, or even a school of tiny fish swimming around your main character. This adds an extra layer of depth and visual interest to your artwork. Alternatively, you could use felt or foam sheets in different colors to create 3D details like eyes, gills, or even the rainbow’s tail.
When using beads or sequins, it’s essential to pre-drill holes for easier attachment, especially if you’re working with younger children who may not have fine motor skills. To add an extra layer of realism, try painting the fish in a gradient effect, blending colors from light to dark on their scales. This can create a stunning visual impact and make your rainbow fish truly pop!
Step-by-Step Rainbow Fish Art and Craft Tutorials
Get creative with our easy-to-follow tutorials and learn how to make your own rainbow fish art and craft projects in just a few simple steps.
Easy Rainbow Fish Drawing Tutorial for Beginners
Let’s start with creating a beautiful rainbow fish together. Don’t worry if you’re not an artist; we’ll break it down into simple steps. Begin by drawing a long oval for the body of the fish, making sure to leave some space at the top and bottom.
Next, draw two small circles for the eyes. You can add pupils using tiny dots or lines. Now, let’s work on the fins. Draw a long triangle shape for the tail fin and two smaller triangles for the dorsal fin. Use straight lines to connect these shapes to the body.
To create the rainbow effect, use different colors of crayons, markers, or paint. You can draw stripes or swirls in shades of red, orange, yellow, green, blue, and purple. Don’t worry if your colors don’t match perfectly – it’s all about having fun! Finally, add some water details with wavy lines to complete your rainbow fish.
Remember, practice makes perfect, so don’t be afraid to experiment with different shapes and colors. Encourage kids to use their imagination and creativity while drawing, making this a fun learning experience.
Advanced Rainbow Fish Painting Techniques
Now that you and your kids have mastered the basics of rainbow fish painting, it’s time to take it to the next level with some advanced techniques. Layering is a great way to add depth and dimension to your artwork. Start by applying a light wash to the entire fish, allowing it to dry completely before adding more layers of paint. Use a wet-on-wet technique for the scales – apply paint to one area while the surrounding paint is still wet. This will create soft, gradient-like transitions between colors.
For a more realistic look, try blending your colors. Use a clean brush or a makeup sponge to gently merge edges and soften color boundaries. You can also experiment with texture application by using household items like sponges, lace doilies, or even credit cards to add interesting patterns and textures to your fish’s scales.
Remember, practice makes perfect – don’t be afraid to make mistakes! They often lead to happy accidents that can inspire new ideas. Encourage your kids to experiment with different techniques and see what unique effects they can achieve.
Tips and Variations for Customizing Your Rainbow Fish Art
Now that you’ve created your stunning rainbow fish art, it’s time to think outside the box and add some unique touches! Explore these fun tips and variations to make each piece truly special.
Using Different Colors and Patterns
When it comes to creating unique rainbow fish designs, experimenting with different colors and patterns can help bring out each child’s personality. Start by showing them a variety of colors and asking which ones they like best. This will give you an idea of their color preferences and what might appeal to them.
Encourage kids to think about the personality traits they want their fish to reflect, such as boldness or calmness. For example, if they want their fish to be bright and cheerful, suggest using a combination of warm colors like yellow and orange. On the other hand, if they prefer something more soothing, cool blues and greens might be more suitable.
You can also experiment with different patterns and textures to add depth and interest to the design. Try layering colors or using stencils to create intricate designs. Another idea is to incorporate glitter, sequins, or other embellishments to make the fish stand out. By exploring these options, kids will be able to express their creativity and create a one-of-a-kind rainbow fish art piece that truly reflects their individuality.
Tips for adults include encouraging children to experiment with new colors and patterns, providing them with materials like markers, colored pencils, or paints, and letting them make mistakes as part of the creative process.
Incorporating Natural Materials and Recycled Items
Take your rainbow fish art to the next level by incorporating natural materials and recycled items! This is an excellent way to encourage kids to get creative with nature and think outside the box. You can use leaves, twigs, or flowers to add texture and interest to your artwork.
For example, you can collect different types of leaves and arrange them in a collage-style design on your fish’s scales. Alternatively, use twigs to create a 3D effect by gluing them onto the fish’s body. Seashells are another great option – paint or draw a rainbow pattern on them and attach them to the fish’s fins.
Another creative way is to use recycled materials like old CDs, cardboard tubes, or fabric scraps. Cut out shapes from these materials to create unique scales or fins for your fish. You can also use natural dyes like beets or turmeric to give your artwork a pop of color.
Remember, the key to incorporating natural materials and recycled items is to experiment and have fun! Encourage kids to think creatively about how they can repurpose everyday objects into art supplies.
Safety Precautions and Cleanup Tips
Before you start creating, let’s go over some essential safety precautions and cleanup tips to ensure your art time is fun and mess-free for everyone involved. This includes handling materials carefully and disposing of waste properly.
Material Handling and Storage
When working with art supplies, it’s essential to prioritize safety precautions to ensure a fun and healthy experience for kids. This includes proper handling of materials, storage, and disposal of waste.
Firstly, make sure to store art supplies in well-ventilated areas, away from children’s reach. Keep paints, glue, scissors, and other hazardous materials on high shelves or in locked cabinets. For example, if you’re working with watercolors, keep the paint bottles on a designated shelf and cover them with plastic containers when not in use.
When handling art supplies, encourage kids to wash their hands thoroughly before and after use. This is especially important for materials like paint, ink, and glue that can stain skin or cause allergic reactions.
For storage, use separate bins or containers for each type of material. Label the containers clearly so kids know where to find what they need. Regularly clean and disinfect surfaces, equipment, and storage areas to prevent the buildup of dust, germs, and bacteria.
Remember to dispose of waste responsibly by recycling paper, cardboard, and plastic materials whenever possible.
Cleaning Up Art Projects
Cleaning up after a creative session with rainbow fish art can be just as fun and engaging for kids. To make cleanup a breeze, have a designated space where all materials can be placed back in their proper order, making it easier to put everything away when the project is finished.
In case of paint spills or splatters on clothes, act quickly by gently blotting the stain with paper towels before attempting to wash the garment. This will help prevent the paint from setting into the fabric. Next, pre-treat any remaining stains with a gentle laundry detergent specifically designed for removing tough stains.
To prevent paint spills from becoming a sticky situation, always clean them up immediately using soap and water. Have kids practice cleaning their hands after working with paints to get them accustomed to this habit. Make cleanup an interactive experience by turning it into a game or making it a part of the creative process, such as having kids rinse off their brushes in a designated area.
By teaching kids these simple steps, they’ll become more responsible and efficient when it comes to cleaning up after rainbow fish art projects.
Displaying and Preserving Your Rainbow Fish Masterpieces
Now that you’ve created your beautiful rainbow fish artwork, let’s talk about how to proudly display and preserve them for years to come. This is where creativity meets practicality!
Display Ideas for Artwork
When it comes to showcasing your child’s rainbow fish masterpieces, you’ll want to display them in a way that brings out their creativity and colors. One of the most popular ways to do this is by framing their artwork. Not only does framing add a touch of sophistication, but it also helps protect the artwork from dust and damage. Choose a frame that complements the colors and style of your child’s piece, and consider adding a matte or border to enhance its visual appeal.
Another great way to display your child’s rainbow fish artworks is by creating a gallery wall in their bedroom or playroom. This allows you to showcase multiple pieces at once and create a fun and eclectic display. Simply arrange the artwork on a large sheet of paper, move them around until you find a layout that works, and then use command strips or 3M picture hanging strips to hang them on the wall.
You can also consider displaying your child’s artworks in a portfolio, which is a great way to store and showcase their creations over time. A portfolio can be a fun way for your child to see how their art skills improve with practice, and it can also serve as a keepsake for years to come.
Long-Term Storage and Preservation Tips
When you’ve finished admiring your child’s colorful creations, it’s essential to think about their long-term preservation. You’ve likely spent a considerable amount of time and effort on these masterpieces, so you’ll want to ensure they remain vibrant for years to come.
To start, gather acid-free storage materials such as boxes, folders, or sleeves specifically designed for art conservation. These will help prevent the artwork from coming into contact with acidic paper or other substances that can cause damage over time. You should also handle your child’s artwork by the edges, avoiding direct pressure on the delicate paint.
In addition to storage materials, consider factors like light exposure and temperature control when displaying your rainbow fish art. Direct sunlight can cause colors to fade rapidly, so try to position displays away from windows or use UV-filtering glass. Maintain a stable room temperature between 60-70°F (15-21°C) and keep artwork away from humid areas, such as basements or attics.
Remember to store your child’s creations in a cool, dry place, like a closet or shelf. This will help prevent fading and damage caused by exposure to heat or moisture. By following these simple tips, you’ll be able to cherish your child’s rainbow fish art for years to come.
Frequently Asked Questions
What are some ways to adapt rainbow fish art projects for children with special needs or abilities?
You can adapt rainbow fish art projects by using assistive tools, such as adaptive scissors or paintbrushes, and providing accommodations like extra time or support. Consider using textured papers or materials that are easy to manipulate, like play dough or foam sheets. Additionally, you can modify the project’s complexity to suit individual needs, focusing on fine motor skills development rather than intricate details.
How do I ensure my child is following proper safety precautions while creating rainbow fish art?
Emphasize the importance of washing hands before and after handling materials, and encourage your child to wear protective gear like aprons or smocks. Supervise closely when working with materials that may cause messes, such as paints or glue. Make sure the workspace is well-ventilated and clear of clutter. By modeling safe behavior and setting clear expectations, you can help your child develop good habits.
Can I use recycled materials to make rainbow fish art more eco-friendly?
Absolutely! Incorporating natural materials and recycled items is a fantastic way to teach children about sustainability and creativity. Think outside the box when it comes to materials – consider using cardboard tubes, newspaper, or even household items like egg cartons. This will not only reduce waste but also encourage your child’s imagination and resourcefulness.
How can I display my child’s rainbow fish artwork in a way that preserves their masterpiece?
Use acid-free mats or frames specifically designed for artwork to prevent damage from moisture or UV light. Consider displaying the artwork under glass or acrylic to protect it from dust and sunlight. If you plan to store the artwork long-term, consider using archival-quality storage materials like foam core boards or acid-free boxes.
What are some tips for keeping rainbow fish art projects organized and mess-free?
Designate a specific area for arts and crafts activities, making sure to clean up thoroughly after each session. Store supplies neatly in labeled containers or bins, and encourage your child to put away their materials when finished. Consider investing in a storage system specifically designed for art supplies, like a pegboard or shelving unit.