
Are you ready to dive into some fun and colorful creativity with your little ones? Rainbow fish crafts are an excellent way to encourage fine motor skills, imagination, and self-expression in kids. These adorable art projects not only bring a pop of color to any room but also provide a great opportunity for young minds to learn and grow. In this tutorial, we’ll guide you through the simple steps of creating your very own rainbow fish craft, perfect for kids of all ages! From selecting vibrant materials to assembling the final masterpiece, we’ll cover everything you need to know to make this project a success. With our easy-to-follow instructions, you can expect a fun and stress-free creative experience that’s sure to delight both children and adults alike.
Introduction to Rainbow Fish Craft
Let’s dive into the wonderful world of rainbow fish craft, where we’ll explore fun and easy projects perfect for kids to create their own colorful treasures.
What is a Rainbow Fish?
A rainbow fish is a colorful and creative twist on traditional fish craft, often used in children’s art projects. It’s typically represented by a fish shape covered in various colors of the rainbow, usually arranged in an orderly pattern to create a striking visual effect. This imaginative creature has become a staple in many kids’ art and craft activities, allowing them to express their creativity while learning about colors and patterns.
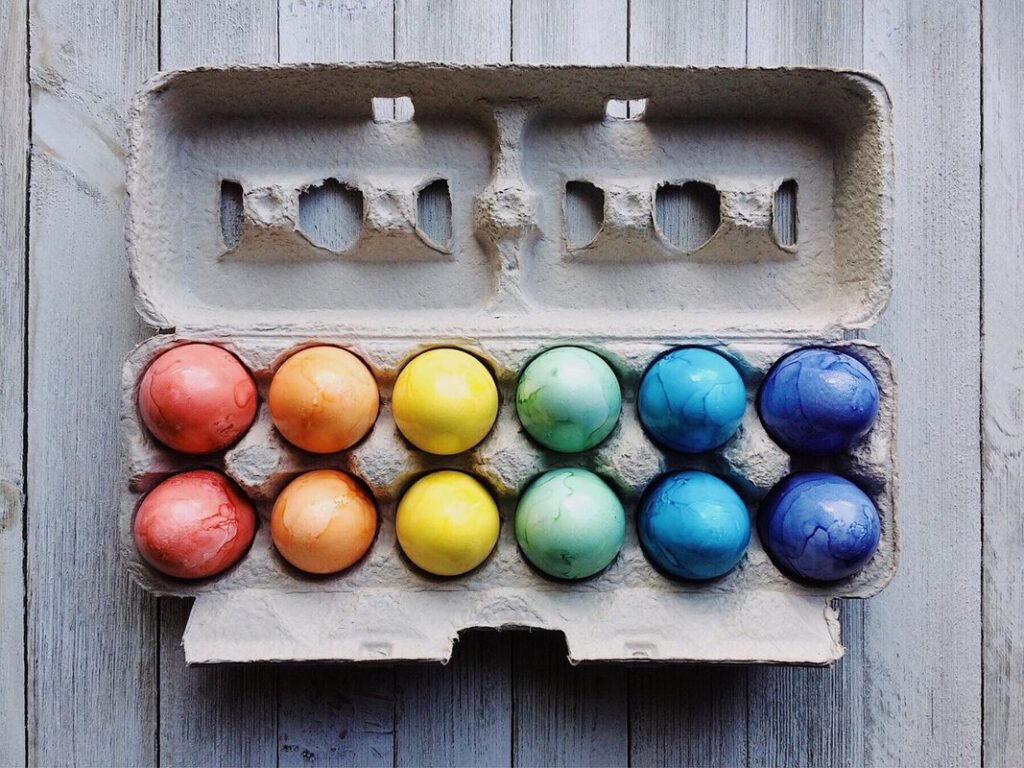
Incorporating a rainbow fish into your child’s art project can be as simple as using colored markers or paint to create the desired color scheme. You can also use stickers, stamps, or even glitter to add an extra layer of fun and texture. For example, you could have your child arrange seven colors of the rainbow in sequence on their fish shape: red, orange, yellow, green, blue, indigo, and violet.
Rainbow fish craft is not only a great way to encourage creativity but also to teach children about color theory and the importance of pattern-making. By experimenting with different combinations of colors, kids can develop their fine motor skills and hand-eye coordination while having fun creating something unique and visually appealing.
Benefits of Making a Rainbow Fish Craft
Making a rainbow fish craft is more than just a fun activity for kids; it has several benefits that can enhance their cognitive, motor, and creative skills. One of the primary advantages of this craft is that it helps develop fine motor skills. By using scissors to cut out scales and other small details, children practice hand-eye coordination and dexterity, which are essential for writing and drawing.
Encouraging creativity is another significant benefit of making a rainbow fish craft. This activity allows kids to express themselves freely by choosing colors, patterns, and shapes that appeal to them. By experimenting with different materials and techniques, they can develop their imagination and problem-solving skills.
Learning through art is also an excellent way to promote educational benefits in children. Rainbow fish crafts can be used to teach concepts like color theory, symmetry, and counting. For instance, kids can learn about primary colors by mixing paint or markers to create secondary colors. They can also practice counting by adding scales to their fish or arranging numbers on the craft.
By incorporating a rainbow fish craft into your child’s creative activities, you’re providing them with an engaging way to develop essential skills while having fun at the same time!
Materials Needed for the Project
To create a beautiful rainbow fish craft, you’ll need some essential materials that we’ll outline below. Let’s get started!
Essential Crafting Supplies
To create a beautiful rainbow fish craft for kids, you’ll need some essential crafting supplies. Let’s start with the basics: construction paper! You’ll need a variety of colors to create the vibrant scales and fins of our fish friend. Choose bright hues like blue, green, yellow, orange, and red. You can also use patterned paper or even colored cardstock for added texture.
Next up are your trusty scissors – kid-friendly ones, of course! These will come in handy for cutting out shapes and strips to create the fish’s body, fins, and tail. A glue stick is another must-have, perfect for sticking all those colorful scales onto the body of our fish. Don’t forget a pair of tweezers or a small brush for added precision when placing delicate details.
You’ll also need some string or yarn to create the hanger for your finished craft. This will make it easy for kids to display their masterpiece on a wall or in a window. To add an extra touch, consider including some glitter, stickers, or other embellishments to let your child’s creativity shine!
Optional Embellishments
To add an extra splash of fun to your rainbow fish craft, consider incorporating some optional embellishments. Glitter is a great option for kids who love sparkly things – simply sprinkle a pinch onto the fish’s scales and watch as it shines. If you’re feeling creative, try using different colors or shapes to create a unique effect.
Stickers can also add an extra layer of excitement to your project. Choose stickers that match the colors of your rainbow and apply them to the fish’s fins, tail, or even its face for added personality. Remember to use a small amount so as not to overpower the rest of the design.
Markers are another great option for kids who love to draw and color. Encourage them to add details like eyes, eyebrows, or even a tongue to their fish. You can also use markers to create patterns on the scales or add texture to the fins. Some other embellishments you might consider include sequins, pipe cleaners, or even real glitter glue – just be sure to follow any necessary safety precautions when using these materials.
Step-by-Step Instructions for Making a Rainbow Fish Craft
Let’s get started on making your very own rainbow fish craft! This next part will walk you through each step, so follow along carefully to create a beautiful and colorful fish.
Creating the Body of the Fish
Now it’s time to create the body of our rainbow fish! Take a rectangular piece of construction paper and lay it flat on the table. Cut out a long, thin shape that will serve as the main body of the fish. You can use a ruler or a straightedge to help you get an even cut.
Next, cut out small triangular shapes from different colored pieces of construction paper – you’ll need these for the scales! Think about what colors you want your rainbow fish to have and try to match them with the triangles. For example, if you’re making a bright orange fish, use orange paper for the triangular shapes.
Now it’s time to add those scales to our fish body. Take one of your triangular pieces and glue it onto the body, starting from the head area. Make sure to leave some space between each scale – we don’t want our fish to look too crowded! Continue gluing on more triangles around the entire body, overlapping them slightly as you go along.
Don’t worry if it takes a few tries to get the hang of placing those triangular scales just right – practice makes perfect, and before long your rainbow fish will be looking its best.
Adding Scales and Details
Now that you’ve cut out the body of your rainbow fish, it’s time to add some scales and details to make it truly shine. This is one of the most fun parts of the project, as you get to be creative with various materials.
To start, gather a selection of shimmering materials like glitter, iridescent paper, or foil stickers. You can use glue to attach these to the fish’s body in random patterns or create a uniform scale effect. Make sure to apply a small amount of glue to avoid overwhelming the surrounding area.
For more intricate details, grab your scissors and cut out small scales from colored cardstock or foam sheets. These can be arranged on top of each other to achieve a three-dimensional appearance. Alternatively, use markers to draw on individual scales or patterns directly onto the fish’s body.
Experiment with different textures by incorporating sequins, stickers, or even real seashells for added visual interest.
Tips and Variations for Customizing the Rainbow Fish Craft
Now that you’ve created your beautiful rainbow fish, let’s dive into some creative ways to personalize it and make it truly one-of-a-kind. We’ll explore unique tips and variations to inspire your child’s artistic expression.
Using Different Colors and Patterns
Using different colors and patterns can add an extra layer of creativity to your rainbow fish craft. You can choose from a wide range of colors, including metallic and pastel shades, to give your fish a unique look. For example, you can paint the scales in shades of blue for a calming effect or use bright red for a bold statement.
To incorporate patterns into your design, consider using stencils or stickers with various shapes and sizes. You could create a striped pattern by alternating between two colors or add some texture to the fish’s body using a sponge or a textured paintbrush. If you’re feeling more adventurous, you can even try using glitter or sequins to give your fish a sparkly finish.
Remember, the key to creating a unique rainbow fish craft is to experiment and have fun with different colors and patterns. Encourage children to think outside the box and come up with their own designs. With a little creativity, they’ll be able to create a truly one-of-a-kind masterpiece.
Experimenting with Various Materials
When you’ve mastered the classic rainbow fish craft, it’s time to experiment with new materials and techniques to add some texture and dimension to this beloved project. Let’s start by exploring alternative materials that can give your rainbow fish a more interesting look.
One great option is foam! You can use foam sheets or foam tubing to create scales that are soft and squishy to the touch. Simply cut out scale shapes from the foam, glue them onto the body of the fish, and voila! Your fish will have a fun and textured appearance. Another material you can try is fabric – yes, you read that right! Use fabric paint or markers to draw on scales, then glue small pieces of fabric over each one for a raised, dimensional look.
You can also experiment with combining different materials. For example, use foam for the main body of the fish and fabric for the fins and tail. This will create a beautiful contrast between smooth and textured areas. Remember, the key to experimenting with new materials is to have fun and be open-minded!
Displaying and Sharing Your Rainbow Fish Creation
Now that you’ve created your beautiful rainbow fish craft, it’s time to show it off! This next step will guide you on how to display and share your artwork.
Ideas for Displaying the Craft
When it’s time to showcase your child’s rainbow fish creation, you’ll want to find a way to display it proudly. One idea is to frame the craft and hang it on the wall as a unique piece of art. You can use a simple wooden frame or get creative with a colorful border or decorative mat.
Alternatively, consider turning the rainbow fish into a mobile by attaching string or fishing line to the back and hanging it from the ceiling. This will add a playful touch to any room. Another option is to create a 3D display using a Styrofoam board or cardboard base, adding some dimension to your child’s artwork.
If you’re short on space, consider transforming the rainbow fish into a centerpiece for a small table or shelf. You can also use it as a gift tag or card decoration for upcoming birthdays or holidays. Whatever method you choose, be sure to have fun and get creative with displaying your child’s masterpiece!
Ways to Share with Others
Sharing your rainbow fish craft with others can be a wonderful way to spread joy and creativity. When it comes to giving as gifts, consider who would truly appreciate the time and effort that went into creating each unique piece of art. Grandparents, siblings, or even friends’ kids might be thrilled to receive such a special gift.
If you’re looking to share in an educational setting, think about how your rainbow fish craft can tie in with lessons on colors, shapes, or even emotional intelligence. For instance, use the different hues as examples of primary and secondary colors, or have children explain why their fish might be feeling happy or sad based on its color scheme.
When sharing with a class, consider displaying each fish in a special “gallery” or having kids take turns explaining their creation to the group. This encourages social interaction and builds confidence in communicating their artistic vision.
Conclusion and Encouragement to Get Creative
Now that you’ve created your colorful rainbow fish craft, it’s time to think outside the box and explore even more creative possibilities with your little ones. Let’s dive into some final encouragement and ideas to keep their imagination thriving.
Recap of the Fun and Learning Involved
Making a rainbow fish craft with kids is an incredibly rewarding experience that brings out their creativity and has numerous benefits for their development. Not only do they get to unleash their imagination and express themselves through art, but it’s also an excellent way to foster fine motor skills, hand-eye coordination, and problem-solving abilities.
As children work on creating their very own rainbow fish, they’ll have a blast experimenting with different colors, shapes, and textures. This hands-on activity encourages them to think outside the box and explore new ideas, all while having fun making a mess (which is often the best part of the process!).
What’s more, this craft is an excellent way to introduce kids to various art techniques, such as layering, blending, and mixing colors. With minimal supervision, they can create their own unique masterpieces that are both visually striking and meaningful.
Remember, the most important thing is to let them take ownership of the creative process and enjoy every step of it! Encourage them to try new things, make mistakes (because that’s where the real learning happens), and celebrate each other’s finished projects with pride.
Encouragement to Try More Art Projects
As you and your little ones have had so much fun creating their very own rainbow fish craft, we hope this experience has sparked a new interest in art projects at home. And that’s exactly what we want to encourage! The world of creativity is vast and exciting, and there are countless ways to explore it with your children.
From painting masterpieces to building 3D sculptures, every art project offers a unique opportunity for self-expression and imagination. So, don’t be afraid to try new things and see where they take you both. You can start by exploring different materials like paper mache, clay, or even recycled materials found around the house.
Some fun ideas to get you started include making handprint art, creating collages with old magazines, or even building a fairy garden in your backyard. The most important thing is to let your creativity shine and have fun along the way! Remember, it’s okay to make mistakes – they’re an essential part of the learning process.
As you continue on this creative journey with your children, be sure to step back, observe, and soak up all the joy and laughter that comes with exploring new art projects together.
Frequently Asked Questions
Can I Use Recyclable Materials for the Rainbow Fish Craft?
Yes, you can definitely use recyclable materials to make your rainbow fish craft even more eco-friendly. Consider using old CDs, cardboard tubes, or plastic bottles as a base for your fish body. You can also collect various colored papers, fabric scraps, or leftover yarn to add color and texture to your project.
How Do I Prevent the Scales from Falling Off?
To prevent the scales from falling off, make sure to apply a thin layer of glue or varnish over them once they’re dry. This will help secure them in place and make them more durable. You can also use a hot glue gun for added stability.
What if My Child Is Very Young and Can’t Follow Instructions?
If your child is very young, consider adapting the project to their skill level. Use pre-cut shapes or larger pieces of paper that are easier to handle. Also, be prepared to assist them with small tasks like applying glue or placing scales. Remember, it’s about having fun and exploring creativity together.
Can I Make a Rainbow Fish Craft Without Glue?
While glue is often used in rainbow fish crafts, you can make one without it by using alternative adhesives like tape, staples, or even needle and thread. This can be a great option if your child has a sensitivity to glue or prefers not to use it.
How Do I Encourage My Child to Be Creative with Colors?
Encourage your child’s creativity with colors by providing a variety of materials and asking open-ended questions like “What color do you think the fish should be?” or “How can we mix these two colors to create something new?” Also, be sure to display their finished craft proudly to inspire them to continue exploring their imagination.